“Mom, I don’t want another soggy sandwich.”
That text from my oldest hit me right at 10:47 on a Tuesday morning. I was standing in the grocery aisle, staring at yet another loaf of bread I’d probably end up throwing away. And honestly? I couldn’t blame her. Those sad, pressed sandwiches by lunchtime are the worst. The bread gets weird, the lettuce wilts, and nobody wants to eat that. So I stood there, tortillas in one hand, turkey in the other, and thought — what if I just skipped the bread altogether?
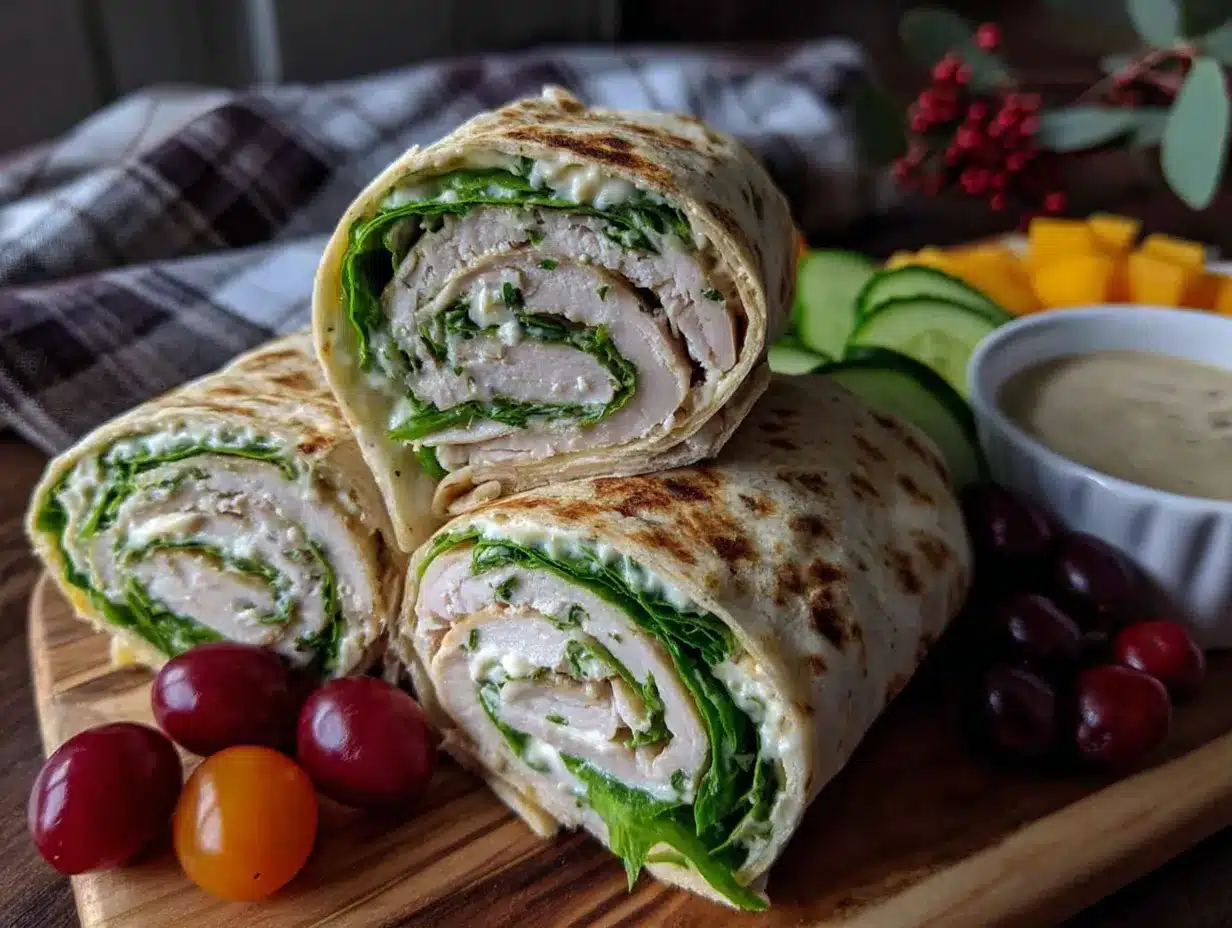
That’s how these Easy 5-Day Turkey and Cheese School Lunchbox Wraps were born. Not from some fancy cooking class or a magazine spread. Just a mom trying to figure out lunch without the complaints. These wraps actually stay good all week, which is kind of a game-changer when you’re packing lunches every single night. The kids grab them, I feel good about what they’re eating, and nobody’s sending me sad texts anymore.
I’ve tested these about eight times now (my family has been very patient), and I finally nailed the combo that keeps the tortilla from getting mushy and the cheese tasting fresh. It’s simple, it’s quick, and it works.
Why You’ll Love This Recipe
Look, I get it. Packing lunches five days a week is a chore. You want something easy but also something your kid will actually eat. These wraps check all the boxes, and then some.
- Quick & Easy : You can whip up all five wraps in under 15 minutes. I’m not joking. That’s less time than it takes to argue about homework.
- Simple Ingredients : Turkey, cheese, tortillas, and a few spreads. Nothing fancy, nothing expensive. You probably already have most of this stuff.
- Perfect for Busy Mornings : Make them Sunday night, and you’re set for the whole school week. Grab and go, no fuss.
- Crowd-Pleaser : My picky eater loves these. My “I-only-eat-pasta” kid loves these. Even my husband steals them for his lunch sometimes.
- Stays Fresh All Week : Unlike sandwiches that turn into a mess, these wraps hold up beautifully. The trick is in how you layer them, which I’ll show you.
What makes these different from every other wrap recipe out there? It’s the layering technique. Most people just throw everything in and roll. But if you do it my way — with a moisture barrier and the right cheese placement — you get a wrap that tastes just as good on Friday as it did on Monday. No sogginess, no sadness. Just good, reliable lunches.
What Ingredients You Will Need
This recipe uses super basic ingredients, which is exactly why it works so well for busy families. You don’t need to hunt down anything weird at the store. Here’s what you’ll grab:
For the Wraps
- 10 large flour tortillas (burrito size, about 10 inches) — I use Mission brand because they’re soft but sturdy enough to hold up. You can use whole wheat or spinach wraps for extra color.
- 1.5 pounds sliced deli turkey — Get it fresh from the deli counter if you can. The pre-packaged stuff works too, but fresh tastes way better. I like oven-roasted turkey breast best.
- 10 slices provolone cheese — Provolone has the perfect melt and mild flavor. Swiss or cheddar work great too if that’s what your kid likes.
- 1/2 cup cream cheese, softened — This is my secret weapon. It acts as a moisture barrier so the tortilla doesn’t get soggy. Trust me on this one.
- 1/4 cup mayonnaise — Adds a little creaminess and helps everything stick together. You can use Greek yogurt instead if you prefer.
- 1/2 teaspoon garlic powder — Just a tiny bit for flavor. Kids won’t even notice it’s there.
- 1/4 teaspoon black pepper — Optional, but I like the tiny kick it adds.
For the Spread (Optional but Recommended)
- 1/4 cup honey mustard — My kids love this. You can use regular mustard or leave it out entirely.
- 1/2 cup shredded lettuce — Adds crunch. Just make sure it’s completely dry before adding it.
- 1 medium tomato, thinly sliced — Pat the slices dry with a paper towel to remove extra moisture.
Ingredient Selection Tip: When buying deli turkey, ask them to slice it a little thicker than usual — about medium thickness. Thin slices tear when you roll, and thick slices make the wrap bulky. Medium is the sweet spot.
Substitution Guidance: Need a dairy-free option? Use dairy-free cream cheese and vegan cheese slices. The texture will be slightly different, but it still works. For a gluten-free version, grab gluten-free tortillas — just be extra gentle when rolling because they tend to crack more easily.
Equipment Needed
You don’t need much for these wraps. That’s part of the beauty.
- Large cutting board — Give yourself some space to work. A wooden or plastic board works fine.
- Sharp knife — A good chef’s knife makes clean cuts. Dull knives will squish your wraps.
- Plastic wrap or wax paper — For wrapping each individual wrap to keep them fresh.
- Resealable plastic bags or airtight container — For storing all five wraps together in the fridge.
- Small mixing bowl — For combining the cream cheese spread.
- Rubber spatula — Makes spreading the cream cheese mixture way easier.
I used to use those expensive bento boxes, but honestly, plastic wrap works just as well and costs way less. If you want to be extra fancy, grab some reusable beeswax wraps. They’re eco-friendly and actually keep the tortillas from drying out.
Preparation Method
Alright, let’s get rolling — literally. Follow these steps, and you’ll have five perfect wraps in no time.
- Make the cream cheese spread. In your small bowl, mix the softened cream cheese, mayonnaise, garlic powder, and black pepper. Stir until it’s smooth and fully combined. This takes about a minute. If your cream cheese is still cold, pop it in the microwave for 10 seconds to soften it up.
- Lay out your first tortilla. Place it flat on your cutting board. Spread about 1.5 tablespoons of the cream cheese mixture all the way to the edges. This layer is what keeps the tortilla from getting soggy — don’t skip it!
- Add the turkey. Lay down about 2-3 slices of turkey, depending on the size. You want an even layer, slightly overlapping the slices. Leave about an inch of space at the top edge of the tortilla (that’s where the seam will be).
- Layer the cheese. Place 2 slices of provolone on top of the turkey. If you’re using larger slices, one might be enough. The cheese should cover most of the turkey.
- Add your optional toppings. If you’re using honey mustard, spread a thin layer on top of the cheese. Add a small handful of shredded lettuce and a few tomato slices. Don’t overstuff — less is more here.
- Roll it up tight. Start at the bottom edge closest to you. Fold it over the filling, tucking it under slightly. Roll forward, keeping everything snug but not too tight (or the filling will squish out the sides). When you reach the top edge, press down gently to seal. The cream cheese acts like glue here.
- Wrap it in plastic wrap. Roll your wrap tightly in plastic wrap or wax paper. Twist the ends like a candy wrapper. This keeps everything in place and prevents the tortilla from drying out.
- Repeat for all five wraps. You’ll get faster as you go. By the third one, you’ll be a pro.
- Refrigerate for at least 30 minutes. This lets the flavors meld and makes the wraps easier to slice later. I usually make them the night before.
- Slice before serving. When you’re ready to pack lunch, unwrap one, slice it diagonally with a sharp knife, and pop it into the lunchbox. The diagonal cut looks way more appealing — trust me, kids notice these things.
Sensory Cue: When you roll, you should feel the tortilla stretching slightly but not tearing. If you hear cracking, you’re rolling too tight. Back off a little.
Pro Tip: If your tortillas are cracking when you roll, warm them in the microwave for 10 seconds. It makes them way more pliable. I learned this after ruining three wraps in a row. Don’t be like me.
Cooking Tips & Techniques
I’ve made about a hundred of these wraps (no exaggeration), and I’ve learned a few things the hard way. Here’s what I wish someone had told me:
The moisture barrier is non-negotiable. I tried skipping the cream cheese once because I was out, and by Wednesday, those wraps were a soggy disaster. The cream cheese creates a seal that keeps the turkey juices and tomato moisture away from the tortilla. It’s not just about flavor — it’s about structure.
Don’t overstuff. I know it’s tempting to pile on the fillings. But a wrap that’s too full won’t roll properly, and everything falls out when your kid unwraps it at lunch. Stick to the amounts I listed. If you want more filling, use a bigger tortilla.
Pat your veggies dry. Tomatoes and lettuce hold a ton of water. If you add them wet, you’re basically creating a puddle inside the wrap. Pat tomato slices with a paper towel, and spin your lettuce dry in a salad spinner. It makes a huge difference.
Let them rest. I know you want to eat them right away. But those 30 minutes in the fridge are crucial. The cream cheese firms up, the flavors blend together, and the wrap holds its shape better when you slice it. Patience pays off.
Use a serrated knife for slicing. A serrated knife cuts through the tortilla without squishing the roll. A regular chef’s knife works too, but you have to be really gentle. I’ve flattened many a wrap with a dull knife. Learn from my mistakes.
Variations & Adaptations
One of the best things about this recipe is how easy it is to change up. Here are some variations I’ve tried and loved:
Turkey and Avocado: Swap the mayonnaise for mashed avocado. It adds healthy fats and a creamy texture that’s absolutely delicious. Just add a squeeze of lemon juice to keep the avocado from browning.
Italian Style: Use salami and provolone instead of turkey, and add a smear of pesto. This is my personal favorite for my own lunches. It feels way fancier than it actually is.
Veggie Packed: Add thinly sliced cucumber, bell peppers, and shredded carrots. My kids actually eat these vegetables when they’re rolled up in a wrap. Something about the presentation tricks them, and I’m not complaining.
Low-Carb Version: Use large lettuce leaves instead of tortillas. Butter lettuce works best because the leaves are big and flexible. Just be careful when rolling — lettuce tears more easily than tortillas.
Spicy Kick: Add a few slices of jalapeño or a drizzle of sriracha to the cream cheese mixture. This is for older kids or adults who want a little heat. My teenager loves this version.
I once made a batch with leftover rotisserie chicken instead of turkey, and it was incredible. If you have leftover BBQ chicken from dinner, shred it up and use it here. The smoky flavor works surprisingly well with the cream cheese.
Serving & Storage Suggestions
These wraps are designed to be make-ahead, so storage is kind of the whole point. Here’s how to keep them fresh:
Serving: Serve cold or at room temperature. Don’t microwave these — the tortilla gets rubbery and the cheese gets weird. Straight from the fridge is perfect. Slice diagonally and arrange in the lunchbox with some fruit, veggie sticks, and a small treat.
Refrigerator Storage: Keep the wraps wrapped tightly in plastic wrap or wax paper, then place them in a resealable bag or airtight container. They’ll stay fresh for up to 5 days. I usually make them Sunday night and they’re still perfect on Friday.
Freezer Storage: You can freeze these! Wrap each one tightly in plastic wrap, then aluminum foil, and pop them in a freezer bag. They’ll keep for up to 2 months. To thaw, move one to the fridge the night before. Don’t thaw at room temperature — the tortilla gets condensation on it and gets soggy.
Reheating: Like I said, don’t microwave. If you want a warm wrap, let it come to room temperature for about 15 minutes. The cheese softens slightly without the tortilla getting weird.
Flavor Development: Honestly, these taste better on day two. The flavors have time to meld together, and the cream cheese spreads evenly throughout. My kids actually prefer day-old wraps over fresh ones. Weird but true.
Nutritional Information & Benefits
Here’s the approximate nutritional breakdown for one wrap (without optional toppings):
| Nutrient | Amount Per Wrap |
|---|---|
| Calories | 320 |
| Protein | 22g |
| Carbohydrates | 28g |
| Fat | 14g |
| Fiber | 2g |
| Sodium | 780mg |
Health Benefits: Turkey is a lean protein that keeps kids full and focused through afternoon classes. Cheese provides calcium for growing bones. And the cream cheese adds a little fat that helps absorb fat-soluble vitamins from any veggies you add.
Dietary Considerations: These wraps can be made gluten-free with GF tortillas, dairy-free with vegan alternatives, and lower-carb by using lettuce wraps. They’re naturally nut-free, which makes them school-safe for most classrooms.
Potential Allergens: Contains dairy (cheese, cream cheese), gluten (tortillas), and eggs (mayonnaise). Check your specific brands for cross-contamination if allergies are a concern.
I feel good sending these to school because I know my kids are getting protein, calcium, and energy without a ton of processed junk. It’s not a perfect meal, but it’s a whole lot better than those pre-packaged lunch kits.
Conclusion
These Easy 5-Day Turkey and Cheese School Lunchbox Wraps have genuinely made my mornings easier. No more standing in the kitchen at 7 AM trying to figure out what to pack. No more half-eaten sandwiches coming home in the lunchbox. Just grab, go, and done.
What I love most about this recipe is how forgiving it is. You can change the fillings based on what your kids like, use whatever cheese you have, and it still works. It’s not a fussy recipe. It’s a real-life recipe that actually fits into a busy week.
I’d love to hear how these turn out for you! Try them with different meats and cheeses, add your kid’s favorite veggies, or switch up the spread. Leave a comment below and let me know what variations your family loved. And if you’re looking for another quick lunch idea, these pesto tortellini salad are perfect for lunchboxes too.
Happy wrapping, friends. Your mornings just got a whole lot easier.
Frequently Asked Questions
Can I make these wraps gluten-free?
Absolutely! Just use gluten-free tortillas. They tend to be a bit more fragile, so warm them slightly before rolling to prevent cracking. The filling stays the same.
How long do these wraps last in the fridge?
They stay fresh for up to 5 days when wrapped tightly in plastic wrap and stored in an airtight container. I recommend making them on Sunday for the school week ahead.
Can I use different types of cheese?
Yes, any cheese that slices well works here. Swiss, cheddar, mozzarella, or even pepper jack for a little kick. Just make sure it’s sliced thin enough to roll easily.
My tortillas keep cracking when I roll. What am I doing wrong?
Your tortillas might be too cold or too dry. Warm them in the microwave for 10 seconds before rolling. If they’re old and brittle, they’ll crack no matter what you do, so use fresh tortillas.
Can I freeze these wraps?
Yes! Wrap each one in plastic wrap, then aluminum foil, and freeze for up to 2 months. Thaw in the fridge overnight before packing in lunchboxes. Don’t thaw at room temperature to avoid sogginess.
Pin This Recipe!
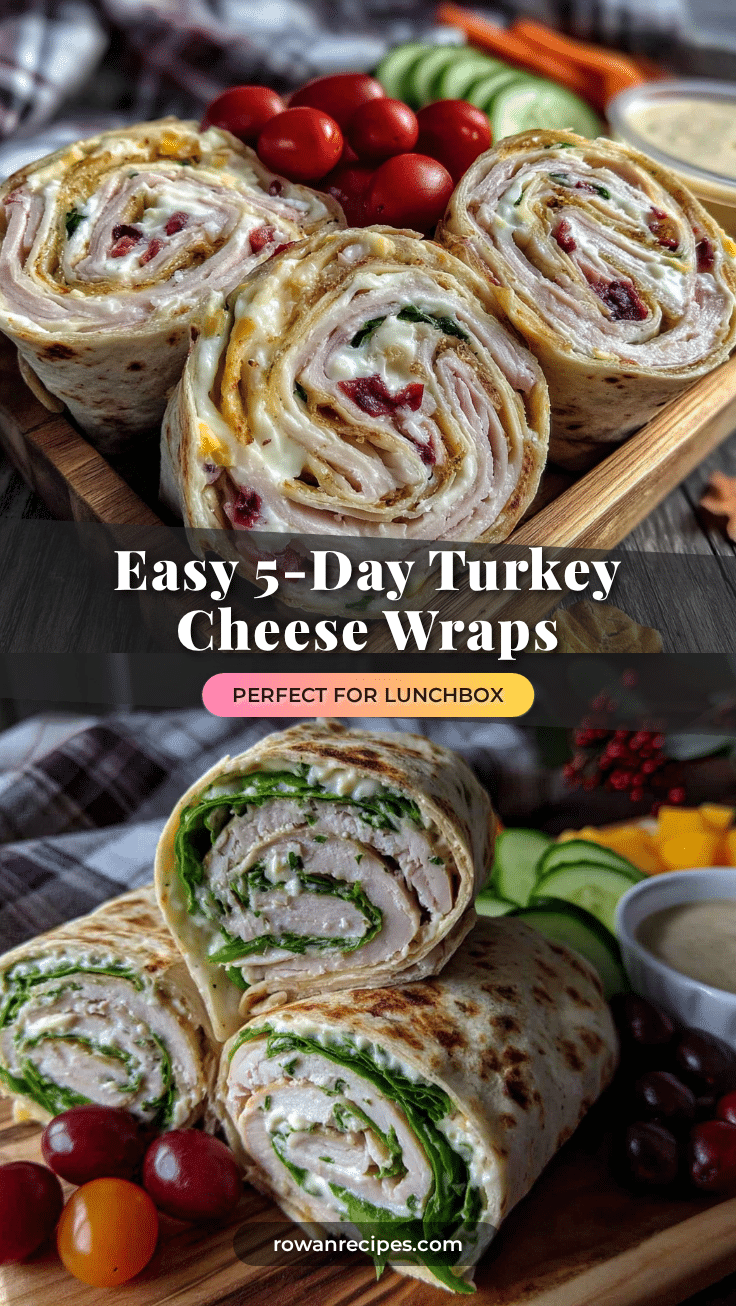
Easy 5-Day Turkey and Cheese Lunchbox Wraps

These easy turkey and cheese wraps stay fresh all week, making them perfect for school lunches. With a clever layering technique to prevent sogginess, they’re a quick and kid-friendly solution for busy mornings.
- Prep Time: 15 minutes
- Cook Time: 0 minutes
- Total Time: 45 minutes (includes 30 minutes refrigeration)
- Yield: 5 servings 1x
- Category: Lunch
- Cuisine: American
Ingredients
- 10 large flour tortillas (burrito size, about 10 inches)
- 1.5 pounds sliced deli turkey (oven-roasted turkey breast recommended)
- 10 slices provolone cheese
- 1/2 cup cream cheese, softened
- 1/4 cup mayonnaise
- 1/2 teaspoon garlic powder
- 1/4 teaspoon black pepper
- 1/4 cup honey mustard (optional)
- 1/2 cup shredded lettuce (optional)
- 1 medium tomato, thinly sliced (optional)
Instructions
- Make the cream cheese spread: In a small bowl, mix the softened cream cheese, mayonnaise, garlic powder, and black pepper until smooth.
- Lay out a tortilla flat on a cutting board. Spread about 1.5 tablespoons of the cream cheese mixture all the way to the edges.
- Add 2-3 slices of turkey in an even layer, slightly overlapping, leaving about an inch of space at the top edge.
- Place 2 slices of provolone on top of the turkey.
- If using, spread a thin layer of honey mustard on the cheese, then add a small handful of shredded lettuce and a few tomato slices.
- Roll the tortilla tightly: start at the bottom edge, fold over the filling, tuck under slightly, and roll forward. Press the top edge to seal.
- Wrap the roll tightly in plastic wrap or wax paper, twisting the ends like a candy wrapper.
- Repeat for all five wraps.
- Refrigerate for at least 30 minutes (or overnight) to let flavors meld and make slicing easier.
- Before serving, unwrap one, slice diagonally with a sharp knife, and pack in a lunchbox.
Notes
The cream cheese layer acts as a moisture barrier to prevent sogginess. Pat vegetables dry before adding. Warm tortillas in the microwave for 10 seconds if they crack when rolling. These wraps taste even better on day two.
Nutrition
- Serving Size: 1 wrap
- Calories: 320
- Sugar: 3
- Sodium: 780
- Fat: 14
- Saturated Fat: 6
- Carbohydrates: 28
- Fiber: 2
- Protein: 22
Keywords: turkey wraps, lunchbox wraps, school lunch, easy lunch, make-ahead lunch, turkey and cheese wraps


