My husband took a bite of the first test batch, chewed thoughtfully, and then just said, “Don’t change a thing.” That never happens. Usually, he’s got a suggestion—more spice, less sugar, a different glaze. But with these pumpkin scones, he just kept eating and nodded toward the plate for more. I’d been tinkering with this recipe for weeks, trying to capture that bakery-style texture that’s crisp on the outside and tender on the inside, without it turning into a hockey puck (which happened more times than I’d like to admit). The kitchen smelled like autumn had exploded—cinnamon, nutmeg, and that warm maple scent that just makes you want to curl up with a sweater. I honestly thought I’d overworked the dough that morning, but somehow it came out perfect. These scones have that slight crumble, but they hold together when you bite them, and the glaze seeps into all the little cracks. That first quiet “don’t change a thing” from someone who rarely comments on food told me I’d finally cracked it. And now I get to share that exact version with you.
Why You’ll Love This Recipe
These pumpkin scones aren’t just another fall baking project. They’re the kind of thing that makes you look forward to your morning coffee a little more. Here’s why they’ve become a staple in my kitchen:
- Quick & Easy: From mixing bowl to cooling rack in under 35 minutes. No yeast, no rising time, no fuss.
- Simple Ingredients: You probably have most of this in your pantry right now. Canned pumpkin, basic flour, butter, and spices.
- Perfect for Fall Mornings: Great for brunch, Thanksgiving leftovers, or just a cozy weekend treat when you want something special.
- Crowd-Pleaser: Kids love the sweetness, adults appreciate the spice balance, and everyone goes for that maple cinnamon glaze.
- Unbelievably Delicious: The outside has that slight crunch, the inside stays soft, and the glaze adds just enough sweetness without being overwhelming.
What makes these different from other pumpkin scone recipes is the technique. I use cold butter cut into the flour mixture until it looks like coarse sand, then I handle the dough as little as possible. That’s the secret to getting that flaky, tender texture instead of dense, heavy scones. Plus, the maple cinnamon glaze isn’t just a drizzle—it’s a thick, glossy layer that soaks into the warm scones and creates this almost caramel-like finish. I’ve tested this with different pumpkin purées, different butter temperatures, and even different flour blends. This version is the one that worked every single time.
There’s something about biting into a warm scone with that sweet maple glaze that just feels like a hug. It’s comfort baking at its finest—simple enough for a Tuesday morning, special enough for a holiday brunch.
What Ingredients You Will Need
This recipe uses straightforward ingredients that come together to create something genuinely special. No weird stuff here—just good, honest baking ingredients.
For the Pumpkin Scones
- 2 cups all-purpose flour (I use King Arthur for consistent results, but any brand works)
- 1/3 cup granulated sugar
- 1 tablespoon baking powder (make sure it’s fresh—old baking powder ruins scones)
- 1 teaspoon ground cinnamon
- 1/2 teaspoon ground nutmeg (freshly grated if you have it, but pre-ground works fine)
- 1/2 teaspoon ground ginger
- 1/4 teaspoon ground cloves
- 1/2 teaspoon salt
- 6 tablespoons cold unsalted butter, cut into small cubes (keep it cold—this is crucial)
- 1/2 cup pumpkin purée (not pumpkin pie filling—just plain pumpkin)
- 1/4 cup heavy cream, plus more for brushing (half-and-half works in a pinch)
- 1 large egg
- 1 teaspoon vanilla extract
For the Maple Cinnamon Glaze
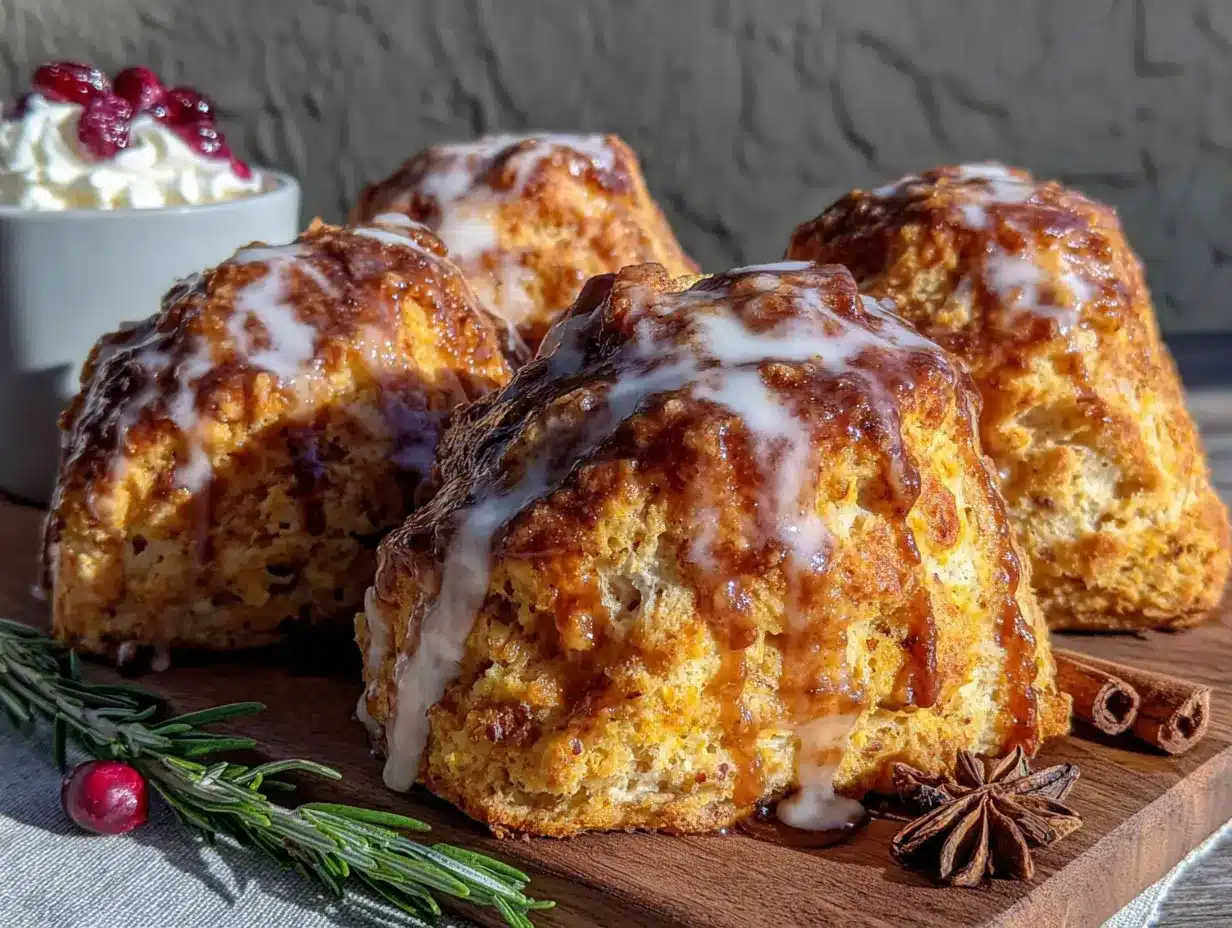
- 1 cup powdered sugar, sifted (sifting prevents lumps)
- 3 tablespoons pure maple syrup (the real stuff, not pancake syrup—it makes a difference)
- 1/2 teaspoon ground cinnamon
- 1-2 tablespoons milk or cream, as needed for consistency
A few notes on ingredient choices. I recommend Libby’s canned pumpkin for consistent moisture content—homemade pumpkin purée can be too watery and throw off the texture. If you’re using homemade, drain it through a cheesecloth or paper towel for about 30 minutes first. For the butter, I prefer unsalted so I can control the salt level, but salted butter works if you reduce the added salt to 1/4 teaspoon. And please, please use real maple syrup for the glaze. The flavor is deeper and more complex than the artificial stuff, and it makes these scones taste like something from a fancy bakery.
For substitutions, you can use a gluten-free all-purpose flour blend if needed—just add 1 tablespoon more flour and expect a slightly denser texture. For a dairy-free version, use cold coconut oil instead of butter and full-fat coconut milk instead of heavy cream. The glaze works with coconut milk too, though it’ll be a bit thinner.
Equipment Needed
You don’t need a fancy kitchen to make these scones. Here’s what you’ll need:
- Large mixing bowl (for the dry ingredients)
- Medium mixing bowl (for the wet ingredients)
- Pastry cutter or two forks (for cutting butter into flour—I prefer a pastry cutter, but forks work)
- Baking sheet (lined with parchment paper or a silicone baking mat)
- Rolling pin (or just use your hands to pat the dough)
- Sharp knife or bench scraper (for cutting the scones into triangles)
- Pastry brush (for brushing cream on top)
- Cooling rack (for letting the glaze set properly)
- Whisk (for the glaze)
If you don’t have a pastry cutter, honestly, two butter knives work just fine. Just cut the butter into the flour until it looks like coarse crumbs. I’ve also used my food processor for the dry ingredients and butter—just pulse a few times until the mixture looks sandy, then transfer to a bowl and add the wet ingredients by hand. That method works great and saves time. For the baking sheet, any rimmed sheet pan works, but I prefer lighter-colored pans because dark pans can brown the bottoms too quickly.
Preparation Method
Let’s get baking. This process is straightforward, but I’ll share every little trick I’ve learned along the way.
- Preheat your oven to 400°F (200°C). Line a baking sheet with parchment paper. This is non-negotiable—parchment prevents sticking and makes cleanup so much easier.
- Mix the dry ingredients. In a large bowl, whisk together the flour, sugar, baking powder, cinnamon, nutmeg, ginger, cloves, and salt. Make sure everything is evenly distributed. I like to use a whisk for this—it aerates the flour and breaks up any clumps.
- Cut in the cold butter. Add the cold butter cubes to the flour mixture. Using a pastry cutter or two forks, cut the butter into the flour until the mixture resembles coarse sand with some pea-sized butter pieces remaining. This takes about 2-3 minutes. Work quickly—you want the butter to stay cold. Those little butter pieces are what create flaky layers in the baked scones.
- Combine the wet ingredients. In a separate medium bowl, whisk together the pumpkin purée, heavy cream, egg, and vanilla extract until smooth. The mixture should be a deep orange color and smell amazing already.
- Bring it together. Pour the wet ingredients into the dry ingredients. Stir with a spatula or wooden spoon just until combined. The dough will look shaggy and a bit sticky—that’s exactly what you want. Do not overmix, or your scones will be tough. Stop when you can’t see any more dry flour patches.
- Shape the dough. Turn the dough out onto a lightly floured surface. Gently bring it together with your hands, then pat it into a circle about 3/4-inch thick. Don’t use a rolling pin—just use your hands. The dough should be about 8 inches in diameter. If it’s too sticky, dust your hands with a little flour, but don’t add too much.
- Cut the scones. Using a sharp knife or bench scraper, cut the circle into 8 equal wedges like you’re cutting a pizza. I find it helpful to cut the circle in half, then each half into quarters. Transfer the wedges to your prepared baking sheet, spacing them about 2 inches apart.
- Brush with cream. Brush the tops of each scone with a little extra heavy cream. This helps them develop that beautiful golden-brown crust. Don’t skip this step—it makes a real difference in appearance and texture.
- Bake. Bake for 14-16 minutes, or until the scones are golden brown on the bottom and lightly golden on top. The tops should feel firm when gently pressed. My oven runs hot, so I check at 12 minutes and rotate the pan. Yours might be different, so keep an eye on them.
- Cool slightly. Let the scones cool on the baking sheet for 5 minutes, then transfer them to a cooling rack. They need to be warm—but not hot—when you add the glaze. If they’re too hot, the glaze will melt right off. Too cold, and it won’t soak in at all.
- Make the glaze. While the scones cool, whisk together the powdered sugar, maple syrup, and cinnamon in a small bowl. Add milk or cream one tablespoon at a time until you reach a thick but pourable consistency. You want it thick enough to coat the back of a spoon but thin enough to drizzle.
- Glaze the scones. Drizzle the glaze over the warm scones using a spoon or a piping bag with a small tip. Let the glaze set for at least 10 minutes before serving. The glaze will firm up slightly but stay soft and glossy.
A quick note on timing—the entire process from start to finish takes about 35 minutes. That’s faster than driving to a coffee shop and ordering one, honestly. And these taste so much better fresh from your own oven.
Cooking Tips & Techniques
I’ve made these scones probably twenty times now, and I’ve learned a few things the hard way. Here’s what I wish someone had told me:
Keep everything cold. This is the number one rule of scone-making. Cold butter creates steam pockets in the oven, which gives you those flaky layers. If your kitchen is warm, pop the shaped scones in the freezer for 10 minutes before baking. I’ve done this when my kitchen was particularly hot, and it really helps.
Don’t overwork the dough. I cannot stress this enough. The more you handle scone dough, the tougher they get. Mix just until combined, pat gently into shape, and cut. That’s it. My first batch was tough because I kept kneading it trying to get it smooth. Don’t be like me.
Use a light hand with the flour. When you’re shaping the dough, use just enough flour to keep it from sticking. Too much extra flour makes dry scones. I keep a small bowl of flour nearby and dip my fingers in as needed rather than dumping flour all over the counter.
Check your baking powder. If your baking powder is more than six months old, it might not be active enough. Test it by dropping a teaspoon into hot water—if it bubbles vigorously, it’s good. If not, buy fresh. Flat scones are sad scones.
Glaze strategically. I like to drizzle the glaze in a zigzag pattern across the scones rather than flooding the whole top. This gives you pockets of sweet glaze between bites of spiced scone, which I find more satisfying. But if you want fully glazed scones, go for it—just double the glaze recipe.
Room temperature matters. If your pumpkin purée is cold from the fridge, let it sit out for 15 minutes before mixing. Super cold wet ingredients can make the butter seize up, which affects the texture. I learned this after a particularly disappointing batch that came out dense and greasy.
Variations & Adaptations
One of the best things about this recipe is how adaptable it is. Here are some variations I’ve tried and loved:
Pumpkin Chocolate Chip Scones: Fold in 1/2 cup of mini chocolate chips along with the wet ingredients. The chocolate pairs beautifully with the pumpkin spice, and mini chips distribute more evenly than regular-sized ones. My kids go crazy for this version.
Vegan Pumpkin Scones: Use cold coconut oil instead of butter, full-fat coconut milk instead of heavy cream, and a flax egg (1 tablespoon ground flaxseed mixed with 3 tablespoons water, let sit for 5 minutes). The texture is slightly different—a bit more tender and crumbly—but still delicious. The glaze works with coconut milk too.
Gluten-Free Version: Swap the all-purpose flour for a 1:1 gluten-free baking flour blend that contains xanthan gum. I’ve had good results with Bob’s Red Mill. Add an extra tablespoon of flour and let the dough rest for 10 minutes before shaping to allow the flour to hydrate fully.
Extra Spicy Pumpkin Scones: Double the cinnamon and add 1/4 teaspoon of cardamom and a pinch of white pepper. This gives the scones a warm, complex spice profile that’s less sweet and more sophisticated. Perfect for serving with afternoon tea.
Savory Pumpkin Scones: Reduce the sugar to 2 tablespoons, omit all the sweet spices, and add 1/2 cup of shredded cheddar cheese, 2 tablespoons of chopped fresh sage, and 1/4 teaspoon of black pepper. Skip the sweet glaze and brush with melted butter after baking. These are amazing alongside a bowl of soup or chili.
I’ve also made these as drop scones when I’m short on time—just scoop the dough onto the baking sheet in 1/4-cup portions and bake for 12-14 minutes. They won’t look as pretty, but they taste just as good.
Serving & Storage Suggestions
These scones are best served warm, ideally within an hour of baking. The contrast between the slightly crisp exterior and the soft, tender interior is at its peak when they’re fresh. I like to serve them with a cup of hot coffee or chai tea—the spices complement each other perfectly.
For a special brunch, arrange the glazed scones on a wooden board alongside fresh fruit, a small bowl of extra maple syrup for drizzling, and maybe some whipped butter. They also pair beautifully with a sparkling citrus fruit salad for a complete fall spread.
Storage Instructions:
- Room Temperature: Store unglazed scones in an airtight container for up to 3 days. If glazed, store in a single layer to prevent sticking.
- Refrigerator: Scones keep for up to a week in the fridge, but they dry out faster. I don’t recommend refrigerating them unless you absolutely have to.
- Freezer: Freeze unglazed baked scones in a freezer-safe bag for up to 3 months. Thaw at room temperature, then reheat in a 350°F oven for 5-7 minutes. Add the glaze after reheating.
Reheating Tips:
- Oven: 350°F for 5-7 minutes—this restores the crisp exterior best.
- Microwave: 15-20 seconds for a soft, warm scone (the glaze will get sticky, but it’s still good).
- Toaster Oven: 4-5 minutes at 350°F—my preferred method for a single scone.
The flavors actually deepen after a day or two. The pumpkin spice becomes more pronounced, and the maple glaze soaks into the scone slightly. They’re not as crisp, but they develop a lovely, almost cake-like texture. If you’re making these for a gathering, baking them a day ahead and glazing them the morning of works beautifully.
Nutritional Information & Benefits
These scones are a treat, but they also offer some nutritional benefits thanks to the pumpkin. Here’s the estimated breakdown per scone (with glaze):
| Nutrient | Amount |
|---|---|
| Calories | ~320 |
| Total Fat | 14g |
| Saturated Fat | 8g |
| Carbohydrates | 46g |
| Sugar | 24g |
| Fiber | 2g |
| Protein | 5g |
| Vitamin A | 70% DV |
Pumpkin is packed with vitamin A (in the form of beta-carotene), which supports eye health and immune function. It’s also a good source of fiber, which helps with digestion and keeps you feeling full. The cinnamon in these scones has anti-inflammatory properties and may help regulate blood sugar—though the sugar in the glaze balances that out, so don’t eat five of them expecting health benefits.
These scones contain gluten, dairy, and eggs, so they’re not suitable for those with allergies to those ingredients (though I’ve included vegan and gluten-free variations above). If you’re watching your sugar intake, you can reduce the sugar in the scones to 1/4 cup and use a lighter glaze, but honestly, these are meant to be a special treat. Enjoy them in moderation, and maybe pair one with a hearty stuffed pepper soup for a balanced fall meal.
Conclusion
These pumpkin scones with maple cinnamon glaze have become my go-to fall baking project for good reason. They’re simple enough for a lazy Sunday morning but impressive enough to bring to a holiday brunch. The texture is that perfect balance between crisp and tender, and the glaze adds just the right amount of sweetness without overpowering the pumpkin spice.
I love how forgiving this recipe is. Even when I’ve been a little careless with measurements or rushed through the shaping, these scones have come out delicious. That’s the kind of recipe you want in your rotation—one that works with you, not against you. The fact that they make your whole house smell like autumn is just a bonus.
I’d love to hear how these turn out for you. Did you try any of the variations? Maybe you added chocolate chips or went the savory route? Drop a comment below and let me know. And if you’re looking for another cozy fall treat, check out these gooey pecan pie bars—they’re just as satisfying and perfect for sharing. Happy baking, friends!
Frequently Asked Questions
Can I use fresh pumpkin instead of canned?
Yes, but you’ll need to roast and puree it first, then drain it well. Fresh pumpkin has more water than canned, so press it through a fine-mesh sieve or wrap it in paper towels for about 30 minutes to remove excess moisture. Otherwise, your scone dough will be too sticky and the scones may spread too much during baking.
Why did my scones turn out dry?
Dry scones usually come from overworking the dough or adding too much flour. Mix just until combined, and use a light hand when flouring your surface. Also, check your oven temperature—an oven that runs hot can dry out scones before they’re fully baked inside. An oven thermometer is a cheap fix for this common problem.
Can I make the dough ahead of time?
Absolutely. Shape the scones, place them on a parchment-lined baking sheet, and refrigerate for up to 24 hours. You can also freeze them on the sheet until solid, then transfer to a freezer bag. Bake from frozen, adding 2-3 minutes to the baking time. This is perfect for when you want fresh scones without the morning mess.
How do I get a thicker glaze?
Use less liquid. Start with just the maple syrup and powdered sugar, then add milk one teaspoon at a time until you reach the consistency you want. For an extra-thick glaze that sets firmly, use only 1 tablespoon of milk. Let the scones cool completely before glazing, and let the glaze set for at least 15 minutes before serving.
Can I skip the maple syrup in the glaze?
You can, but the flavor won’t be the same. Substitute with 2 tablespoons of milk or cream and add an extra 1/2 teaspoon of vanilla extract and 1/4 teaspoon of maple extract if you have it. Or try a brown butter glaze instead—melt 2 tablespoons of butter until golden brown, then whisk in powdered sugar and milk until smooth. It’s a different flavor profile but equally delicious.
Pin This Recipe!
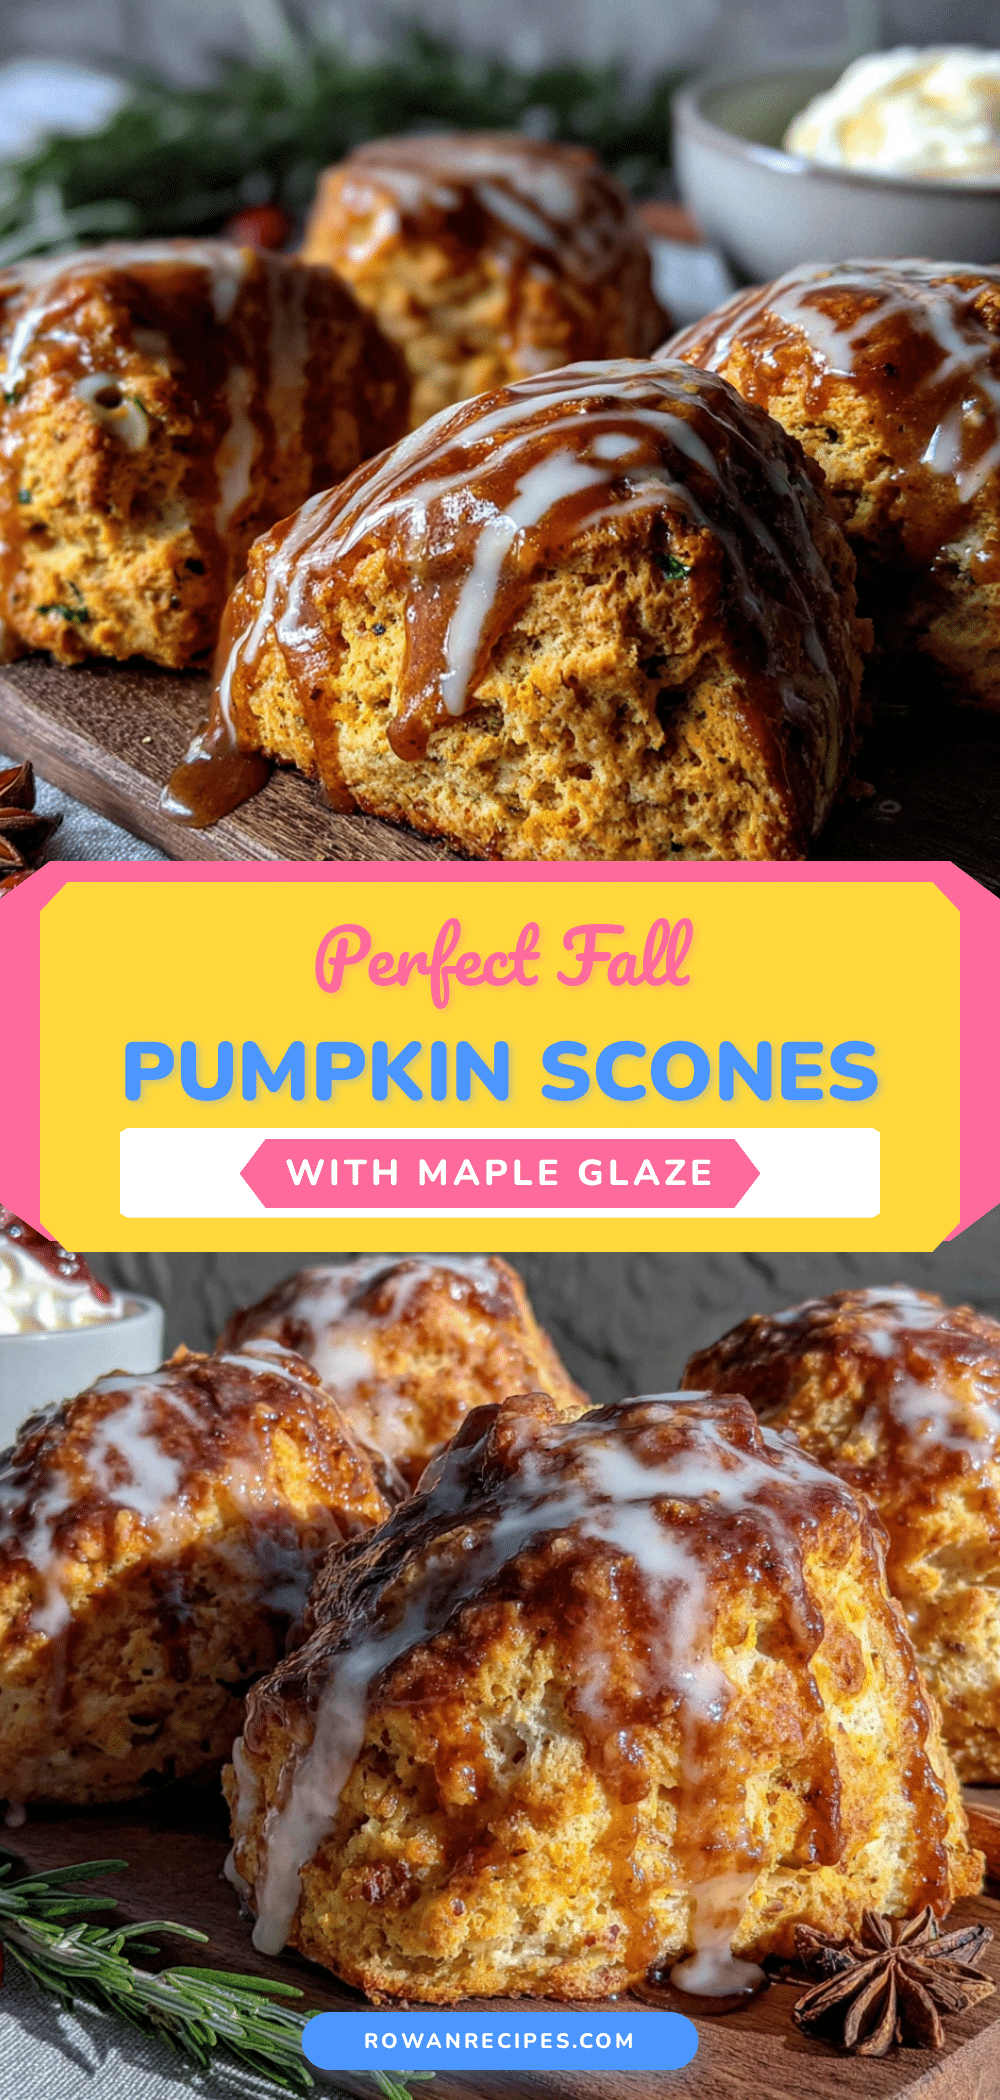
Perfect Pumpkin Scones with Easy Maple Glaze Recipe

These pumpkin scones are crisp on the outside, tender on the inside, and topped with a thick maple cinnamon glaze. A quick and easy fall baking project that tastes like a fancy bakery treat.
- Prep Time: 15 minutes
- Cook Time: 16 minutes
- Total Time: 35 minutes
- Yield: 8 servings 1x
- Category: Dessert
- Cuisine: American
Ingredients
- 2 cups all-purpose flour
- 1/3 cup granulated sugar
- 1 tablespoon baking powder
- 1 teaspoon ground cinnamon
- 1/2 teaspoon ground nutmeg
- 1/2 teaspoon ground ginger
- 1/4 teaspoon ground cloves
- 1/2 teaspoon salt
- 6 tablespoons cold unsalted butter, cut into small cubes
- 1/2 cup pumpkin purée
- 1/4 cup heavy cream, plus more for brushing
- 1 large egg
- 1 teaspoon vanilla extract
- 1 cup powdered sugar, sifted
- 3 tablespoons pure maple syrup
- 1/2 teaspoon ground cinnamon
- 1–2 tablespoons milk or cream, as needed
Instructions
- Preheat your oven to 400°F (200°C). Line a baking sheet with parchment paper.
- In a large bowl, whisk together the flour, sugar, baking powder, cinnamon, nutmeg, ginger, cloves, and salt.
- Add the cold butter cubes to the flour mixture. Using a pastry cutter or two forks, cut the butter into the flour until the mixture resembles coarse sand with some pea-sized butter pieces remaining.
- In a separate medium bowl, whisk together the pumpkin purée, heavy cream, egg, and vanilla extract until smooth.
- Pour the wet ingredients into the dry ingredients. Stir with a spatula or wooden spoon just until combined. The dough will look shaggy and a bit sticky.
- Turn the dough out onto a lightly floured surface. Gently bring it together with your hands, then pat it into a circle about 3/4-inch thick and 8 inches in diameter.
- Using a sharp knife or bench scraper, cut the circle into 8 equal wedges. Transfer the wedges to your prepared baking sheet, spacing them about 2 inches apart.
- Brush the tops of each scone with a little extra heavy cream.
- Bake for 14-16 minutes, or until the scones are golden brown on the bottom and lightly golden on top.
- Let the scones cool on the baking sheet for 5 minutes, then transfer them to a cooling rack.
- While the scones cool, whisk together the powdered sugar, maple syrup, and cinnamon in a small bowl. Add milk or cream one tablespoon at a time until you reach a thick but pourable consistency.
- Drizzle the glaze over the warm scones using a spoon or a piping bag. Let the glaze set for at least 10 minutes before serving.
Notes
Keep all ingredients cold for flaky scones. Do not overwork the dough. For best results, use real maple syrup in the glaze. If your kitchen is warm, freeze shaped scones for 10 minutes before baking.
Nutrition
- Serving Size: 1 scone
- Calories: 320
- Sugar: 24
- Sodium: 320
- Fat: 14
- Saturated Fat: 8
- Carbohydrates: 46
- Fiber: 2
- Protein: 5
Keywords: pumpkin scones, maple glaze, fall baking, pumpkin spice, easy scone recipe, breakfast, brunch


