The way the steam curls off a just-sliced piece, carrying that faintly sweet, earthy scent of maple and squash—that’s the whole reason I bake this bread. The crumb, too. It’s not the open, holey kind you get with a high-hydration artisan loaf. No, this one is tight, tender, almost velvety, with a softness that feels more like a thick, cozy quilt than a crusty boule. Everything else—the tang from the sourdough discard, the warmth of the spices, the deep amber color from the pumpkin—is just background music to that first, yielding bite.
Honestly, this loaf started as a happy accident. I had a container of sourdough discard staring at me from the fridge (you know the one, the orphan of the baking world) and a half-can of pumpkin puree left over from a batch of pancakes. I wasn’t aiming for a masterpiece. I just wanted to stop wasting food and maybe, if I was lucky, get something good for breakfast. What came out of the oven was better than I expected. It was the kind of bread that makes you slow down, that begs for a thick pat of butter and a second cup of coffee.
This isn’t a complicated, fussy recipe. It’s the kind of baking project that feels more like a reward than a chore. The kind where you mix everything in one bowl, pour it into a pan, and let your kitchen fill with the smell of fall. It’s my favorite way to use up that discard, and I have a feeling it’s about to become yours, too.
Why You’ll Love This Recipe
This isn’t just another pumpkin bread recipe. After testing this about four times (and eating the evidence of each one), I can confidently say this version hits differently. The sourdough discard does something magical here—it adds a subtle tang that cuts through the sweetness of the maple and pumpkin, making each bite feel balanced instead of cloying. It’s the kind of bread that tastes like you spent hours on it, when really, you just let a few simple ingredients do the heavy lifting.
- Uses Up That Discard: If you keep a sourdough starter, you know the struggle. This recipe puts that discard to work in the best way possible—no waste, just delicious bread.
- Perfectly Moist & Tender: The pumpkin puree and maple syrup team up to create a crumb that stays soft for days. Honestly, it gets better on day two.
- Not Too Sweet: This bread leans more toward a cozy, slightly savory breakfast loaf than a dessert. The maple flavor is present but not overwhelming, and the tang from the discard keeps it from being one-note.
- Simple, One-Bowl Method: No stand mixer needed. No complicated folds or stretches. Just one bowl, a whisk, and a spatula. This is low-effort, high-reward baking at its finest.
- Incredibly Versatile: It’s perfect for breakfast with a smear of butter, an afternoon snack with a cup of tea, or even as a simple dessert with a drizzle of maple glaze. It’s also a fantastic hostess gift during the fall season.
- Freezes Like a Dream: Bake it now, slice it, and freeze it for later. It thaws beautifully, making it perfect for those mornings when you need a little comfort in a hurry.
What Ingredients You Will Need
This recipe uses simple, wholesome ingredients that you probably already have in your pantry. The beauty of this bread is that it doesn’t require anything fancy—just good, honest staples that come together to create something truly special. Let’s talk about each one and why they matter.
- Pumpkin Puree (1 cup / 245g): Make sure you grab 100% pure pumpkin puree, not pumpkin pie filling. The filling has added sugar and spices that will throw off the balance of this recipe. I usually go with Libby’s, but any brand of pure puree works great. If you’re feeling ambitious, you can roast and puree your own sugar pumpkin, but honestly, canned is perfectly fine here.
- Maple Syrup (½ cup / 160g): Use real maple syrup, not pancake syrup. The flavor is more complex and less cloying. Grade A dark amber is my go-to for baking because it has a stronger maple punch that holds its own against the pumpkin and spices. The syrup adds both sweetness and moisture, so don’t skip it.
- Sourdough Discard (1 cup / 240g): This is the star of the show (aside from the pumpkin). You can use unfed discard straight from the fridge. It doesn’t need to be active or bubbly. The discard adds a gentle tang that balances the sweetness and helps create that tender, velvety crumb. If you don’t have a starter, you can substitute with 1 cup of buttermilk, but the flavor will be different.
- Eggs (2 large): They provide structure and richness. Make sure they are at room temperature so they emulsify properly with the other wet ingredients. Cold eggs can seize the coconut oil or butter, leading to a less tender crumb.
- Coconut Oil or Unsalted Butter (⅓ cup / 75g, melted): I’ve made this with both, and they both work beautifully. Coconut oil gives a very subtle, clean flavor that plays nicely with the pumpkin and maple. Butter adds a rich, classic taste. Use what you have. Just make sure it’s melted and slightly cooled before adding it to the eggs so you don’t scramble them.
- Brown Sugar (½ cup / 100g, packed): Light or dark brown sugar works here. Dark brown sugar will give a deeper, more molasses-like flavor, while light brown sugar keeps things a bit lighter. The brown sugar adds moisture and a slight caramel note that pairs perfectly with the maple syrup.
- All-Purpose Flour (1 ½ cups / 195g): Standard all-purpose flour gives this bread the perfect structure—tender but sturdy enough to hold a slice without crumbling. I’ve tested this with a 50/50 blend of white whole wheat and all-purpose, and it works, but the texture is a bit denser. For the best results, stick with all-purpose.
- Baking Soda (1 teaspoon): This is our leavening agent. The acidity in the sourdough discard and the pumpkin reacts with the baking soda to help the bread rise. Make sure your baking soda is fresh (not more than 6 months old) for the best lift.
- Salt (½ teaspoon): Don’t skip it. Salt doesn’t just make things salty—it enhances all the other flavors, especially the maple and pumpkin. It also helps balance the sweetness.
- Pumpkin Pie Spice (1 ½ teaspoons): You can use store-bought or make your own with a mix of cinnamon, ginger, nutmeg, allspice, and cloves. If you only have cinnamon, use 1 teaspoon of cinnamon and ½ teaspoon of ginger or nutmeg. The spice blend is what makes this bread taste like fall in a slice.
- Vanilla Extract (1 teaspoon): A little vanilla goes a long way in rounding out the flavors. It adds warmth and depth that you might not notice directly, but you’d definitely miss if it were gone.
Equipment Needed
You don’t need a professional bakery setup for this recipe. In fact, you probably already have everything you need. Here’s what I use:
- 9×5-inch Loaf Pan: This is the standard size for a loaf of bread. If you use an 8×4-inch pan, your bread will take longer to bake and might have a sunken middle. A 9×5 gives you a nice, tall loaf with an even bake.
- Parchment Paper: I line my loaf pan with a sling of parchment paper. It makes lifting the finished bread out of the pan a breeze, and cleanup is a dream. Just cut a strip long enough to overhang on two sides.
- Mixing Bowls: One large bowl for the wet ingredients and one medium bowl for the dry ingredients. Nothing fancy needed.
- Whisk & Spatula: A whisk for combining the dry ingredients and a rubber spatula for folding everything together. A wooden spoon works fine, too.
- Cooling Rack: Essential for letting the bread cool evenly so the bottom doesn’t get soggy. If you don’t have one, you can use the wire rack from your oven, or just let it cool in the pan for 10 minutes, then transfer it to a cutting board.
- Toothpick or Cake Tester: For checking doneness. A clean toothpick means your bread is ready to come out of the oven.
Preparation Method
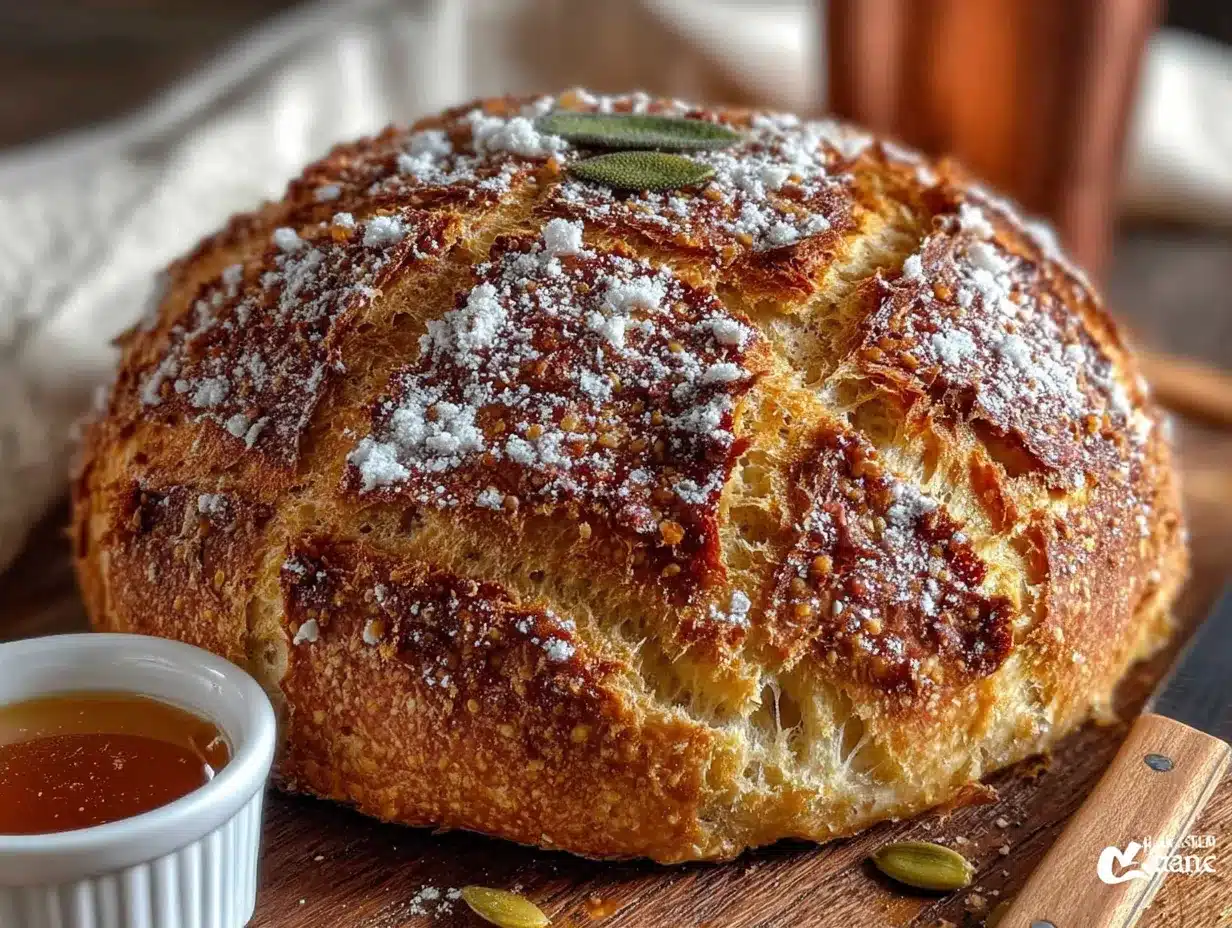
Alright, let’s get baking. This is a straightforward process, but I’ve added a few little notes and tips I’ve picked up along the way to help you get the best results. Trust me, these small details make a difference.
- Preheat and Prep: First things first, preheat your oven to 350°F (175°C). While it’s heating up, grease your 9×5-inch loaf pan with a little butter or non-stick spray, then line it with a strip of parchment paper, leaving an overhang on the two long sides. This is your “sling” for lifting the bread out later. Set the pan aside.
- Whisk the Dry Ingredients: In a medium bowl, whisk together the all-purpose flour, baking soda, salt, and pumpkin pie spice. Whisking aerates the flour and ensures the leavening agents and spices are evenly distributed. You don’t want a pocket of baking soda in your slice of bread. Set this bowl aside.
- Combine the Wet Ingredients: In a large mixing bowl, combine the pumpkin puree, maple syrup, melted and cooled coconut oil (or butter), brown sugar, eggs, vanilla extract, and sourdough discard. Whisk everything together until it’s smooth and well combined. The mixture will look a bit thick and glossy. Don’t over-mix at this stage; just get it all incorporated.
- Fold in the Dry Ingredients: Pour the dry ingredients into the bowl with the wet ingredients. Using a rubber spatula, gently fold everything together. Fold just until you see no more streaks of flour. A few small lumps are totally fine. Over-mixing at this point will develop the gluten too much, and your bread will come out tough and dense instead of tender. We want tender.
- Pour and Smooth: Pour the batter into your prepared loaf pan. Use the back of your spatula to gently smooth the top into an even layer. The batter will be quite thick—almost like a very thick muffin batter. That’s exactly what we want.
- Bake to Perfection: Place the pan in the preheated oven and bake for 50 to 60 minutes. The exact time will depend on your oven and your pan. At the 50-minute mark, start checking for doneness. Insert a toothpick or cake tester into the center of the loaf. If it comes out clean or with just a few moist crumbs, it’s done. If it’s still wet, give it another 5 minutes and check again.
- Cool Completely: Once the bread is baked, remove it from the oven and place the pan on a cooling rack. Let it cool in the pan for about 10 to 15 minutes. Then, using the parchment sling, lift the bread out of the pan and transfer it directly to the cooling rack to cool completely. This is crucial. If you slice it while it’s still warm, it will be too soft and might crumble. Patience, my friend. Let it cool for at least an hour before slicing.
Cooking Tips & Techniques
I’ve made this bread enough times to know exactly where things can go wrong—and how to fix them. Here are a few tips I’ve learned the hard way so you don’t have to.
- Don’t Over-mix the Batter: I cannot stress this enough. When you add the dry ingredients to the wet, fold gently and stop as soon as the flour disappears. Over-mixing develops gluten, which will make your bread tough and chewy instead of soft and tender. Think of it like making pancakes—lumps are your friend.
- Check Your Oven Temperature: Ovens lie. I’ve had ovens that run 25 degrees hotter than the dial says. An oven thermometer is a cheap investment that will save you from over-baked or under-baked goods. If your bread is browning too quickly on top but still raw in the middle, tent it loosely with aluminum foil for the last 15 minutes of baking.
- Room Temperature Ingredients Matter: Cold eggs can seize the melted coconut oil or butter, leading to a lumpy batter. Room temperature eggs and discard emulsify much better, creating a smoother, more uniform crumb. Just set your eggs and discard on the counter for 30 minutes before you start.
- The Toothpick Test is Your Friend: Every oven is different, so don’t rely solely on the timer. Start checking at 50 minutes. If the toothpick comes out with wet batter, it needs more time. If it comes out clean, it’s done. If it comes out with a few moist crumbs, that’s the sweet spot—take it out immediately.
- Let It Cool: I know it’s hard to wait, but cutting into warm bread is the number one reason for crumbly, messy slices. The bread needs time to set its structure. Give it at least an hour on the cooling rack. Your patience will be rewarded with clean, beautiful slices.
Variations & Adaptations
This recipe is a fantastic base for experimentation. I’ve tried a few different twists, and they’ve all been winners. Here are some ideas to make it your own.
- Chocolate Chip Pumpkin Bread: Fold in ½ cup of dark chocolate chips or semi-sweet chocolate chips right before pouring the batter into the pan. The slight bitterness of the chocolate is a beautiful contrast to the sweet, spiced pumpkin and maple. This is my personal favorite variation.
- Nutty Maple Pumpkin Bread: Add ½ cup of toasted, chopped pecans or walnuts to the batter. Toasting the nuts first brings out their oils and makes them much more flavorful. Sprinkle a few extra on top of the batter before baking for a pretty, crunchy crust.
- Gluten-Free Adaptation: Substitute the all-purpose flour with a 1:1 gluten-free baking flour blend that contains xanthan gum (like Bob’s Red Mill or King Arthur). The texture will be slightly more delicate and a bit more crumbly, but the flavor will still be fantastic. Do not over-mix the batter, as gluten-free flours can get gummy.
- Maple Glaze Topping: For a more decadent loaf, whisk together ½ cup of powdered sugar with 2 tablespoons of maple syrup and a splash of milk or cream until smooth. Drizzle it over the completely cooled bread. It adds a beautiful, bakery-style finish and an extra hit of maple flavor.
- Dairy-Free Version: This recipe is already dairy-free if you use coconut oil instead of butter. Make sure your chocolate chips (if using) are also dairy-free. It’s a naturally dairy-free treat that everyone can enjoy.
Serving & Storage Suggestions
This bread is incredibly versatile when it comes to serving. It’s just as good for a cozy breakfast as it is for an afternoon snack or a simple dessert.
- Serving Temperature: This bread is best served at room temperature or slightly warm. If you want to warm it up, pop a slice in the toaster or microwave for about 10-15 seconds. It brings out the aromas of the maple and spices.
- What to Serve With It: A thick slice of this bread is perfect on its own, but it’s even better with a generous smear of salted butter, a dollop of honey or maple butter, or a spread of cream cheese. For a dessert, serve it with a scoop of vanilla ice cream or a drizzle of warm caramel sauce. It also pairs beautifully with a hot cup of coffee, chai tea, or a glass of cold milk.
- Storage: Store the bread tightly wrapped in plastic wrap or in an airtight container at room temperature. It will stay fresh and moist for up to 4 days. The flavors actually meld and deepen after a day or two, so it might taste even better on day two.
- Freezing: This bread freezes beautifully. Let it cool completely, then wrap it tightly in plastic wrap, followed by a layer of aluminum foil. Freeze for up to 3 months. To thaw, let it sit on the counter overnight, or pop individual slices in the toaster or microwave directly from frozen.
- Flavor Development: I’ve noticed that the tang from the sourdough discard becomes more pronounced after a day or two of storage. So if you want a more prominent sourdough flavor, make this bread a day ahead of when you plan to serve it.
Nutritional Information & Benefits
While this is a treat, it does have some redeeming qualities thanks to its star ingredients. Here’s a rough estimate for one slice (assuming 10 slices per loaf).
- Calories: ~260 kcal
- Fat: ~10g
- Carbohydrates: ~38g
- Fiber: ~2g
- Sugar: ~18g
- Protein: ~5g
Health Benefits: Pumpkin is packed with Vitamin A (in the form of beta-carotene), which is great for eye health and your immune system. It’s also a good source of fiber, which helps with digestion. The sourdough fermentation process can make the bread easier to digest for some people compared to standard yeast breads, as the fermentation breaks down some of the gluten and phytic acid. Maple syrup contains antioxidants and minerals like zinc and manganese, though it’s still a sugar, so enjoy it in moderation.
Dietary Considerations: This recipe can easily be made dairy-free (using coconut oil) and nut-free (omit the nuts). For a gluten-free version, use a 1:1 gluten-free flour blend. It is not low-carb or keto-friendly.
Conclusion
This Cozy Maple Pumpkin Sourdough Discard Bread is more than just a way to use up that jar of discard sitting in your fridge. It’s a little slice of fall, a warm hug on a chilly morning, and a reminder that the best things in life are often born from happy accidents. It’s the bread that makes your whole house smell like a pumpkin patch, and the one that disappears faster than you’d expect every single time.
I hope you give this recipe a try and make it your own. Maybe you’ll add chocolate chips, or a crunchy pecan topping, or just enjoy it plain with a pat of butter. However you slice it, I think you’re going to love it. When you do, come back and let me know how it turned out in the comments. Did you try a fun variation? Did your family devour it in one sitting? I’d love to hear all about it. Happy baking, friends!
Frequently Asked Questions
Can I use active sourdough starter instead of discard?
Yes, you absolutely can. You can use active, bubbly starter or unfed discard straight from the fridge. The result will be slightly different—active starter might give a slightly better rise, but the flavor will be similar. The key is that the starter or discard is at room temperature so it mixes easily with the other wet ingredients.
My bread is too dense. What went wrong?
There are a few common culprits. The most likely one is over-mixing the batter. When you over-mix, you develop too much gluten, which makes the bread tough and dense. Another possibility is that your baking soda is old and has lost its leavening power. Make sure your baking soda is fresh. Finally, make sure you measured your flour correctly—scooping directly from the bag can pack in too much flour, leading to a dry, dense loaf. Use a spoon to fluff the flour, then spoon it into your measuring cup and level it off.
Can I make this bread in a different pan?
Yes, you can. You can bake this batter in a 9×13-inch pan to make a pumpkin snack cake, or in a muffin tin to make pumpkin sourdough discard muffins. For muffins, bake at 350°F (175°C) for 18-22 minutes. For a cake, bake for 25-30 minutes. The baking time will vary, so keep an eye on it and use the toothpick test to check for doneness.
Can I use a different type of flour?
I’ve tested this recipe with a 50/50 blend of white whole wheat and all-purpose flour, and it worked, but the texture was denser and less tender. For a gluten-free option, use a high-quality 1:1 gluten-free baking blend that contains xanthan gum. I do not recommend using coconut flour or almond flour as a direct substitute, as they absorb liquid very differently and will not yield the same results.
Can I add a streusel topping?
Absolutely! A buttery, crumbly streusel topping is a fantastic addition. Mix together ¼ cup of all-purpose flour, ¼ cup of brown sugar, ¼ cup of cold butter (cut into small cubes), and a pinch of cinnamon. Use your fingers to work the butter into the flour mixture until it forms coarse crumbs. Sprinkle this over the batter before baking. It adds a lovely, crunchy texture and an extra layer of sweetness.
Pin This Recipe!
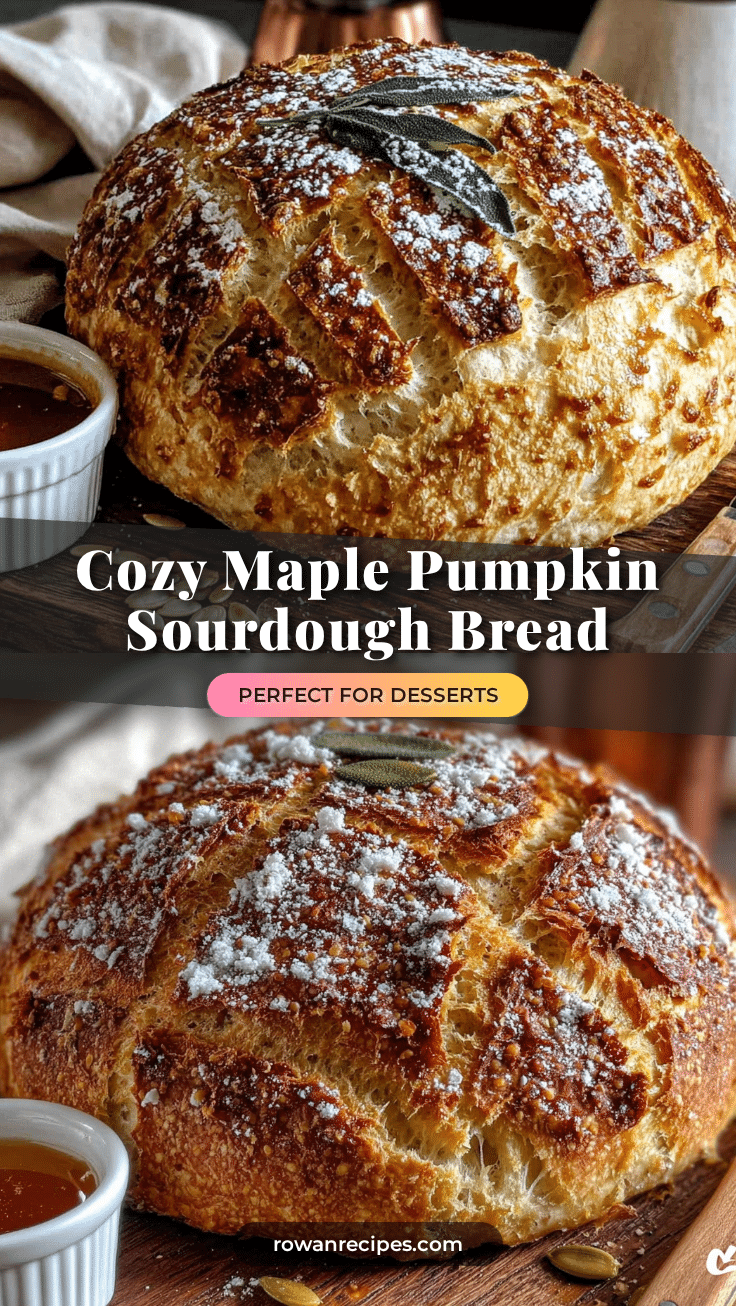
Cozy Maple Pumpkin Sourdough Discard Bread: Easy Fall Recipe

This tender, velvety quick bread uses sourdough discard and pumpkin puree for a subtly tangy, perfectly moist loaf with warm maple and spice flavors. It’s a simple, one-bowl recipe that makes a cozy breakfast or snack.
- Prep Time: 15 minutes
- Cook Time: 55 minutes
- Total Time: 1 hour 10 minutes
- Yield: 10 servings 1x
- Category: Bread
- Cuisine: American
Ingredients
- 1 cup (245g) pumpkin puree (100% pure, not pie filling)
- ½ cup (160g) real maple syrup
- 1 cup (240g) sourdough discard (unfed, at room temperature)
- 2 large eggs (room temperature)
- ⅓ cup (75g) coconut oil or unsalted butter, melted and slightly cooled
- ½ cup (100g) packed brown sugar (light or dark)
- 1 ½ cups (195g) all-purpose flour
- 1 teaspoon baking soda
- ½ teaspoon salt
- 1 ½ teaspoons pumpkin pie spice
- 1 teaspoon vanilla extract
Instructions
- Preheat oven to 350°F (175°C). Grease a 9×5-inch loaf pan and line with a parchment sling, leaving overhang on two long sides.
- In a medium bowl, whisk together flour, baking soda, salt, and pumpkin pie spice.
- In a large bowl, whisk together pumpkin puree, maple syrup, melted and cooled coconut oil or butter, brown sugar, eggs, vanilla extract, and sourdough discard until smooth and well combined.
- Pour dry ingredients into wet ingredients. Using a rubber spatula, gently fold until just combined and no streaks of flour remain. Do not over-mix; a few small lumps are fine.
- Pour batter into prepared loaf pan and smooth the top into an even layer.
- Bake for 50 to 60 minutes, or until a toothpick inserted into the center comes out clean or with a few moist crumbs. If browning too quickly, tent loosely with foil for the last 15 minutes.
- Remove from oven and let cool in pan on a wire rack for 10 to 15 minutes. Then lift bread out using parchment sling and transfer to rack to cool completely (at least 1 hour) before slicing.
Notes
For best results, use room temperature ingredients. Do not over-mix the batter. Let bread cool completely before slicing to avoid crumbling. Bread stays fresh for up to 4 days at room temperature or can be frozen for up to 3 months. For a dairy-free version, use coconut oil. For a gluten-free version, use a 1:1 gluten-free flour blend with xanthan gum.
Nutrition
- Serving Size: 1 slice
- Calories: 260
- Sugar: 18
- Fat: 10
- Carbohydrates: 38
- Fiber: 2
- Protein: 5
Keywords: sourdough discard, pumpkin bread, maple, fall recipe, easy bread, one-bowl, pumpkin spice


