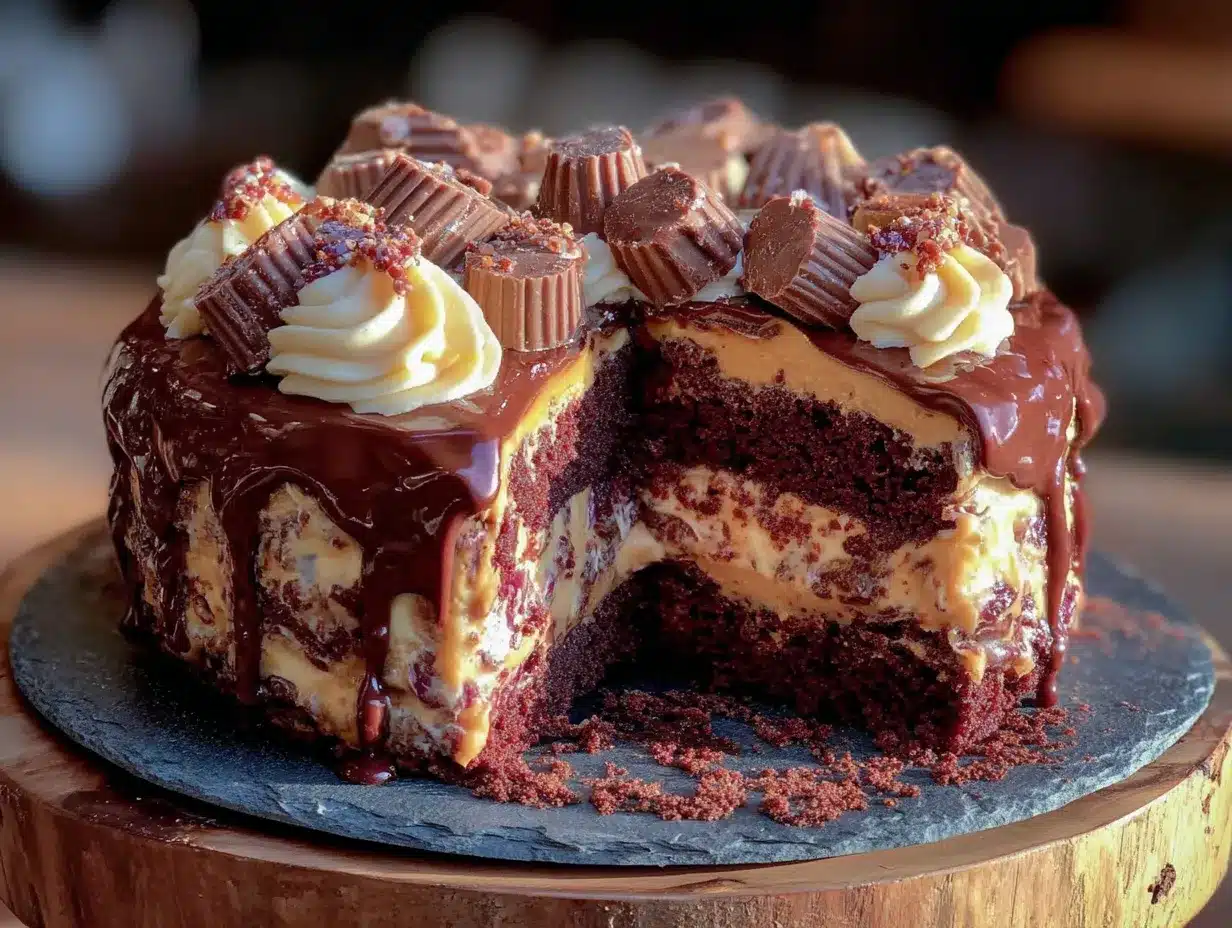
The crackle of the top layer as the knife sinks through. That’s the sound I was after. Not just any cake, but a Best Reese’s Peanut Butter Cup Layered Chocolate Fudge Cake that makes a statement before you even taste it. The glossy fudge frosting, the way the peanut butter filling peeks out between the layers, the little nubs of chopped Reese’s cups clinging to the sides. I spent an entire Saturday chasing that perfect cross-section—the one where you can see the dark chocolate cake, the creamy peanut butter center, and the shiny ganache all stacked up like a delicious little skyscraper.
Honestly, the first attempt was a landslide. The layers slid right off each other (I got impatient, what can I say). But that second try? That was the one. The cake was tall, the frosting was set, and when I cut into it, that clean, sharp slice held its shape. I may have squealed a little. This isn’t just a dessert; it’s a project you’ll be proud to haul to a potluck, a birthday, or a Tuesday that just needs a little more chocolate and peanut butter. Because sometimes, you need a cake that looks like you spent all day on it, even if you only spent the afternoon.
This cake sticks with you. Not in a heavy way, but in the way you remember the best thing you ate all year. It’s the kind of recipe you text your friends about. And once you get that first clean slice? You’ll know exactly what I mean.
Why You’ll Love This Recipe
I’ve tested this cake more times than I care to admit, and I can tell you—it’s not just another chocolate cake. This one earns its spot in your recipe box for a few very specific reasons.
- Rich, Not Overwhelming: The dark cocoa powder gives a deep chocolate flavor that doesn’t get lost against the sweet peanut butter. It’s balanced, not cloying.
- That Peanut Butter Layer: Instead of a simple buttercream, I use a stabilized peanut butter filling that holds its shape without being stiff. It’s creamy, a little salty, and perfect against the fudge.
- Foolproof Fudge Frosting: This ganache-style frosting sets up shiny and smooth. No crumb coat required—just pour it on and let it drip. It forgives mistakes.
- Impressive Without the Stress: This looks like a bakery cake, but it’s made in standard 9-inch pans with ingredients you can find at any grocery store. No special skills needed.
- Crowd Favorite: I brought this to a family dinner and watched three different people ask for the recipe before the plates were cleared. Kids and adults both go for seconds.
What makes this different from every other layered chocolate cake? It’s the texture. The cake is tender but sturdy enough to hold the filling. The frosting is fudgy but not hard. Every bite has that Reese’s cup magic—chocolate and peanut butter in perfect harmony. It’s the kind of cake that makes you close your eyes after the first bite, just to savor it.
What Ingredients You Will Need
This recipe uses mostly pantry staples, but a few key ingredients make all the difference. Don’t skip the coffee—it doesn’t make the cake taste like coffee, it just makes the chocolate taste deeper and more complex.
For the Chocolate Cake Layers
- 2 cups (240g) all-purpose flour – Spoon and level for accuracy. Too much flour makes a dry cake.
- 2 cups (400g) granulated sugar – Adds sweetness and helps with a tender crumb.
- 3/4 cup (75g) unsweetened cocoa powder – I prefer Dutch-process for a darker, richer color and flavor.
- 2 teaspoons baking soda – Reacts with the buttermilk and coffee for lift.
- 1 teaspoon baking powder – Extra insurance for a good rise.
- 1 teaspoon salt – Balances the sweetness and enhances chocolate flavor.
- 1 cup (240ml) buttermilk, room temperature – Adds tanginess and keeps the cake moist. No buttermilk? Use 1 cup milk + 1 tablespoon lemon juice, let sit 5 minutes.
- 1/2 cup (120ml) vegetable oil – Keeps the cake moist for days. Don’t substitute melted butter here—oil gives a better texture.
- 2 large eggs, room temperature – Room temperature eggs emulsify better into the batter.
- 2 teaspoons vanilla extract – Pure vanilla, not imitation. It matters.
- 1 cup (240ml) hot coffee – Brewed strong. The heat helps bloom the cocoa powder.
For the Peanut Butter Filling
- 1 cup (250g) creamy peanut butter – I use Skippy or Jif for a stable filling. Natural peanut butter (the kind that separates) will make the filling too oily and soft.
- 1/2 cup (113g) unsalted butter, softened – Let it sit out for an hour before starting.
- 2 cups (240g) powdered sugar – Sifted to avoid lumps.
- 1 teaspoon vanilla extract – Enhances the peanut butter flavor.
- 3-4 tablespoons heavy cream – Adds creaminess and helps achieve the right spreading consistency.
- Pinch of salt – Just a tiny pinch to cut the sweetness.
For the Fudge Frosting (Ganache)
- 12 oz (340g) semi-sweet chocolate chips – Ghirardelli or Guittard work great. Don’t use chocolate bars or baking chocolate—chips have stabilizers that help the ganache set.
- 1 1/2 cups (360ml) heavy cream – Full fat is non-negotiable here.
- 2 tablespoons unsalted butter, softened – Adds shine and a smoother texture.
- 1 teaspoon vanilla extract – Just a little to round out the flavor.
For Decoration
- 8-10 full-size Reese’s Peanut Butter Cups, chopped – Chop them coarsely and keep some bigger chunks for the top.
- Optional: mini Reese’s cups or peanut butter chips – For extra visual appeal.
Equipment Needed
You don’t need a fancy bakery setup for this cake, but having the right tools makes the process smoother. Here’s what I use:
- Three 9-inch round cake pans – Light-colored metal pans work best. Dark pans can cause over-browning. If you only have two pans, you can bake the layers in batches—just let the batter sit at room temperature while the first batch bakes.
- Parchment paper rounds – Cut circles to line the bottom of each pan. This guarantees your cakes release without sticking.
- Stand mixer or hand mixer – A hand mixer works fine, but a stand mixer makes creaming the butter and sugar easier for the filling.
- Offset spatula – Not required, but it makes spreading the filling and frosting so much easier. A butter knife works in a pinch.
- Cooling rack – Essential for letting the cake layers cool completely before frosting. No shortcuts here—warm cake will melt your filling.
- Large microwave-safe bowl – For making the ganache frosting.
- Cake stand or serving plate – Something sturdy that can hold the weight of a tall, layered cake.
If you don’t have three cake pans, you can bake two layers and then split them horizontally once cooled. Just use a long serrated knife and a gentle sawing motion. I’ve done it many times—it works perfectly.
Preparation Method
This recipe has a few steps, but I’ve broken them down so you can work through them without stress. Read through everything before you start—it helps to know where you’re going.
Step 1: Make the Chocolate Cake Layers
Preheat your oven to 350°F (175°C). Grease three 9-inch round cake pans with butter or non-stick spray, then line the bottoms with parchment paper rounds. Lightly dust the sides with cocoa powder (this prevents a white flour residue on the dark cake).
In a large bowl, whisk together the flour, sugar, cocoa powder, baking soda, baking powder, and salt. Make sure there are no lumps of cocoa—a whisk works better than a spoon here.
In a separate medium bowl or large liquid measuring cup, whisk together the buttermilk, oil, eggs, and vanilla extract until smooth. Pour the wet ingredients into the dry ingredients and stir until just combined. The batter will be thick at this point.
Slowly pour in the hot coffee, stirring gently as you go. The batter will become very thin—almost like a milkshake. Don’t panic, that’s exactly what you want. Scrape the bottom of the bowl to make sure everything is incorporated.
Divide the batter evenly among the three prepared pans. I use a kitchen scale for accuracy (about 450g per pan), but you can also use a measuring cup. Bake for 22-26 minutes, or until a toothpick inserted in the center comes out with just a few moist crumbs. The cakes should spring back when lightly pressed.
Cool the cakes in their pans for 10 minutes, then run a knife around the edges and turn them out onto a cooling rack. Peel off the parchment paper and let them cool completely. This is critical—warm layers will melt your peanut butter filling.
Step 2: Make the Peanut Butter Filling
While the cakes cool, make the filling. In the bowl of a stand mixer fitted with the paddle attachment (or using a hand mixer), beat the softened butter and peanut butter together until smooth and creamy, about 2 minutes. Scrape down the sides.
With the mixer on low, gradually add the sifted powdered sugar, about 1/2 cup at a time. The mixture will look crumbly at first—that’s normal. Add the vanilla extract and 2 tablespoons of heavy cream, then increase the speed to medium and beat for 1-2 minutes until light and fluffy. If the filling seems too thick to spread, add another tablespoon of cream. If it seems too loose, add a little more powdered sugar. You’re looking for a spreadable, pipeable consistency.
Taste it. Yes, you have to. Add a tiny pinch of salt if needed.
Step 3: Assemble the Cake
Once the cake layers are completely cool, place one layer on your cake stand or serving plate. If the tops are domed, use a serrated knife to level them off. Spread about 1/3 of the peanut butter filling evenly over the top, all the way to the edges. Place the second layer on top and repeat. Add the third layer, top-side up.
At this point, you can refrigerate the assembled cake for 20-30 minutes to firm up the filling. This helps prevent any sliding when you add the ganache.
Step 4: Make the Fudge Frosting
Place the chocolate chips in a large heat-safe bowl. In a small saucepan, heat the heavy cream over medium heat until it just begins to simmer—small bubbles around the edges, not a full boil. Pour the hot cream over the chocolate chips and let it sit undisturbed for 3 minutes. This is important—don’t stir yet. Let the heat do the work.
After 3 minutes, gently stir the mixture in a circular motion, starting from the center and working outward. The chocolate will melt completely and the mixture will become smooth and glossy. Add the softened butter and vanilla, stirring until fully incorporated. Let the ganache cool at room temperature for 15-20 minutes, stirring occasionally, until it thickens slightly but is still pourable. If it gets too thick, microwave it in 10-second bursts, stirring between each.
Step 5: Frost and Decorate
Pour the ganache over the top of the assembled cake. Use an offset spatula to gently push it over the edges, letting it drip down the sides. Don’t overwork it—the beauty of this frosting is its imperfect, drippy look. A few strokes are all you need.
While the ganache is still wet, sprinkle the chopped Reese’s cups over the top and press some gently into the sides. Work quickly—the ganache sets fast. Let the cake sit at room temperature for about 30 minutes to allow the ganache to set before slicing.
Cooking Tips & Techniques
I’ve made this cake more times than I’d like to admit, and I’ve learned a few things the hard way. Here’s what I wish someone had told me:
- Room temperature ingredients matter. Cold eggs and cold buttermilk won’t emulsify properly into the batter, which can lead to a denser cake. Take them out of the fridge 30-60 minutes before you start.
- Don’t overmix the batter. Once you add the dry ingredients to the wet, mix just until you don’t see streaks of flour. Overmixing develops gluten and makes the cake tough. A few small lumps are fine.
- Level your cake layers. Even if you think they’re flat, use a serrated knife to trim off any dome. A level stack is a stable stack. If you skip this step, the cake might lean or crack.
- Chill the assembled cake before adding ganache. This is my number one tip. A cold cake with firm filling holds up much better under the weight of the ganache. I learned this after one cake literally slid apart on my counter.
- Let the ganache cool to the right consistency. If you pour it on too warm, it will run right off the cake and pool on the plate. If it’s too cool, it won’t drip nicely. Aim for the texture of warm honey—thick but pourable.
One more thing—if you’re nervous about the ganache dripping perfectly, do a test drip on the side of the bowl first. You can always warm it up a little if it’s too thick.
Variations & Adaptations
This cake is pretty perfect as written, but I’ve played around with a few versions that turned out great. Here are some ideas to make it your own:
- Gluten-Free Version: Substitute the all-purpose flour with a 1:1 gluten-free baking flour blend that contains xanthan gum. I’ve used King Arthur Measure for Measure with good results. The texture will be slightly more tender, but the flavor is still spot-on.
- Peanut Butter Cup Explosion: Chop up about 10 mini Reese’s cups and fold them into the cake batter before baking. They’ll sink a little, but you’ll get little pockets of melted peanut butter cup in every slice. It’s extra decadent, but hey—go big or go home.
- White Chocolate Peanut Butter: Swap the semi-sweet chocolate chips in the ganache for white chocolate chips. The sweet, creamy white chocolate pairs beautifully with the salty peanut butter filling. Just be careful—white chocolate ganache is more delicate and can seize if overheated.
- Lower Sugar Option: Use a sugar substitute like Swerve or monk fruit sweetener in the cake and filling. The texture will be slightly different, but it’s a good option if you’re watching your sugar intake. I’d stick with real chocolate in the ganache though—sugar-free chocolate doesn’t melt as smoothly.
If you’re feeling adventurous, you could also add a layer of salted caramel between the cake and the peanut butter filling. Just make sure the caramel is thick enough that it doesn’t soak into the cake. I tried a thin caramel once and it turned into a soggy mess. Lesson learned.
Serving & Storage Suggestions
This cake is best served at room temperature. If you’ve refrigerated it, let it sit out for about 30 minutes before slicing. The ganache will soften slightly and the cake will taste more flavorful—cold temperatures mute sweetness and chocolate flavor.
For serving, I like to cut the cake with a long, sharp knife dipped in hot water and wiped dry between slices. This gives you those clean, bakery-style slices. Pair it with a tall glass of cold milk, a scoop of vanilla ice cream, or a strong cup of coffee. The bitterness of the coffee is a perfect counterpoint to the sweetness.
This cake keeps well at room temperature in an airtight container for up to 3 days. If your kitchen is warm, you can refrigerate it, but bring it back to room temperature before serving. For longer storage, wrap individual slices tightly in plastic wrap and freeze for up to 3 months. Thaw in the refrigerator overnight, then let come to room temperature before eating.
One note—the peanut butter filling will firm up in the fridge, so if you refrigerate the whole cake, give it time to soften. I’ve made the mistake of serving it straight from the fridge, and the filling was almost hard. Not ideal.
Nutritional Information & Benefits
Let’s be real—this is a special occasion cake, not a health food. But that doesn’t mean it can’t fit into a balanced lifestyle. Here’s a rough estimate per slice (based on 16 servings):
- Calories: Approximately 520-580
- Fat: 32-36g
- Carbohydrates: 58-64g
- Protein: 9-11g
- Fiber: 3-4g
- Sugar: 42-48g
On the plus side, dark chocolate and cocoa powder are rich in antioxidants called flavonoids, which can support heart health. Peanut butter provides protein, healthy fats, and a good dose of vitamin E and magnesium. And let’s be honest—sometimes you need a dessert that feels like a celebration. This is that cake.
If you’re looking for a lighter option, you could pair a smaller slice with fresh berries or a dollop of Greek yogurt. But honestly? I say go for the full slice and enjoy every bite.
Conclusion
This Best Reese’s Peanut Butter Cup Layered Chocolate Fudge Cake is the kind of recipe that earns its place in your permanent collection. It’s impressive enough for birthdays and holidays, but simple enough that you don’t need a pastry degree to pull it off. The chocolate cake is moist and deeply flavored, the peanut butter filling is creamy and perfectly sweet, and the fudge ganache frosting ties it all together with a glossy, decadent finish.
I love this cake because it’s a showstopper without being fussy. It doesn’t require a million specialty ingredients or hours of decorating. It just delivers on flavor, texture, and that undeniable Reese’s cup magic. Whether you make it for a special occasion or just because you deserve something amazing, I promise you won’t regret it.
If you try this recipe, I’d love to hear about it! Leave a comment below and let me know how it turned out—did you add any twists? Did it disappear at your party? Share a photo if you’re feeling proud. And if you’re looking for more easy, crowd-pleasing desserts, check out my peanut butter cup rice krispie treats or these thick gooey Levain bakery copycat cookies for more sweet inspiration. Happy baking!
Frequently Asked Questions
Can I use natural peanut butter for the filling?
I don’t recommend it. Natural peanut butter (the kind that separates into oil and solids) will make the filling too soft and oily. Stick with a commercial brand like Skippy or Jif for a stable, spreadable filling that holds its shape.
Can I make this cake ahead of time?
Absolutely. You can bake the cake layers up to 2 days ahead, wrap them tightly in plastic wrap, and store them at room temperature. The filling and ganache can also be made a day ahead and stored in the fridge—just let them come to room temperature before assembling.
Can I use a different frosting?
Sure, if you’re not a ganache fan. A classic chocolate buttercream would work well, or even a cream cheese frosting for a tangy twist. Just keep in mind that the sweetness level will change. The ganache is less sweet than buttercream, which balances the sweet peanut butter filling.
How do I get clean slices?
Use a long, sharp knife and dip it in hot water before each cut. Wipe the blade dry between slices. This gives you those bakery-style clean edges without smearing the frosting. Chilling the cake for 20 minutes before slicing also helps.
Can I freeze this cake?
Yes, but I recommend freezing it unfrosted. Wrap the cooled cake layers individually in plastic wrap, then foil, and freeze for up to 3 months. Thaw at room temperature, then assemble and frost. If you freeze the assembled cake, the ganache can get a little dull—but it still tastes great.
Pin This Recipe!
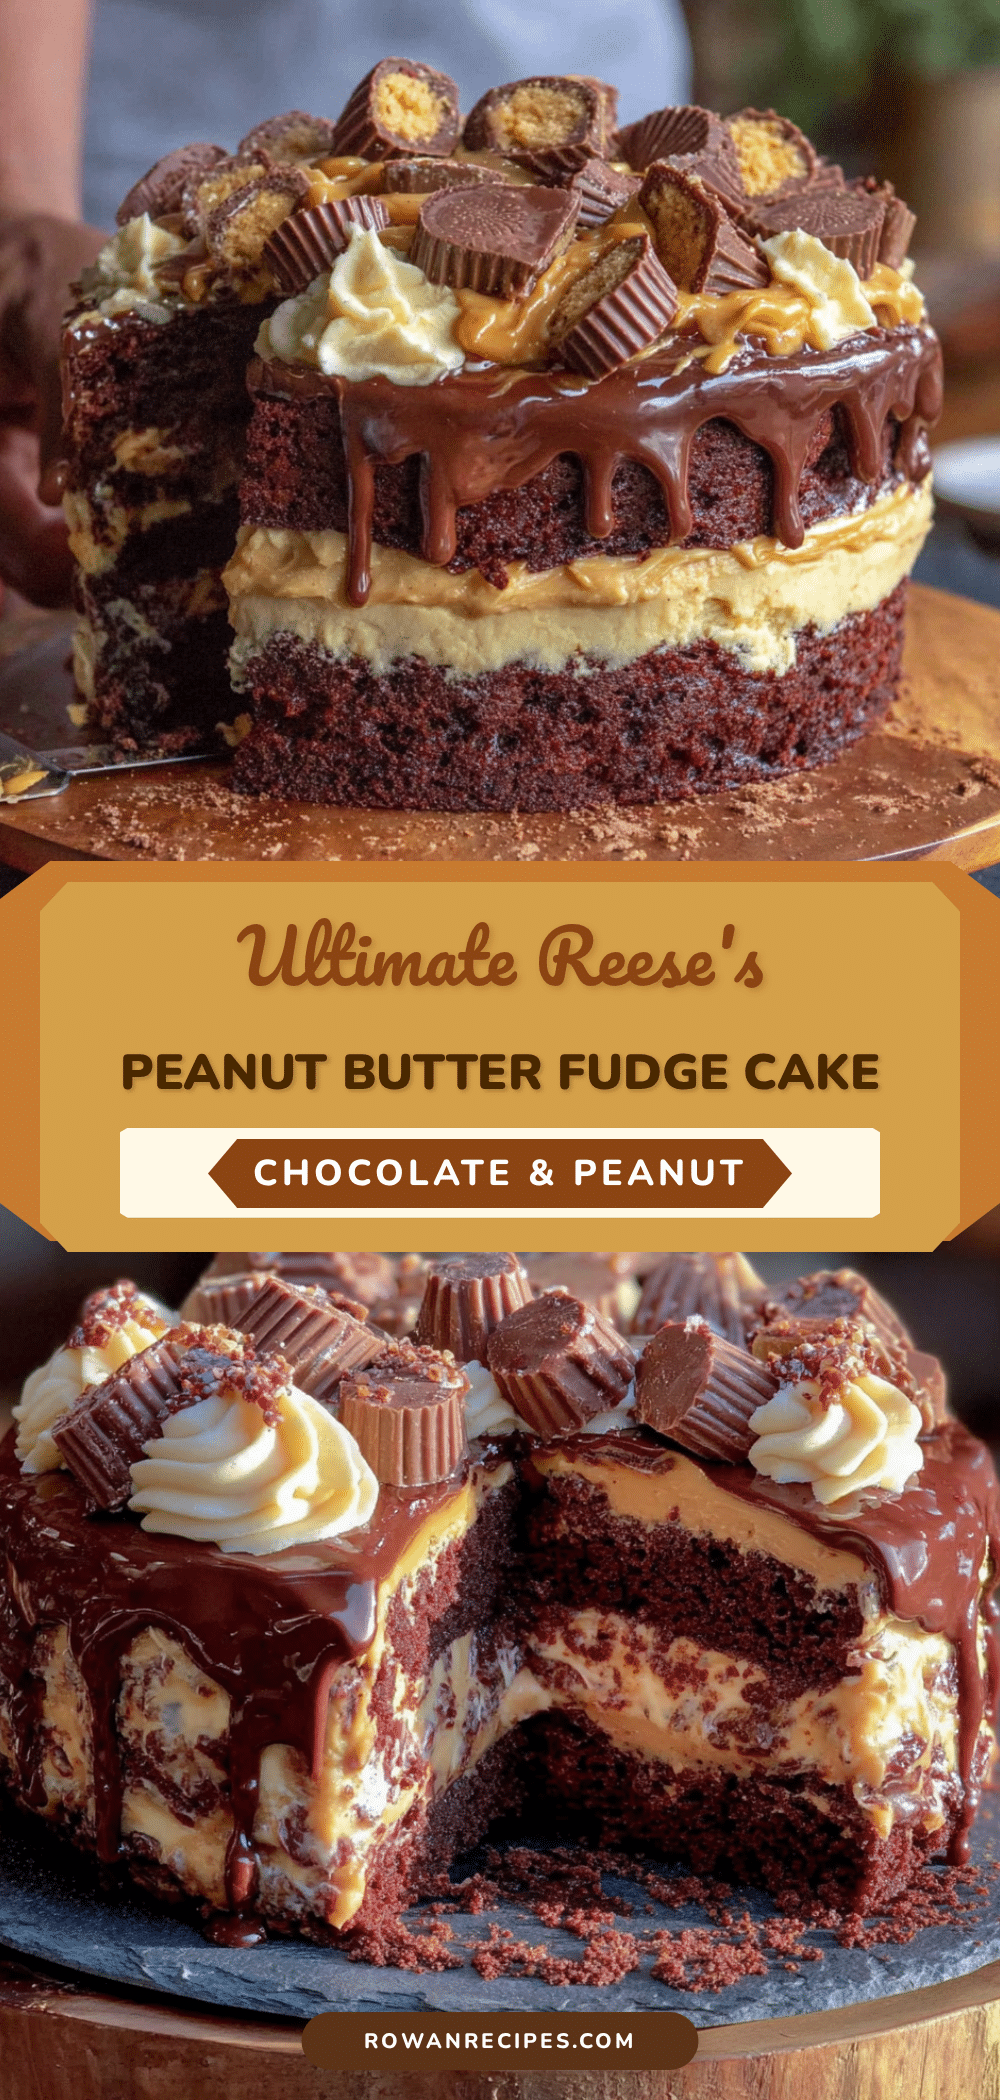
Best Reeses Peanut Butter Cup Layered Chocolate Fudge Cake Recipe

A decadent layered chocolate fudge cake with a creamy peanut butter filling and glossy ganache frosting, topped with chopped Reese’s cups. This showstopper dessert is perfect for birthdays, potlucks, or any occasion that calls for chocolate and peanut butter magic.
- Prep Time: 30 minutes
- Cook Time: 26 minutes
- Total Time: 2 hours 30 minutes (includes cooling and assembly)
- Yield: 16 servings 1x
- Category: Dessert
- Cuisine: American
Ingredients
- 2 cups (240g) all-purpose flour
- 2 cups (400g) granulated sugar
- 3/4 cup (75g) unsweetened cocoa powder (Dutch-process preferred)
- 2 teaspoons baking soda
- 1 teaspoon baking powder
- 1 teaspoon salt
- 1 cup (240ml) buttermilk, room temperature
- 1/2 cup (120ml) vegetable oil
- 2 large eggs, room temperature
- 2 teaspoons vanilla extract
- 1 cup (240ml) hot coffee, brewed strong
- 1 cup (250g) creamy peanut butter (e.g., Skippy or Jif)
- 1/2 cup (113g) unsalted butter, softened
- 2 cups (240g) powdered sugar, sifted
- 1 teaspoon vanilla extract
- 3–4 tablespoons heavy cream
- Pinch of salt
- 12 oz (340g) semi-sweet chocolate chips
- 1 1/2 cups (360ml) heavy cream
- 2 tablespoons unsalted butter, softened
- 1 teaspoon vanilla extract
- 8–10 full-size Reese’s Peanut Butter Cups, chopped
- Optional: mini Reese’s cups or peanut butter chips for decoration
Instructions
- Preheat oven to 350°F (175°C). Grease three 9-inch round cake pans, line bottoms with parchment paper, and dust sides with cocoa powder.
- In a large bowl, whisk together flour, sugar, cocoa powder, baking soda, baking powder, and salt.
- In a separate bowl, whisk together buttermilk, oil, eggs, and vanilla extract until smooth. Pour into dry ingredients and stir until just combined.
- Slowly pour in hot coffee, stirring gently until batter is thin and smooth. Divide evenly among prepared pans (about 450g each).
- Bake for 22-26 minutes, until a toothpick inserted in center comes out with moist crumbs. Cool in pans for 10 minutes, then turn out onto a cooling rack. Remove parchment and cool completely.
- For the peanut butter filling: In a stand mixer with paddle attachment, beat softened butter and peanut butter until smooth and creamy, about 2 minutes.
- Gradually add sifted powdered sugar, 1/2 cup at a time, on low speed. Add vanilla and 2 tablespoons heavy cream, then beat on medium for 1-2 minutes until fluffy. Add more cream if needed for spreadable consistency. Add a pinch of salt if desired.
- Once cake layers are completely cool, level domes with a serrated knife if needed. Place one layer on a cake stand, spread 1/3 of peanut butter filling evenly to edges. Repeat with remaining layers.
- Refrigerate assembled cake for 20-30 minutes to firm filling.
- For the fudge frosting: Place chocolate chips in a large heat-safe bowl. Heat heavy cream in a small saucepan over medium heat until simmering. Pour over chocolate chips and let sit 3 minutes without stirring.
- Gently stir from center outward until smooth and glossy. Add softened butter and vanilla, stirring until fully incorporated. Let cool at room temperature for 15-20 minutes until slightly thickened but still pourable.
- Pour ganache over assembled cake, using an offset spatula to push it over edges for a drippy effect. While ganache is still wet, sprinkle chopped Reese’s cups on top and press some into sides.
- Let cake sit at room temperature for about 30 minutes to allow ganache to set before slicing.
Notes
Room temperature ingredients are crucial for proper emulsification. Don’t overmix the batter. Level cake layers for stability. Chill assembled cake before adding ganache. Let ganache cool to warm honey consistency before pouring. For clean slices, dip knife in hot water and wipe dry between cuts.
Nutrition
- Serving Size: 1 slice (1/16 of cak
- Calories: 550
- Sugar: 45
- Sodium: 380
- Fat: 34
- Saturated Fat: 16
- Carbohydrates: 61
- Fiber: 3.5
- Protein: 10
Keywords: Reese's, peanut butter cup, chocolate fudge cake, layered cake, ganache, birthday cake, chocolate peanut butter


