Third time in two weeks I’d made it, and the sour cream layer finally stopped sliding off the refried beans. That was the week I stopped calling it a “dip” and started calling it a strategy. Because honestly? Getting seven distinct layers to sit up straight on a platter without turning into a sad, beige puddle by halftime takes a little finesse. Not stress, just finesse. The kind you learn by scraping one too many failed attempts into the trash and muttering about cream cheese temperature.
It started when I volunteered to bring snacks for a Sunday game at my neighbor’s house. I wanted something that felt like effort but wasn’t actual effort, you know? Something people could stand around and destroy with chips while yelling at the TV. The first version was a mess—beautiful flavor, ugly presentation. By the third batch, I’d figured out the trick: room temperature cream cheese, a gentle hand with the beans, and letting the whole thing rest before serving. That version? It disappeared in twelve minutes flat. Someone asked for the recipe before the second quarter ended.
This isn’t one of those dips that pretends to be fancy. It’s honest. It’s layered. It’s the kind of thing that makes you forget you’re eating off a paper plate. And once you nail the assembly, it becomes the dish people text you about before the next game.
Why You’ll Love This Recipe
I’ve tested this dip more times than I care to admit, and here’s what I know for sure: it works. Not just as a snack, but as the snack. The one that gets scraped clean while the buffalo wings sit there looking neglected.
- Quick & Easy: Twenty minutes of active work, no oven required. You can make it during a commercial break and still catch kickoff.
- Simple Ingredients: Everything comes from a regular grocery store. No specialty aisles, no weird finds, no substitutions that require a glossary.
- Perfect for Game Day: This dip was born for crowded coffee tables, plastic plates, and people who talk with their mouths full. It’s sturdy enough to survive halftime chaos.
- Crowd-Pleaser: I’ve watched picky eaters, vegetarians, and people who “don’t like beans” go back for thirds. The layers work together like a team that actually passes the ball.
- Unbelievably Delicious: The cold, creamy layers against the warm, spicy refried beans? That contrast is what keeps people circling back. It’s comfort food that makes you close your eyes after the first bite.
What makes this version different? It’s not just another seven-layer dip. The cream cheese layer is whipped with a splash of milk for spreadability. The sour cream gets a hit of lime. And the beans? They’re seasoned with cumin and chili powder so they actually taste like something, not just a beige base. I’ve learned through trial and error (and a few failed platters) that every layer needs to earn its spot. This dip does.
It’s the kind of recipe that makes you look like you tried harder than you did. Perfect for impressing guests without stress, or turning a simple snack spread into something people remember.
What Ingredients You Will Need
This recipe uses simple, honest ingredients to deliver bold flavor and satisfying texture without any fuss. Most of these are pantry staples or fridge basics, which is exactly what you want when game day sneaks up on you.
- Refried Beans (16 oz can) – Use traditional or vegetarian. I prefer Old El Paso for consistent texture. Warm them gently on the stove with a little cumin and chili powder so they spread like a dream.
- Cream Cheese (8 oz block) – Must be softened to room temperature. Cold cream cheese turns into lumpy disaster. Let it sit out for at least 30 minutes before you start.
- Sour Cream (1 cup) – Full-fat gives the best texture, but light works fine. Add a squeeze of lime juice and a pinch of salt to wake it up.
- Guacamole (1.5 cups) – Store-bought is fine, but homemade tastes better. If you’re buying, look for one that lists avocado as the first ingredient and has no weird fillers.
- Salsa (1 cup) – Drain it slightly so it doesn’t make the dip watery. A chunky restaurant-style salsa works best. I use Herdez for that roasted flavor.
- Shredded Cheddar or Mexican Blend Cheese (1.5 cups) – Shred your own if you have time. Pre-shredded cheese has anti-caking agents that don’t melt as nicely, but honestly? On game day, nobody notices.
- Black Olives (1/2 cup, sliced) – Buy the pre-sliced can and save yourself the trouble. They’re mostly for looks anyway.
- Green Onions (1/2 cup, sliced) – Use both white and green parts for color and a mild bite.
- Roma Tomatoes (2 medium, diced) – Remove the seeds so they don’t water out. This makes a big difference if the dip sits out for a while.
- Jalapeño (1, sliced thin, optional) – For the people who like a little heat. Remove seeds if you want mild heat, leave them in for brave souls.
- Lime Juice (1 tablespoon) – Fresh is better, but bottled works in a pinch.
- Cumin & Chili Powder (1/2 teaspoon each) – For seasoning the beans. Don’t skip this—it’s what makes the base taste like more than just mush.
For substitutions: use dairy-free cream cheese and sour cream if needed. Swap the refried beans with black bean puree for a different texture. If you’re feeding a crowd that doesn’t do spicy, skip the jalapeño and use mild salsa. This dip is forgiving—just don’t skip the cream cheese softening step. That’s non-negotiable.
Equipment Needed
You don’t need fancy gear for this. A few basics and you’re set.
- 9×13 inch glass or ceramic dish – A clear dish lets people see the layers, which is half the fun. Any shallow platter with a rim works too.
- Rubber spatula – For spreading the cream cheese and bean layers evenly. A spoon works but the spatula gives you cleaner lines.
- Small saucepan – For warming the refried beans. A microwave works too, but the stovetop gives you more control over the texture.
- Cutting board and sharp knife – For dicing tomatoes, slicing olives, and chopping green onions. A dull knife makes tomatoes sad.
- Mixing bowls – One small bowl for the cream cheese mixture, one for the sour cream.
- Measuring cups and spoons – This recipe is forgiving, but measuring helps keep the layers balanced.
I’ve made this dip in a pie plate, a casserole dish, and once on a wooden board with the beans threatening to escape. The 9×13 dish is the sweet spot. If you don’t have one, a deep pie plate works fine—just expect thicker layers and shorter chip reach.
Preparation Method
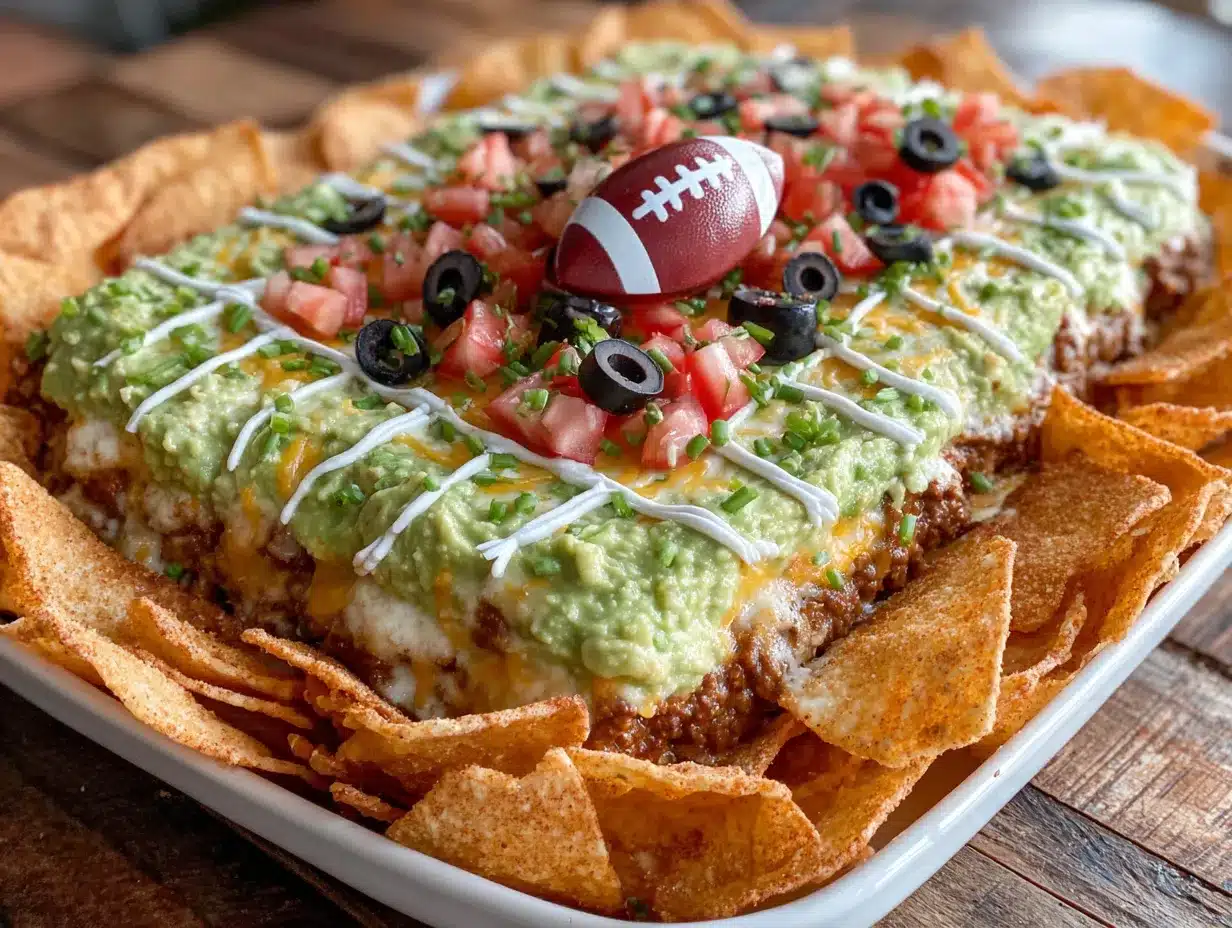
Let’s build this thing. Take your time with each layer—rushing leads to sliding, and nobody wants a dip that looks like a mudslide.
- Soften the cream cheese. Take it out of the fridge at least 30 minutes before you start. If you forgot (I forget all the time), microwave it in 10-second bursts on 50% power until it yields to gentle pressure. Don’t melt it—just soften it.
- Warm and season the refried beans. Dump the can into a small saucepan over medium-low heat. Add cumin and chili powder. Stir until smooth and warmed through, about 3-4 minutes. If the beans seem thick, add a tablespoon of water. You want them spreadable, not runny. Set aside to cool slightly while you prep the other layers.
- Whip the cream cheese layer. In a small bowl, beat the softened cream cheese with 2 tablespoons of milk or sour cream until smooth and fluffy. This makes it spreadable. If you skip this step, the cream cheese will tear the bean layer. I learned this the hard way. Spread it gently over the cooled beans.
- Season the sour cream. In another bowl, stir the sour cream with a squeeze of lime juice and a pinch of salt. Taste it. It should taste like something, not just white. Spread this over the cream cheese layer.
- Add the guacamole. Drop spoonfuls over the sour cream, then spread gently. Don’t press—just coax it into an even layer. If your guacamole is chunky, that’s fine. Imperfect layers look homemade and honest.
- Spoon on the salsa. Drain any excess liquid first. Spread it gently over the guacamole. If the salsa is too wet, the layers above it will slide. Pat it with a paper towel if you’re worried.
- Top with cheese. Sprinkle the shredded cheese evenly over the salsa. Don’t dump it all in one spot—distribute it like you’re salting pasta water. Even coverage means every scoop gets cheese.
- Add the toppings. Scatter sliced black olives, diced tomatoes, green onions, and jalapeño slices over the cheese. Press them in very lightly so they stick, but don’t bury them.
- Rest before serving. Cover loosely with plastic wrap and let it sit at room temperature for 15-20 minutes. This lets the layers settle and the flavors mingle. If you serve it immediately, the layers will slide apart. Patience pays off here.
The dip should look like a striped masterpiece when you cut into it. Each scoop should get a little of everything. If the first scoop is mostly beans, you spread too thin. Adjust for next time—that’s how you learn.
Cooking Tips & Techniques
I’ve made this dip enough times to collect a few battle scars. Here’s what I wish someone had told me.
Temperature matters. Cold ingredients create cold layers that don’t meld. Let the cream cheese and sour cream sit out while you warm the beans. Room temperature spreads are smoother and taste better.
Drain everything. Salsa, tomatoes, even the olives—if it has liquid, drain it. Watery layers turn your beautiful dip into soup. I once skipped draining the salsa because I was in a hurry, and by halftime the cheese was floating. Never again.
Layer strategically. The order matters. Beans on the bottom create a stable base. Cream cheese acts as a barrier so the sour cream doesn’t sink into the beans. Guacamole goes in the middle because it’s delicate and needs protection from heavy toppings. Trust the order—it’s been tested.
Let it rest. This is the tip that changed everything for me. After assembly, let the dip sit for 15-20 minutes at room temperature. The layers settle, the flavors get friendly, and the dip becomes scoopable instead of slide-y. I know you’re hungry. Wait anyway.
Use sturdy chips. Scoop-style tortilla chips are non-negotiable. Thin chips break under the weight of seven layers. You want chips that can handle a heavy load without snapping. Tostitos Scoops are my go-to. Test one before you serve—if it breaks with a light scoop, switch brands.
One mistake I made early on: overloading the top with cheese. It looked great but made the dip heavy. A moderate layer of cheese lets the other flavors show up. Let the beans and guacamole have their moment.
Variations & Adaptations
This dip is a template, not a rulebook. Change it up based on who’s eating or what’s in your fridge.
- Spicy Kick: Add a layer of pickled jalapeños between the salsa and cheese. Or mix hot sauce into the sour cream. For extra heat, use pepper jack cheese instead of cheddar.
- Protein Boost: Layer seasoned ground beef or shredded chicken between the beans and cream cheese. Brown the meat with taco seasoning first, then let it cool before spreading. This turns dip into a meal.
- Vegetarian/Vegan: Use dairy-free cream cheese and sour cream. Skip the cheese or use a plant-based shred. The rest is already vegetable-friendly. Nobody will miss the dairy if the guacamole is good.
- Southwest Twist: Add a layer of corn and black bean salsa between the guacamole and cheese. Or swap the refried beans for black beans mashed with cumin and lime.
- Breakfast Version: Yes, really. Layer scrambled eggs, breakfast sausage crumbles, and cheese over the beans. Serve with hash browns instead of chips. It’s weird and wonderful.
I once made a version with roasted corn and cotija cheese on top. It was supposed to be for a party, but I ate half of it standing at the counter. No regrets.
Serving & Storage Suggestions
Serve this dip at room temperature, not cold from the fridge. Cold dip tastes muted, like the flavors are holding back. Let it sit out for 20 minutes before serving. Pair it with sturdy tortilla chips, but also consider cucumber slices or bell pepper strips for a lighter option.
For presentation, I like to garnish with extra green onions and a few whole jalapeño slices on top. It signals to people that this dip is serious. If you’re feeling fancy, add a sprinkle of smoked paprika for color.
This dip pairs beautifully with other game day classics. Try it alongside my crispy cheeseburger quesadillas for a double-carb attack, or serve it next to a batch of crispy mini corn dog muffins for the ultimate snack spread. If you’re keeping it taco-themed, my easy one-pot taco spaghetti makes a great warm counterpart to the cold dip.
Storage: Cover tightly with plastic wrap and refrigerate for up to 3 days. The guacamole will brown slightly on the surface, but it’s still fine. Scrape off the top layer if it bothers you. Do not freeze—the dairy and avocado will separate into a sad, grainy mess.
Reheating: This dip is best served cold or at room temperature. If you must warm it, microwave individual portions for 20 seconds. The cheese will melt and the beans will warm, but the sour cream and guacamole will suffer. Better to eat it cold than to ruin the texture.
The flavors actually improve after a day in the fridge. The layers meld together into something cohesive. Day-old dip is sneakily delicious—just let it come to room temperature before serving.
Nutritional Information & Benefits
Let’s be real: this is game day food, not health food. But it’s not as bad as you think.
Per serving (about 1/2 cup, based on 12 servings):
Calories: 245 | Fat: 18g | Carbs: 14g | Protein: 8g | Fiber: 4g | Sodium: 480mg
The avocado in the guacamole provides heart-healthy monounsaturated fats and fiber. The beans add protein and more fiber, which helps keep you full. Dairy offers calcium and a little protein. The tomatoes and onions contribute vitamins C and K. It’s not a salad, but it’s not a total free-for-all either.
For dietary considerations: this recipe is naturally gluten-free if you use certified gluten-free chips. It’s vegetarian as written. To make it lower in fat, use reduced-fat cheese and light sour cream. The guacamole and beans stay the same—those are the good parts.
Potential allergens: dairy (cream cheese, sour cream, cheese). Avocado allergies are rare but possible. Olives can be a trigger for some. If you’re serving a crowd, label the dip so people know what’s in it.
My personal take: I don’t stress about nutrition on game day. This dip is about gathering, sharing, and enjoying. One serving won’t derail anything. Two servings might, but that’s between you and your chip bowl.
Conclusion
This seven-layer taco dip is the kind of recipe that earns a permanent spot in your rotation. It’s forgiving enough for beginners, impressive enough for parties, and delicious enough that people will ask for the recipe before the game ends. The layers work together like they’ve been practicing. The flavors are bold without being complicated. And the whole thing comes together in less time than it takes to preheat an oven.
I love this dip because it reminds me that good food doesn’t have to be hard. Sometimes the best dishes are the ones you assemble, not cook. The ones that let you spend more time with your people and less time in the kitchen. That’s what game day is about, right?
Make it your own. Swap the beans, change the cheese, add more heat or less. The template is yours to play with. And when you nail your version, come back and tell me about it. I love hearing how people make recipes their own.
Now go make some dip. The game’s about to start.
Frequently Asked Questions
Can I make this dip the night before?
Yes, but with one caveat: add the guacamole layer no more than 2 hours before serving, or it will brown. Assemble all other layers, cover tightly, and refrigerate. Before serving, add the guacamole and toppings. Let it sit at room temperature for 20 minutes before putting it out.
How do I keep the layers from sliding apart?
Three things: make sure the beans are slightly cooled before adding cream cheese, let the cream cheese soften to room temperature so it spreads without tearing, and let the assembled dip rest for 15-20 minutes before serving. The rest step is the most important—it lets everything settle into place.
Can I use homemade refried beans?
Absolutely. Homemade beans add a deeper flavor and let you control the salt and spice. Just make sure they’re thick enough to hold the layers. If they’re too loose, cook them down a bit before spreading. Nobody wants a bean puddle.
What’s the best way to transport this dip to a party?
Assemble it in a disposable aluminum pan with a tight-fitting lid. Keep it level during transport. If you’re worried about sliding, assemble it at the party instead. Bring the layers in separate containers and build it on site—it takes 10 minutes and looks impressive.
How long can this dip sit out at a party?
About 2 hours at room temperature. After that, the dairy and avocado become unsafe. If the party runs long, put the dip back in the fridge for 30 minutes, then bring it out again. Or just accept that it will disappear before the 2-hour mark. It always does.
Pin This Recipe!
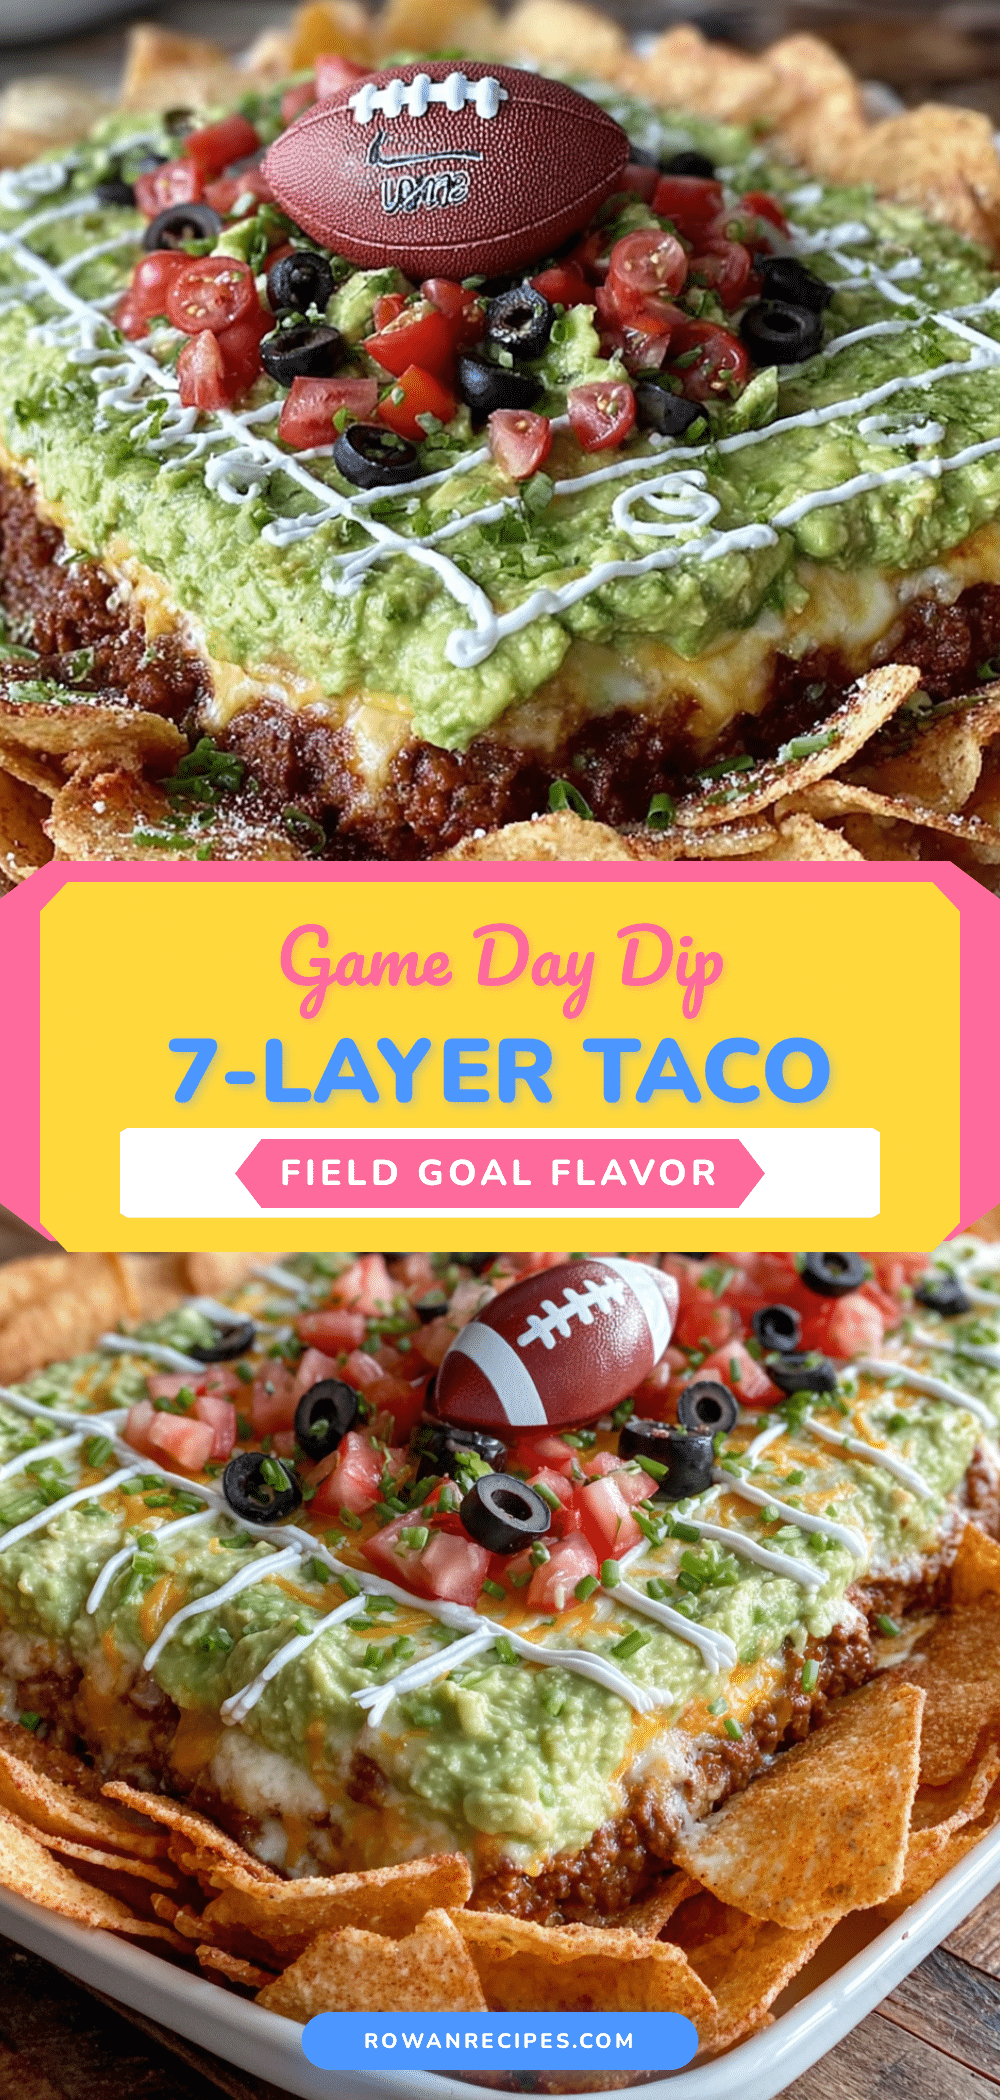
Best Easy 7-Layer Taco Dip for Game Day

This seven-layer taco dip is the ultimate game day snack, featuring creamy layers of refried beans, whipped cream cheese, seasoned sour cream, guacamole, salsa, cheese, and fresh toppings. It’s quick to assemble, requires no oven, and is guaranteed to disappear before halftime.
- Prep Time: 20 minutes
- Cook Time: 5 minutes
- Total Time: 25 minutes (plus 30 minutes for cream cheese to soften and 15-20 minutes resting)
- Yield: 12 servings 1x
- Category: Appetizer
- Cuisine: Mexican-American
Ingredients
- 16 oz can refried beans (traditional or vegetarian)
- 8 oz block cream cheese, softened to room temperature
- 1 cup sour cream (full-fat preferred)
- 1.5 cups guacamole (store-bought or homemade)
- 1 cup salsa (chunky restaurant-style, drained)
- 1.5 cups shredded cheddar or Mexican blend cheese
- 1/2 cup sliced black olives
- 1/2 cup sliced green onions (white and green parts)
- 2 medium Roma tomatoes, seeded and diced
- 1 jalapeño, sliced thin (optional)
- 1 tablespoon lime juice (fresh or bottled)
- 1/2 teaspoon ground cumin
- 1/2 teaspoon chili powder
- 2 tablespoons milk or sour cream (for whipping cream cheese)
- Salt to taste
Instructions
- Soften the cream cheese: Take it out of the fridge at least 30 minutes before starting. If forgotten, microwave in 10-second bursts on 50% power until soft but not melted.
- Warm and season the refried beans: In a small saucepan over medium-low heat, combine the refried beans with cumin and chili powder. Stir until smooth and warmed through, about 3-4 minutes. Add a tablespoon of water if too thick. Set aside to cool slightly.
- Whip the cream cheese layer: In a small bowl, beat the softened cream cheese with 2 tablespoons of milk or sour cream until smooth and fluffy. Spread gently over the cooled beans in a 9×13 inch dish.
- Season the sour cream: In another bowl, stir the sour cream with lime juice and a pinch of salt. Spread over the cream cheese layer.
- Add the guacamole: Drop spoonfuls over the sour cream, then spread gently into an even layer without pressing.
- Spoon on the salsa: Drain any excess liquid from the salsa, then spread gently over the guacamole. Pat with a paper towel if too wet.
- Top with cheese: Sprinkle the shredded cheese evenly over the salsa.
- Add the toppings: Scatter sliced black olives, diced tomatoes, green onions, and jalapeño slices over the cheese. Press them in very lightly.
- Rest before serving: Cover loosely with plastic wrap and let sit at room temperature for 15-20 minutes to allow layers to settle and flavors to meld.
Notes
Let cream cheese soften to room temperature for smooth spreading. Drain salsa and tomatoes to prevent watery layers. Let dip rest 15-20 minutes before serving to prevent sliding. Use sturdy scoop-style tortilla chips. Can be assembled a day ahead but add guacamole no more than 2 hours before serving to prevent browning.
Nutrition
- Serving Size: 1/2 cup
- Calories: 245
- Sugar: 3
- Sodium: 480
- Fat: 18
- Saturated Fat: 8
- Carbohydrates: 14
- Fiber: 4
- Protein: 8
Keywords: 7-layer dip, taco dip, game day dip, easy appetizer, party dip, layered dip, Mexican dip, no-bake dip


