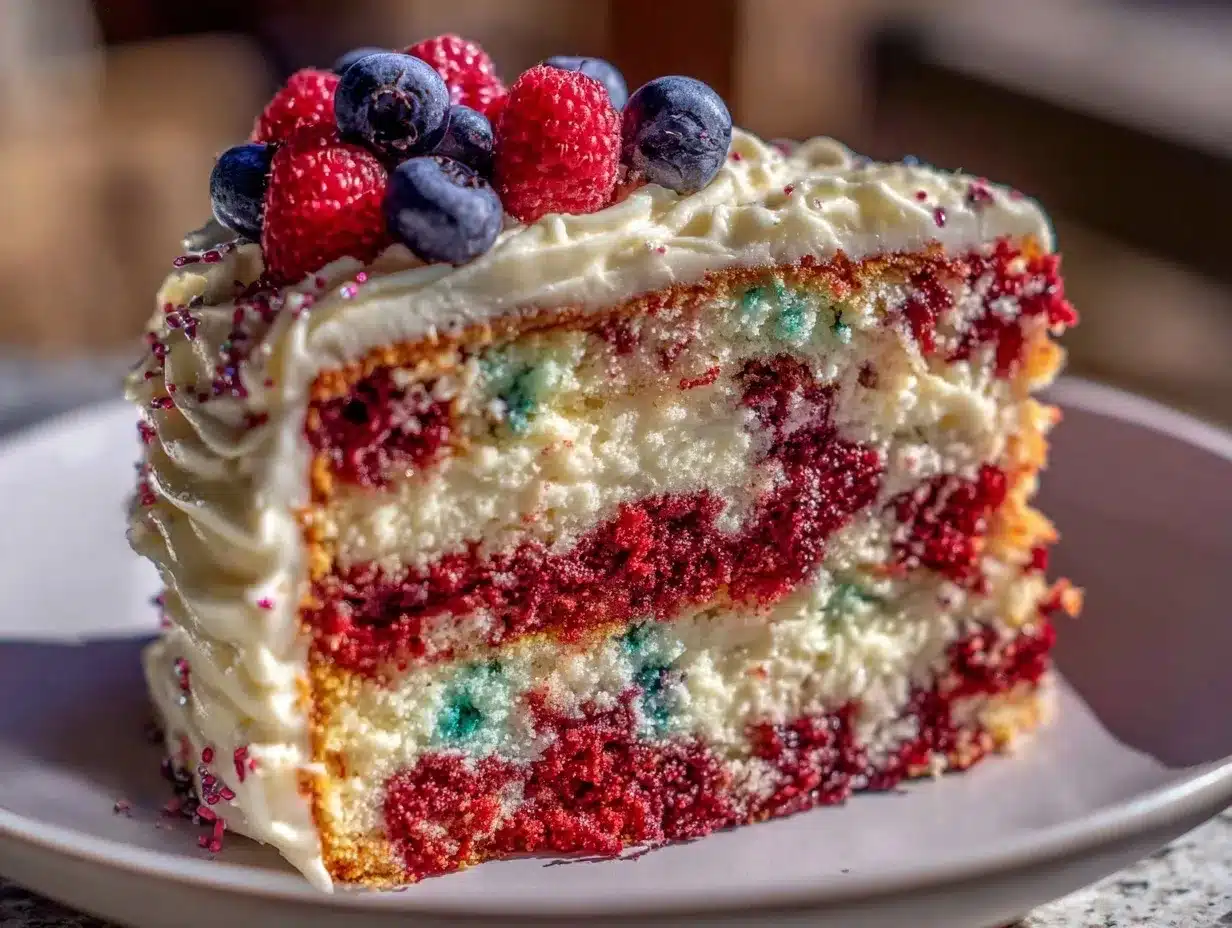
Scrambling with a sink full of dishes and a half-empty fridge, I grabbed what I had—some leftover cake mix, a jar of food coloring, and that stubborn block of cream cheese sitting in the back of the fridge. Fireworks were scheduled in less than two hours, and the idea of running out to the store? Nope, not happening. So, I threw together this Perfect Red, White, and Blue Layer Cake with Cream Cheese Frosting, fingers crossed it’d come out half as festive as I hoped. The kitchen smelled like vanilla and celebration, and honestly, the layers didn’t line up perfectly, but that messy, slightly uneven cake? It stole the show.
That night, between the sparklers and the laughter, I realized this cake wasn’t just about colors or a holiday—it was about making the best of what you have and turning a last-minute scramble into a sweet memory. The cream cheese frosting brought a tangy richness that balanced the sweet layers perfectly. It’s not just a dessert; it’s a little celebration on a plate that has stuck with me ever since, a go-to for those moments when you want something homemade but don’t have the luxury of time or a fully stocked pantry.
So yeah, this isn’t a perfect pastry chef’s masterpiece, but it’s a real, honest cake that’s easy to love—and I’m betting you’ll feel the same once you try it.
Why You’ll Love This Recipe
If you’re like me—juggling a million things and craving a showstopper dessert without the fuss—this Perfect Red, White, and Blue Layer Cake with Cream Cheese Frosting is your new best friend. Here’s why it’s more than just a festive treat:
- Quick & Easy: Comes together in under an hour, including baking and frosting, perfect for last-minute celebrations or when you’re pressed for time.
- Simple Ingredients: No need for specialty groceries; most of these ingredients are kitchen staples you probably already have.
- Perfect for Patriotic Occasions: Whether it’s the Fourth of July, Memorial Day, or just a summer picnic, this cake brings the perfect festive vibe.
- Crowd-Pleaser: Kids and adults alike can’t get enough—especially with that creamy, tangy cream cheese frosting that’s neither too sweet nor too heavy.
- Unbelievably Delicious: The moist layers paired with the smooth frosting deliver a delightful texture and flavor combo that feels like a little indulgence without being over-the-top.
This cake stands out because the cream cheese frosting is whipped just right—not too stiff, not runny—which pairs beautifully with each colored layer that’s lightly flavored with vanilla. Plus, the layering technique is foolproof even if your kitchen is in chaos (like mine was). Honestly, it’s the kind of dessert that makes you pause and smile with your first bite, perfect for making memories with friends and family.
What Ingredients You Will Need
This recipe uses simple, wholesome ingredients to deliver bold flavor and satisfying texture without the fuss. The red, white, and blue layers come from natural and food-safe colorings, but you can always adjust based on what you have at home.
- For the Cake Batter:
- 2 ½ cups all-purpose flour (you can swap 1 cup with almond flour for a gluten-free twist)
- 2 ½ tsp baking powder
- ½ tsp salt
- 1 cup unsalted butter, softened (I prefer Land O Lakes for texture)
- 2 cups granulated sugar
- 4 large eggs, room temperature
- 1 tbsp pure vanilla extract
- 1 cup whole milk, room temperature (use dairy-free milk if needed)
- Red and blue gel food coloring (I like using AmeriColor gels—they’re vibrant and don’t thin the batter)
- For the Cream Cheese Frosting:
- 16 oz cream cheese, softened (look for full-fat for best flavor)
- ½ cup unsalted butter, softened
- 4 cups powdered sugar, sifted
- 1 tsp vanilla extract
- Pinch of salt to balance sweetness
Feel free to swap the all-purpose flour for a gluten-free blend to suit dietary needs. The cream cheese frosting can be made with vegan cream cheese and butter alternatives for a dairy-free version. Just keep in mind that texture might vary slightly.
Equipment Needed
- Three 8-inch round cake pans (non-stick or well-greased with parchment paper for easy release)
- Electric mixer (stand or hand-held) for smooth batter and frosting
- Mixing bowls – one large for batter, one medium for frosting
- Measuring cups and spoons (accuracy counts for baking!)
- Rubber spatula for folding and scraping bowls
- Cooling racks to let the cakes rest before frosting
- Offset spatula or butter knife for frosting application
- Optional: cake turntable for easier frosting, but a steady hand works just fine
If you don’t have a stand mixer, a good hand mixer will do the trick, though it might take a little longer to get the cream cheese frosting silky smooth. I’ve used both, and honestly, you can’t go wrong with either. Just make sure the cream cheese and butter are softened well to avoid lumps. If you’re on a budget, the basic tools are enough to pull off this festive cake.
Preparation Method
- Preheat your oven to 350°F (175°C). Grease and flour three 8-inch round pans or line them with parchment paper. This helps the cakes release easily after baking.
- Whisk dry ingredients: In a medium bowl, sift together 2 ½ cups flour, 2 ½ tsp baking powder, and ½ tsp salt. Set aside.
- Cream butter and sugar: In a large mixing bowl, beat 1 cup softened unsalted butter with 2 cups granulated sugar on medium speed until light and fluffy, about 3-4 minutes. This step is key to a tender, airy cake.
- Add eggs and vanilla: Beat in 4 large room temperature eggs, one at a time, ensuring each is fully incorporated before adding the next. Mix in 1 tbsp vanilla extract.
- Alternate adding dry ingredients and milk: Add the flour mixture in three parts, alternating with 1 cup whole milk (start and end with flour). Mix gently on low speed after each addition until just combined. Overmixing can toughen the cake.
- Divide and color the batter: Scoop the batter evenly into three separate bowls. Add red gel food coloring to one bowl and blue to another, stirring gently until the colors are vibrant. Leave the third bowl plain for the white layer.
- Fill pans and bake: Pour each colored batter into the prepared pans, smoothing the tops with a spatula. Bake for 25-30 minutes or until a toothpick inserted into the center comes out clean.
- Cool completely: Let the cakes cool in their pans for 10 minutes, then transfer to wire racks to cool fully. This prevents the frosting from melting when applied.
- Prepare cream cheese frosting: Beat 16 oz softened cream cheese and ½ cup butter until smooth and creamy, about 3-5 minutes. Gradually add 4 cups powdered sugar, mixing well after each cup. Stir in 1 tsp vanilla extract and a pinch of salt. Adjust sugar for sweetness and frosting consistency.
- Assemble the cake: Place the blue layer on your cake stand or plate. Spread a generous layer of frosting on top. Add the white layer, repeat with frosting, then top with the red layer. Apply a crumb coat (thin layer of frosting over the whole cake) and chill for 15 minutes.
- Final frosting: Apply a thicker, even coat of frosting all over the cake. Use an offset spatula or a butter knife to smooth it out. Chill again if needed to set the frosting before serving.
Pro tip: If the layers dome too much while baking, slice the tops off with a serrated knife to get flat layers for stacking. This little step makes a big difference in the final presentation. Also, give the frosting a quick stir before applying—it sometimes thickens after chilling.
Cooking Tips & Techniques
Making a layered cake can feel intimidating, but a few tricks help keep it simple and successful. First, always use room temperature eggs and dairy to help the batter emulsify properly. Cold ingredients can lead to lumps or uneven baking.
When mixing the batter, don’t overdo it. Once you add the flour, mix just until combined. Overmixing develops gluten, making the cake dense instead of light and fluffy.
For the cream cheese frosting, patience is key. Beat the cream cheese and butter until perfectly smooth before adding sugar. If frosting feels too soft, pop it in the fridge for 10-15 minutes—too hard? Let it sit at room temp a bit before frosting.
Layering is easier with cooled cakes. If you rush and the cake is warm, the frosting melts and slides off. I learned this the hard way, ending up with a frosting waterfall that looked more like a disaster than dessert.
Multitasking tip: While your cakes bake, prepare the frosting to save time. And if you want to keep things easy for a full meal, this cake pairs beautifully with savory dishes like the honey mustard chicken sheet pan dinner or the creamy cheesy taco pasta for a complete, crowd-pleasing menu.
Variations & Adaptations
There’s plenty of room to make this Perfect Red, White, and Blue Layer Cake your own. Here are some ideas to switch things up:
- Flavor Variations: Add a teaspoon of lemon zest to the white batter for a citrus twist or swap vanilla extract with almond extract for a nutty note.
- Dietary Adaptations: Use gluten-free flour blends and dairy-free cream cheese and butter substitutes to make this cake allergy-friendly.
- Seasonal Twists: Swap the blue gel for a blueberry puree swirl in the batter for natural coloring, or add fresh strawberries between layers for extra fruity flavor.
- Different Frosting: Try a whipped cream frosting for a lighter option or chocolate ganache for a decadent contrast to the cream cheese layers.
- Personal Experiment: I once added a layer of homemade strawberry jam between the white and red layers—an unexpected hit that added moisture and a pop of flavor.
Feel free to get creative! This cake is forgiving and perfect for celebrating any occasion with your own spin.
Serving & Storage Suggestions
Serve this cake chilled or at room temperature—the flavors mellow beautifully if it sits for a bit. Presentation-wise, a few fresh berries or edible stars on top add a festive touch.
This cake pairs wonderfully with a glass of cold lemonade or a light sparkling wine for grown-up gatherings. For a full patriotic feast, it’s a perfect finale after dishes like the sheet pan Italian sausage and peppers.
To store, keep the cake covered in the fridge for up to 4 days. For longer storage, slice and freeze individual pieces wrapped tightly in plastic wrap and foil—thaw overnight in the fridge before serving.
Reheat frozen slices gently in the microwave for 15-20 seconds to soften the cream cheese frosting slightly without melting it. The flavors actually deepen after a day or two, making leftovers even more enjoyable.
Nutritional Information & Benefits
This Perfect Red, White, and Blue Layer Cake with Cream Cheese Frosting is a treat—but it comes with some nutritional perks thanks to the cream cheese and real butter content, which provide healthy fats and a bit of protein. Of course, it’s a dessert and best enjoyed in moderation.
Approximate nutrition per serving (1/12 of cake):
| Calories | 350 kcal |
|---|---|
| Fat | 18 g |
| Carbohydrates | 45 g |
| Protein | 4 g |
| Sugar | 30 g |
Gluten-free and dairy-free adaptations are possible as mentioned, making this cake more accessible. The cream cheese adds a tangy twist that balances sweetness, which helps keep the frosting from being overly sugary.
Conclusion
This Perfect Red, White, and Blue Layer Cake with Cream Cheese Frosting is proof that even in the middle of a kitchen frenzy, you can create something special and memorable. It’s approachable, forgiving, and packed with flavor that brings people together. Customize it however you like, whether that’s swapping ingredients or adding your own twist—the important part is enjoying the process and sharing the sweet results.
I love this cake because it’s not about perfection; it’s about moments, messy kitchens, and the joy of a homemade dessert that’s festive and delicious. If you try it, I’d love to hear how you made it your own—drop a comment or share your adaptations!
FAQs
Can I make this cake ahead of time?
Yes! Bake the layers up to two days in advance and keep them wrapped in the fridge. Assemble and frost on the day you plan to serve for best freshness.
What’s the best way to get even layers?
Use a serrated knife to level the domed tops after baking. This helps the layers stack neatly and keeps the cake stable.
Can I use natural food coloring?
Absolutely. For example, use beet juice for red and blueberry puree for blue, but be aware these can change the batter’s texture and flavor slightly.
How do I store leftover cake?
Keep leftovers covered in the fridge for up to 4 days. You can also freeze slices wrapped tightly—thaw in the fridge overnight before eating.
Is there a dairy-free version of the cream cheese frosting?
Yes, swap regular cream cheese and butter with dairy-free alternatives, like vegan cream cheese and margarine. Beat well to get a smooth texture.
Pin This Recipe!
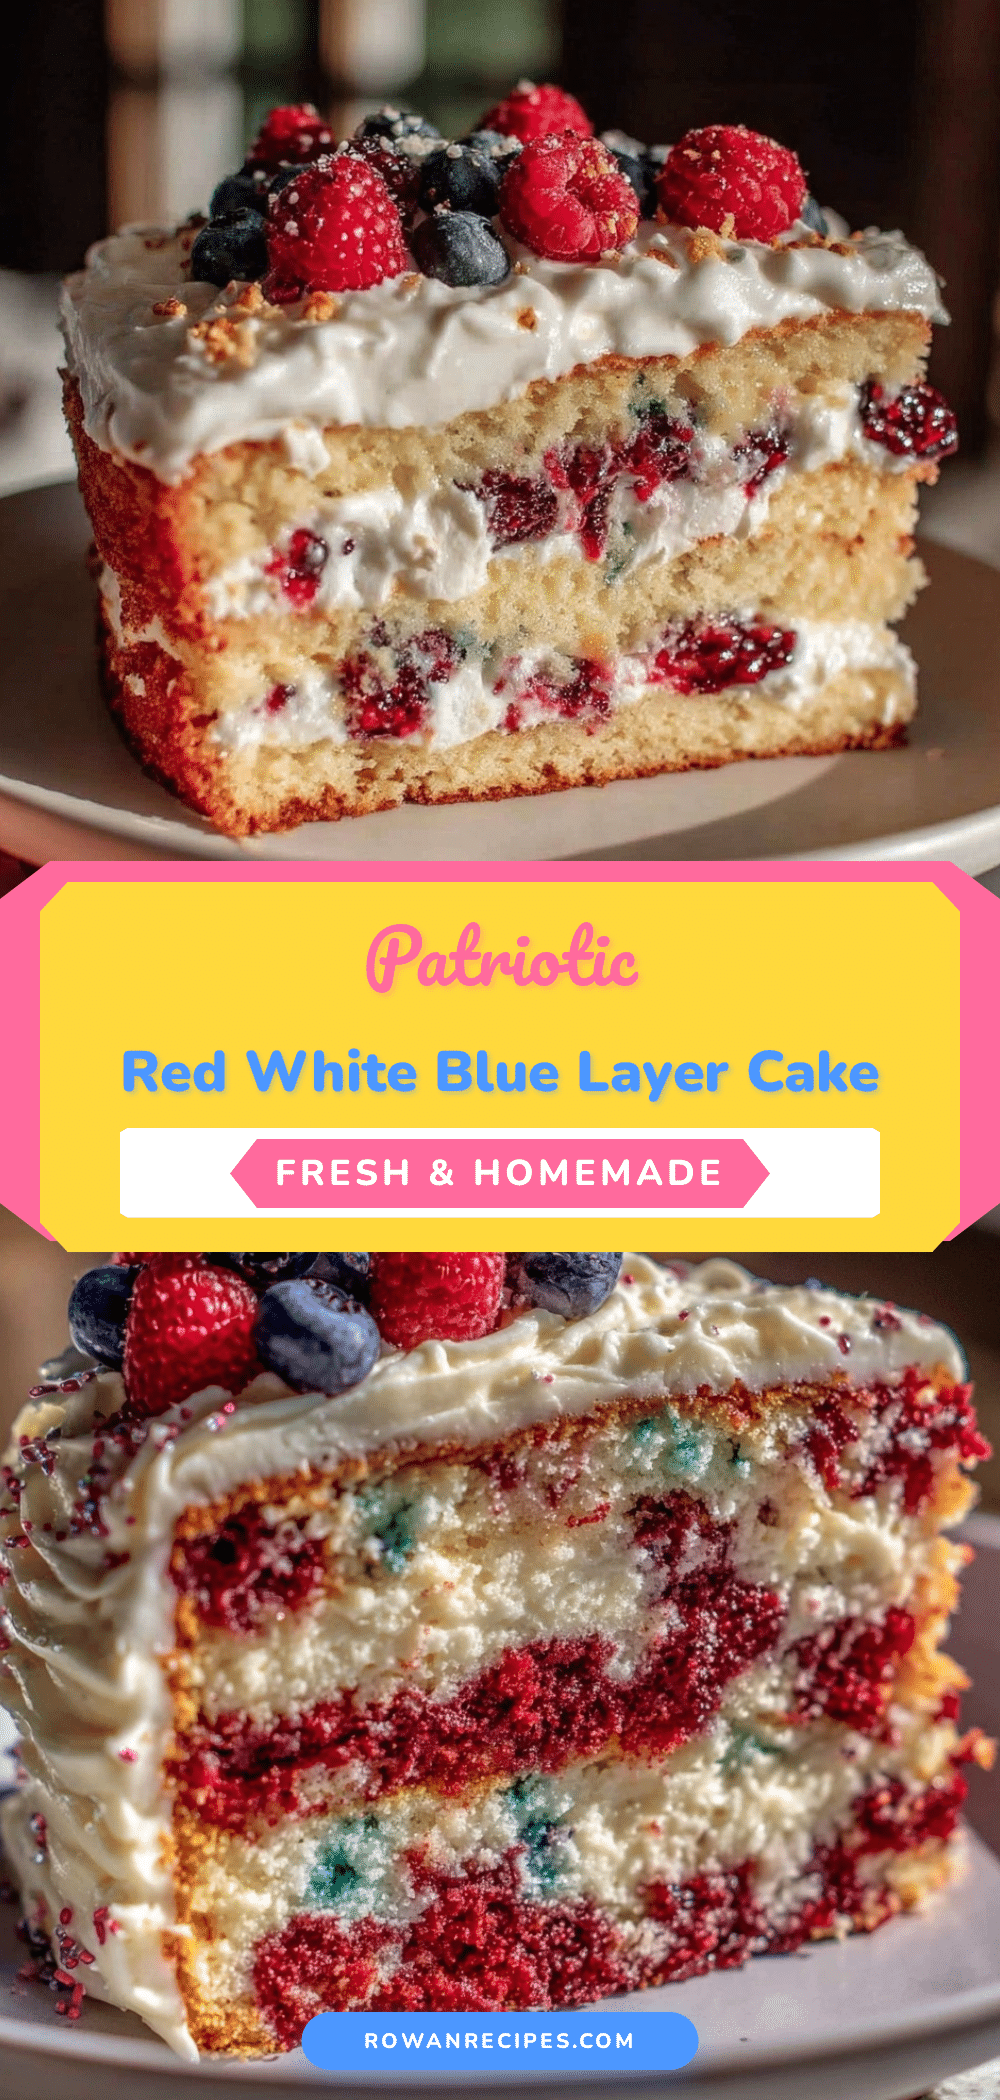
Perfect Red White and Blue Layer Cake Recipe Easy Homemade Cream Cheese Frosting
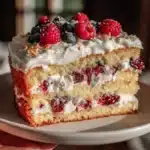
A quick and easy festive layer cake with red, white, and blue layers paired with a tangy cream cheese frosting, perfect for patriotic occasions and last-minute celebrations.
- Prep Time: 20 minutes
- Cook Time: 30 minutes
- Total Time: 50 minutes
- Yield: 12 servings 1x
- Category: Dessert
- Cuisine: American
Ingredients
- 2 ½ cups all-purpose flour (can swap 1 cup with almond flour for gluten-free)
- 2 ½ tsp baking powder
- ½ tsp salt
- 1 cup unsalted butter, softened
- 2 cups granulated sugar
- 4 large eggs, room temperature
- 1 tbsp pure vanilla extract
- 1 cup whole milk, room temperature (or dairy-free milk)
- Red gel food coloring
- Blue gel food coloring
- 16 oz cream cheese, softened
- ½ cup unsalted butter, softened
- 4 cups powdered sugar, sifted
- 1 tsp vanilla extract
- Pinch of salt
Instructions
- Preheat oven to 350°F (175°C). Grease and flour three 8-inch round pans or line with parchment paper.
- Sift together flour, baking powder, and salt in a medium bowl. Set aside.
- Beat softened butter and granulated sugar in a large bowl on medium speed until light and fluffy, about 3-4 minutes.
- Add eggs one at a time, beating well after each addition. Mix in vanilla extract.
- Add flour mixture in three parts, alternating with milk, starting and ending with flour. Mix gently on low speed until just combined.
- Divide batter evenly into three bowls. Add red gel food coloring to one, blue to another, and leave one plain for the white layer.
- Pour each colored batter into prepared pans and smooth tops. Bake 25-30 minutes or until a toothpick inserted comes out clean.
- Cool cakes in pans for 10 minutes, then transfer to wire racks to cool completely.
- Beat cream cheese and softened butter until smooth, about 3-5 minutes. Gradually add powdered sugar, mixing well after each cup. Stir in vanilla extract and salt.
- Place blue layer on cake stand. Spread frosting on top. Add white layer, frost again, then top with red layer.
- Apply a crumb coat over the entire cake and chill for 15 minutes.
- Apply a final thicker coat of frosting, smoothing with an offset spatula or butter knife. Chill again if needed before serving.
Notes
Use room temperature eggs and dairy for best batter consistency. Avoid overmixing after adding flour to keep cake tender. Level domed cake tops with a serrated knife for even layers. Chill frosting if too soft before applying. Cake can be made ahead and stored in fridge up to 4 days or frozen in slices.
Nutrition
- Serving Size: 1 slice (1/12 of cak
- Calories: 350
- Sugar: 30
- Fat: 18
- Carbohydrates: 45
- Protein: 4
Keywords: red white and blue cake, layer cake, cream cheese frosting, patriotic dessert, easy cake recipe, homemade cake, festive cake