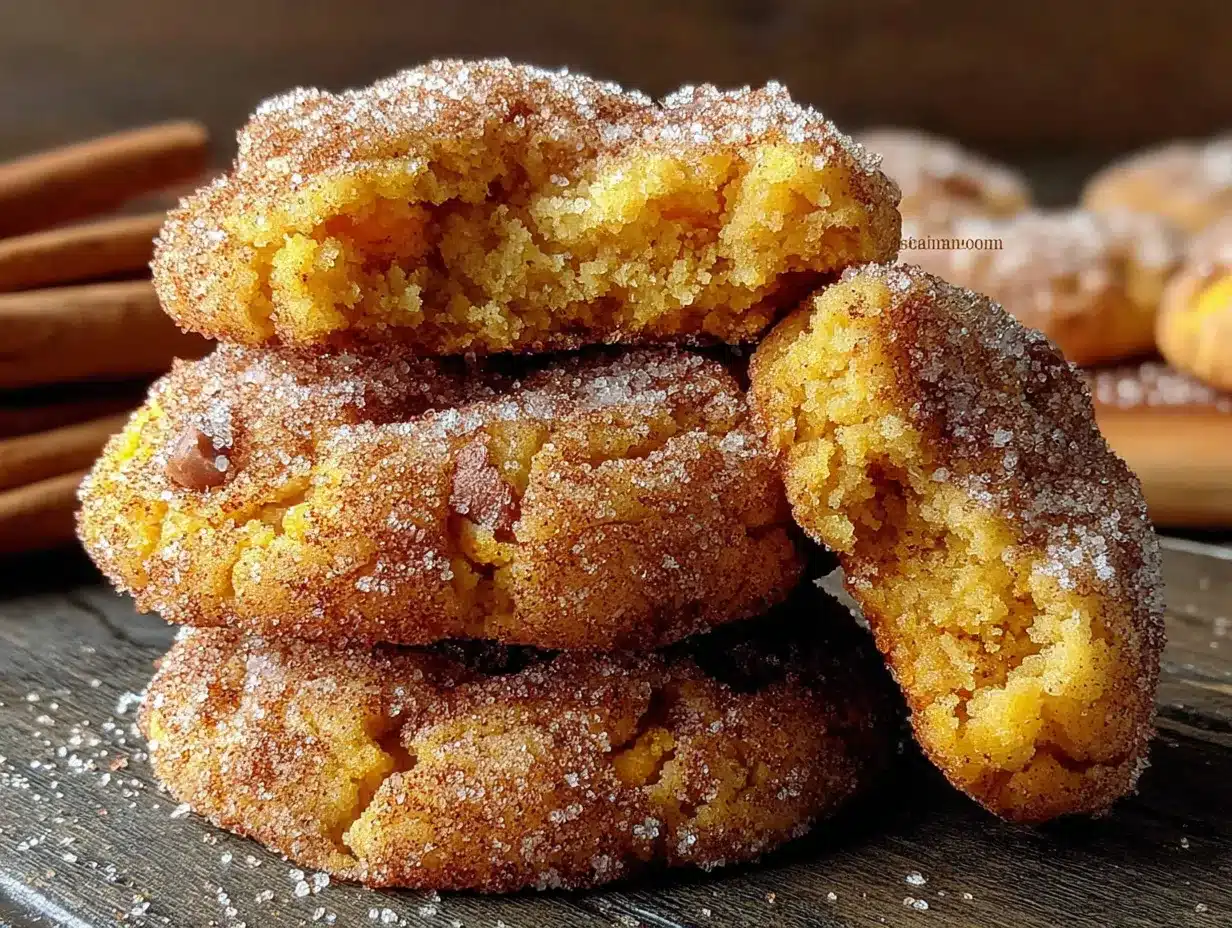
My butter was browning on the stove, the kitchen smelled like toasted nuts, and I was staring at a can of pumpkin puree I’d shoved to the back of the pantry back in October. It was March. The snickerdoodles were supposed to be a quick fix—a familiar cookie for a rainy Tuesday. But the pumpkin was sitting there, looking at me, and I thought, why not? I added a scoop of it to the dough, crossed my fingers, and hoped for the best. The first batch came out soft, a little puffy, and not snappy like a classic snickerdoodle. But the flavor? That was something else. The brown butter gave it this deep, almost caramel-like warmth, and the pumpkin made the centers impossibly tender. I tweaked the spice ratio, added a pinch more cinnamon to the coating, and suddenly these Brown Butter Pumpkin Snickerdoodle Cookies became the only cookie I wanted to make. They’re not trying to be a crunchy, thin sugar cookie. They’re soft, thick, and taste like fall, even if it’s technically spring.
Honestly, I wasn’t trying to reinvent the wheel. I just had leftover ingredients and a hunch. And sometimes, that’s where the best recipes come from—not from a plan, but from a happy accident in a warm kitchen. These cookies have that “I can’t stop eating them” quality, and the brown butter makes everything feel a little fancy without any extra work. If you’ve never browned butter before, don’t worry. It’s easier than you think, and the payoff is huge. These Brown Butter Pumpkin Snickerdoodle Cookies are soft, spiced, and rolled in a cinnamon-sugar blanket that crackles when you bite in. They’re the kind of cookie you make when you want something cozy, familiar, but just a little bit special.
Why You’ll Love This Recipe
I’ve tested this recipe about six times to get the texture just right. The first batch was too cakey. The second was flat and greasy. But the third? That was the one. Here’s why I keep coming back to these cookies, and why I think you will too.
- Soft and Tender Centers: The pumpkin puree keeps these cookies incredibly moist without making them gummy. They stay soft for days—if they last that long.
- Brown Butter Magic: Toasting the butter adds a nutty, rich flavor that plain butter just can’t match. It’s a small step that makes a huge difference.
- Perfectly Spiced: Cinnamon, nutmeg, and a touch of ginger give these cookies that classic pumpkin spice warmth without being overpowering.
- Easy Ingredients: You don’t need anything weird. Butter, sugar, pumpkin, flour, eggs—all pantry staples you probably already have.
- No Chilling Required: The dough comes together fast and goes straight into the oven. No waiting around for the dough to firm up.
- Crowd-Pleaser: I brought a batch to a neighbor’s potluck and watched them disappear in ten minutes. Kids and adults both went for seconds.
What makes these different from other pumpkin cookies is the brown butter plus the snickerdoodle coating. Most pumpkin cookies are soft and spiced, but they lack that crackly cinnamon-sugar crust. These have both. The brown butter adds a layer of savory depth that balances the sweetness, so the cookies aren’t cloying. They’re just right. And honestly, every time I make them, I close my eyes after the first bite. It’s that kind of cookie—comforting, familiar, but with a little twist that makes you feel like you’re eating something special.
What Ingredients You Will Need
This recipe uses simple, wholesome ingredients that come together to create something truly special. The brown butter is the star, but every ingredient plays a role in getting that perfect soft texture and warm spice flavor.
For the Brown Butter
- 1 cup (2 sticks) unsalted butter – I use unsalted so I can control the salt level. If you only have salted, just reduce the added salt by ¼ teaspoon.
For the Cookie Dough
- 2 cups all-purpose flour – Spoon and level your flour for the best results. Scooping directly from the bag can pack in too much flour and make the cookies dry.
- 1 teaspoon baking soda – Helps the cookies spread just a little and gives them a soft lift.
- ½ teaspoon baking powder – Adds a bit more height and tenderness.
- ½ teaspoon salt – Balances the sweetness and enhances the brown butter flavor.
- 1 teaspoon ground cinnamon – The main spice in the dough. I like using Ceylon cinnamon for a milder, sweeter flavor.
- ½ teaspoon ground nutmeg – Freshly grated is best, but pre-ground works fine.
- ¼ teaspoon ground ginger – Adds a little warmth without being spicy.
- 1 cup packed light brown sugar – Brown sugar adds moisture and a subtle molasses flavor that pairs beautifully with the brown butter.
- ½ cup granulated sugar – Adds sweetness and helps with spreading.
- 2 large eggs, room temperature – Room temperature eggs mix in more evenly and help create a smoother dough.
- 1 teaspoon vanilla extract – Pure vanilla extract is worth it here. It rounds out all the flavors.
- ½ cup pumpkin puree – Make sure you’re using 100% pure pumpkin, not pumpkin pie filling. The pie filling has added sugar and spices that will throw off the recipe.
For the Cinnamon-Sugar Coating
- ¼ cup granulated sugar – The base of the coating.
- 1 tablespoon ground cinnamon – This is what gives snickerdoodles their signature crust. Don’t skimp.
Ingredient Tips: For the best brown butter flavor, use a light-colored pan so you can see the butter solids turn golden. I prefer using Land O’Lakes unsalted butter for its consistent quality and rich flavor. When it comes to pumpkin puree, Libby’s is my go-to because it’s thick and not watery. If your pumpkin puree looks a little loose, blot it with a paper towel before adding it to the dough. This helps prevent the cookies from spreading too much.
Substitutions: If you’re out of brown sugar, you can use all granulated sugar, but the cookies will be slightly less moist. For a dairy-free version, use vegan butter—just make sure it’s a block-style butter, not a spread. The texture will be a little different, but still delicious. You can also swap the all-purpose flour with a 1:1 gluten-free baking flour blend. I’ve done it before and the cookies were still soft and chewy.
Equipment Needed
You don’t need a fancy kitchen to make these cookies. Here’s what you’ll need:
- Large skillet or saucepan – For browning the butter. A light-colored pan helps you see the color change.
- Mixing bowls – One large bowl for the dry ingredients and another for the wet ingredients.
- Whisk – For mixing the dry ingredients and the cinnamon-sugar coating.
- Hand mixer or stand mixer – A hand mixer works great for creaming the butter and sugars. You can also do it by hand with a wooden spoon, but it takes a bit more elbow grease.
- Rubber spatula – For scraping down the sides of the bowl and folding in the flour.
- Baking sheets – Two large baking sheets work best so you can bake multiple batches at once.
- Parchment paper or silicone baking mats – These prevent sticking and help the cookies bake evenly.
- Cookie scoop – A 1.5-tablespoon scoop makes uniform cookies that bake evenly. If you don’t have one, use two spoons.
- Cooling rack – Lets the cookies cool without getting soggy on the bottom.
Budget-Friendly Tip: If you don’t have a hand mixer, you can cream the butter and sugar by hand. It takes about 3-4 minutes of vigorous stirring, but it works. I’ve done it plenty of times when my mixer was in the dishwasher.
Preparation Method
Let’s get baking. This recipe makes about 24 cookies, and the whole process takes about 30 minutes from start to finish.
- Brown the butter: Place the 1 cup of unsalted butter in a light-colored skillet or saucepan over medium heat. Stir occasionally with a rubber spatula. After about 5-7 minutes, the butter will melt, foam, and then start to turn golden brown. You’ll see little brown specks forming at the bottom. Once it smells nutty and looks like amber, remove it from the heat immediately. Pour it into a heatproof bowl and let it cool for 10 minutes. Don’t skip the cooling step—if the butter is too hot, it will cook the eggs.
- Preheat the oven: Set your oven to 350°F (175°C). Line two baking sheets with parchment paper or silicone mats.
- Mix the dry ingredients: In a medium bowl, whisk together the 2 cups all-purpose flour, 1 teaspoon baking soda, ½ teaspoon baking powder, ½ teaspoon salt, 1 teaspoon cinnamon, ½ teaspoon nutmeg, and ¼ teaspoon ginger. Set aside.
- Make the cinnamon-sugar coating: In a small shallow bowl, mix ¼ cup granulated sugar with 1 tablespoon cinnamon. Set aside.
- Cream the butter and sugars: In a large bowl, combine the cooled brown butter, 1 cup packed light brown sugar, and ½ cup granulated sugar. Beat with a hand mixer on medium speed for about 2 minutes until the mixture looks smooth and slightly lighter in color. It won’t get fluffy like regular butter, but that’s okay.
- Add the eggs and vanilla: Add the 2 room temperature eggs one at a time, beating well after each addition. Then add the 1 teaspoon vanilla extract and beat until combined. The mixture might look a little separated—that’s normal.
- Add the pumpkin puree: Add the ½ cup pumpkin puree and beat on low speed until just combined. Don’t overmix here; you just want it incorporated.
- Fold in the dry ingredients: Add the dry flour mixture to the wet ingredients in two additions. Use a rubber spatula to fold gently until no streaks of flour remain. The dough will be soft and slightly sticky, but it should hold together. If it feels too wet, add an extra tablespoon of flour.
- Scoop and coat: Use a 1.5-tablespoon cookie scoop to portion the dough. Roll each portion into a ball with your hands, then drop it into the cinnamon-sugar mixture. Roll it around to coat completely. Place the coated dough balls on the prepared baking sheets, spacing them about 2 inches apart. They will spread a little, so don’t crowd them.
- Bake: Bake for 10-12 minutes, or until the edges are set and the tops look slightly cracked. The centers will still look soft and puffy—that’s perfect. Don’t overbake or they’ll lose their soft texture.
- Cool: Let the cookies cool on the baking sheet for 5 minutes. This allows them to set up without breaking. Then transfer them to a cooling rack to cool completely. The centers will continue to set as they cool.
Visual Cues: The dough should be soft but not sticky. When you roll it into balls, it should feel pliable. The cinnamon-sugar coating should stick easily. During baking, the cookies will puff up slightly and the edges will turn a light golden brown. The centers will look a little underdone when you pull them out—that’s the sign of a soft cookie. If the edges are dark brown, they’ve been in too long.
Cooking Tips & Techniques
I’ve made these cookies enough times to know what can go wrong. Here are my best tips for perfect results every time.
Don’t Overbrown the Butter: I learned this the hard way. Brown butter can go from perfect to burnt in seconds. Once you see the butter turn amber and smell that nutty aroma, pull it off the heat immediately. If you see black specks, you’ve gone too far. Start over. Burnt butter tastes bitter and will ruin the cookies.
Use a Cookie Scoop: A scoop ensures every cookie is the same size, so they bake evenly. If you use your hands, you might end up with some cookies bigger than others, and the smaller ones will overbake while the larger ones stay underdone.
Room Temperature Eggs Matter: Cold eggs can seize the brown butter and make the dough lumpy. Let your eggs sit out for 30 minutes before you start. If you forget, place them in a bowl of warm water for 5 minutes.
Don’t Skip the Cooling: Let the cookies cool on the baking sheet for 5 minutes before moving them. They’re fragile when they come out of the oven, and moving them too soon can cause them to break apart. Trust me, I’ve lost a few cookies this way.
Multitasking Strategy: While the butter is browning, whisk your dry ingredients together. While the butter cools, line your baking sheets. This way, you’re not waiting around. The whole process flows smoothly if you prep everything first.
Check Your Oven Temperature: Ovens can run hot or cold. If your cookies are browning too fast on the edges but staying pale in the center, your oven might be too hot. Use an oven thermometer to check. I keep one in my oven at all times—it’s a game-changer.
Sticky Dough? If the dough feels too sticky to roll into balls, pop it in the fridge for 15 minutes. That usually firms it up enough to handle. But don’t chill it for too long, or the cookies won’t spread as much.
Variations & Adaptations
One of the best things about this recipe is how easy it is to tweak. Here are a few variations I’ve tried and loved.
Chocolate Chip Pumpkin Snickerdoodles: Fold in ½ cup of semi-sweet chocolate chips along with the dry ingredients. The chocolate pairs beautifully with the brown butter and pumpkin spices. I did this once when I was craving something extra indulgent, and it was a huge hit.
Vegan Version: Use vegan butter for the brown butter and replace the eggs with 2 flax eggs (2 tablespoons ground flaxseed mixed with 6 tablespoons water, let sit for 5 minutes). The cookies will be slightly less tender, but still soft and delicious. I’ve made these for a vegan friend, and she couldn’t stop eating them.
Gluten-Free Option: Swap the all-purpose flour with a 1:1 gluten-free baking flour blend that contains xanthan gum. I’ve used Bob’s Red Mill 1:1 Baking Flour with great results. The cookies might spread a little more, so chill the dough for 20 minutes before baking.
Spice It Up: Add ¼ teaspoon of cloves or allspice to the dough for a more complex spice profile. I like doing this in the fall when I want a cookie that tastes like a pumpkin pie in cookie form.
Nutty Twist: Fold in ½ cup of chopped pecans or walnuts after adding the dry ingredients. The crunch adds a nice contrast to the soft cookie. I’ve done this with toasted pecans, and the nuttiness complements the brown butter perfectly.
Different Coating: Try rolling the dough balls in a mixture of granulated sugar and pumpkin pie spice instead of straight cinnamon. It gives the cookies a more festive flavor, especially around the holidays.
Serving & Storage Suggestions
These cookies are best served warm, when the centers are still soft and the cinnamon-sugar coating is slightly crackly. Let them cool for about 5 minutes after baking, then serve them with a glass of cold milk or a hot cup of coffee. They’re also amazing with a scoop of vanilla ice cream for a quick dessert.
Storage: Store the cookies in an airtight container at room temperature for up to 5 days. Place a slice of bread in the container to keep them soft—the bread absorbs excess moisture and the cookies stay tender. Just replace the bread slice every couple of days.
Freezing: You can freeze the baked cookies for up to 3 months. Place them in a single layer in a freezer-safe bag or container. To thaw, let them sit at room temperature for about 30 minutes. You can also freeze the unbaked dough balls. Roll them into balls, coat them in the cinnamon-sugar mixture, and place them on a baking sheet in the freezer until solid. Then transfer them to a freezer bag. Bake from frozen, adding 2-3 minutes to the baking time.
Flavor Development: These cookies actually taste better the next day. The spices meld together and the brown butter flavor becomes more pronounced. So if you can resist eating them all on day one, you’re in for a treat on day two.
Reheating: To recapture that just-baked warmth, pop a cookie in the microwave for 10 seconds. Or place them on a baking sheet in a 300°F oven for 5 minutes. They’ll come out soft and fragrant.
Nutritional Information & Benefits
Here’s the approximate nutritional breakdown for one cookie (based on 24 cookies):
- Calories: 185
- Fat: 9g
- Carbohydrates: 25g
- Fiber: 1g
- Sugar: 15g
- Protein: 2g
Health Benefits: Pumpkin puree is packed with vitamin A, which supports eye health and immune function. It also adds fiber and moisture without extra fat. Brown butter contains butyrate, a fatty acid that may support gut health. Of course, these are still cookies—they’re a treat, not a health food. But I love that they use real ingredients and a little pumpkin for a nutritional boost.
Dietary Considerations: This recipe contains gluten, dairy, and eggs. For gluten-free and vegan options, see the variations section above. These cookies are also nut-free as written, making them safe for school lunches and parties.
Allergen Note: If you’re serving these to someone with a nut allergy, make sure your vanilla extract is nut-free (some brands use almond extract). Also, check your baking powder and baking soda to ensure they’re gluten-free if that’s a concern.
Conclusion
These Brown Butter Pumpkin Snickerdoodle Cookies have become my go-to cookie for fall gatherings, cozy nights in, and anytime I want something that feels special without a ton of effort. The brown butter adds a depth of flavor you just can’t get from plain butter, and the pumpkin keeps everything soft and tender. Plus, that cinnamon-sugar coating? It’s the perfect finishing touch.
I’d love to hear how these turn out for you. Did you add chocolate chips? Try a different spice blend? Make them gluten-free? Drop a comment below and let me know. And if you’re looking for more easy, cozy recipes, check out my cozy stuffed pepper soup for a hearty dinner or these thick gooey Levain bakery copycat cookies if you’re in a cookie mood. Happy baking!
Frequently Asked Questions
Can I use pumpkin pie filling instead of pumpkin puree?
No, I wouldn’t recommend it. Pumpkin pie filling has added sugar and spices, which will mess with the sweetness and spice balance of the recipe. Stick with 100% pure pumpkin puree for the best results.
Why are my cookies flat?
Flat cookies usually mean the butter was too warm or the dough wasn’t chilled enough. Make sure your brown butter has cooled to room temperature before mixing. If your kitchen is warm, chill the dough balls for 15 minutes before baking.
Can I make the dough ahead of time?
Yes! You can prepare the dough, roll it into balls, and store them in the fridge for up to 3 days. Coat them in the cinnamon-sugar mixture just before baking. If the dough is too firm to roll, let it sit at room temperature for 10 minutes.
How do I know when the cookies are done?
Look for set edges and slightly cracked tops. The centers will look soft and puffy, but they’ll continue to set as they cool. If the edges are dark brown, they’re overbaked. Pull them out when the edges are just golden.
Can I double this recipe?
Absolutely. This recipe doubles beautifully. Just make sure you have enough baking sheets and space in your oven. You can also bake the cookies in batches, keeping the unbaked dough at room temperature while the first batch bakes.
Pin This Recipe!
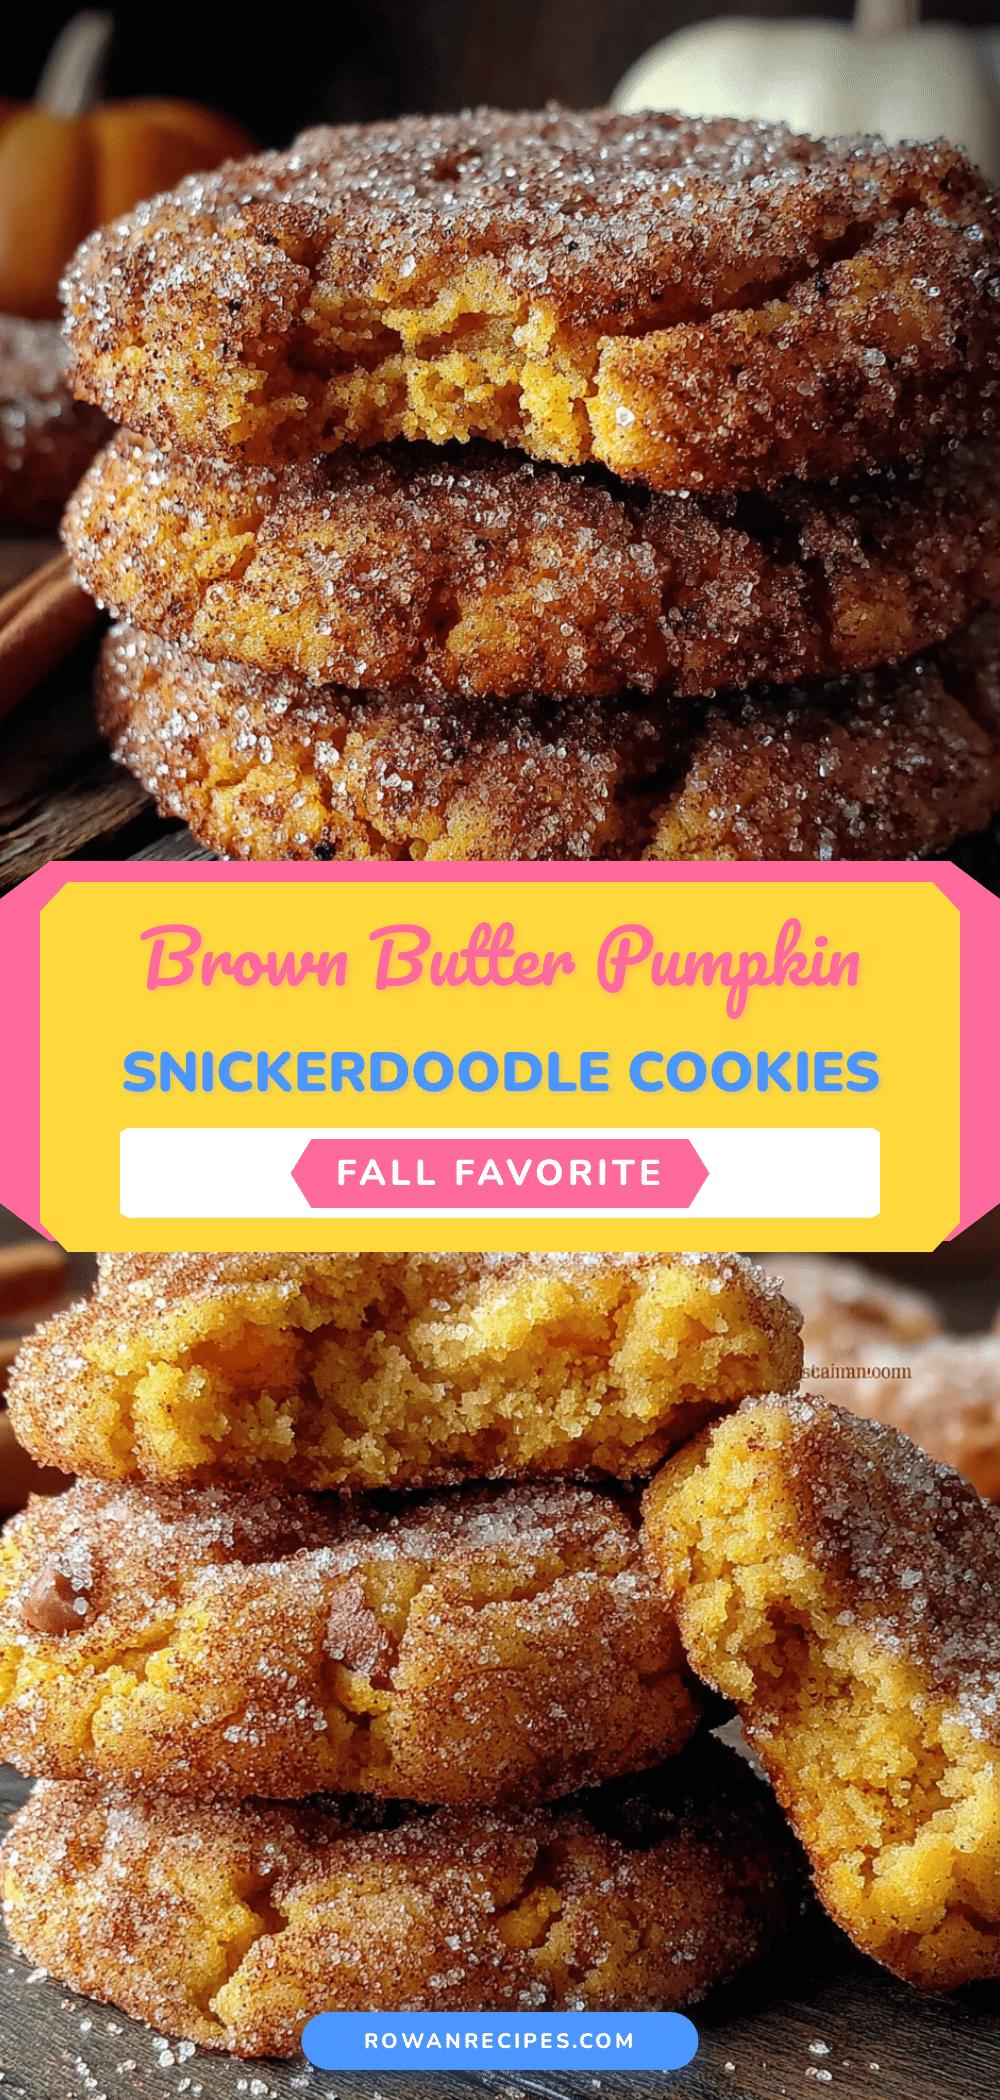
Best Easy Brown Butter Pumpkin Snickerdoodles
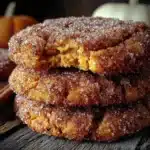
Soft, thick, and spiced snickerdoodle cookies made with brown butter and pumpkin puree, rolled in a cinnamon-sugar coating. A cozy, crowd-pleasing treat that tastes like fall.
- Prep Time: 15 minutes
- Cook Time: 12 minutes
- Total Time: 27 minutes
- Yield: 24 servings 1x
- Category: Dessert
- Cuisine: American
Ingredients
- 1 cup (2 sticks) unsalted butter
- 2 cups all-purpose flour
- 1 teaspoon baking soda
- ½ teaspoon baking powder
- ½ teaspoon salt
- 1 teaspoon ground cinnamon
- ½ teaspoon ground nutmeg
- ¼ teaspoon ground ginger
- 1 cup packed light brown sugar
- ½ cup granulated sugar
- 2 large eggs, room temperature
- 1 teaspoon vanilla extract
- ½ cup pumpkin puree
- ¼ cup granulated sugar (for coating)
- 1 tablespoon ground cinnamon (for coating)
Instructions
- Brown the butter: Place 1 cup unsalted butter in a light-colored skillet over medium heat. Stir occasionally until melted, foamy, and golden brown with nutty aroma (about 5-7 minutes). Remove from heat and pour into a heatproof bowl. Let cool for 10 minutes.
- Preheat oven to 350°F (175°C). Line two baking sheets with parchment paper or silicone mats.
- Mix dry ingredients: In a medium bowl, whisk together flour, baking soda, baking powder, salt, cinnamon, nutmeg, and ginger. Set aside.
- Make cinnamon-sugar coating: In a small shallow bowl, mix ¼ cup granulated sugar with 1 tablespoon cinnamon. Set aside.
- Cream butter and sugars: In a large bowl, combine cooled brown butter, brown sugar, and ½ cup granulated sugar. Beat with a hand mixer on medium speed for about 2 minutes until smooth and slightly lighter in color.
- Add eggs and vanilla: Add eggs one at a time, beating well after each. Add vanilla and beat until combined.
- Add pumpkin puree: Add pumpkin puree and beat on low speed until just combined.
- Fold in dry ingredients: Add dry mixture in two additions, folding gently with a rubber spatula until no streaks remain. Dough will be soft and slightly sticky.
- Scoop and coat: Using a 1.5-tablespoon cookie scoop, portion dough and roll into balls. Roll each ball in cinnamon-sugar mixture to coat completely. Place on prepared baking sheets, spacing 2 inches apart.
- Bake for 10-12 minutes, until edges are set and tops look slightly cracked. Centers will still be soft.
- Cool on baking sheet for 5 minutes, then transfer to a cooling rack to cool completely.
Notes
Don’t overbrown the butter; remove from heat as soon as it turns amber. Use room temperature eggs to prevent the butter from seizing. For best texture, do not overbake—centers should look soft when removed from oven. Cookies taste even better the next day.
Nutrition
- Serving Size: 1 cookie
- Calories: 185
- Sugar: 15
- Sodium: 120
- Fat: 9
- Saturated Fat: 5
- Carbohydrates: 25
- Fiber: 1
- Protein: 2
Keywords: brown butter, pumpkin, snickerdoodles, cookies, fall, soft, cinnamon-sugar