The plumber was tightening a pipe under my kitchen sink when he started talking about cocoa bombs. I wasn’t expecting plumbing advice, let alone dessert inspiration, but there I was, holding a flashlight for him, listening to this guy named Dave describe exactly how to make hot cocoa bombs that don’t crack or leak. He had this way of explaining things—like he was describing a science experiment, not a treat. “The trick,” he said, wiping his hands on a rag, “is the temperature of the chocolate. Too hot, and your mold turns into a mess. Too cold, and it won’t stick.” I scribbled his notes on an old receipt while he packed up his tools. Honestly, I thought I’d forget about it by the next day.
But I didn’t. That conversation stuck with me the way a good recipe does—it nags at you until you try it. So the next weekend, I grabbed a bag of high-quality chocolate chips, a silicone mold I’d bought on a whim months ago, and set up my kitchen like a tiny chocolate factory. The first batch? Let’s just say I learned what “too hot” really means. Chocolate everywhere. A cracked shell that looked more like a broken egg than a sphere. But the second batch? That one worked. And by the third, I was adding homemade marshmallows because, honestly, if you’re going to make hot cocoa bombs, you might as well go all in.
These cozy hot cocoa bombs with marshmallows have become my go-to winter project. They’re the kind of thing you make on a snowy Saturday when you have nowhere to be and nothing but time. Maybe you’ve been there—staring at a Pinterest board full of perfect chocolate spheres, wondering if you could actually pull it off. You can. And I promise, once you see that first bomb bloom open in a mug of warm milk, you’ll understand why Dave the plumber couldn’t stop talking about them.
Why You’ll Love This Recipe
Let me tell you, after testing these things about a dozen times (and eating way too many test batches), I’ve figured out what makes a cocoa bomb truly special. It’s not just about the chocolate shell—it’s about the whole experience. And this version? It delivers every single time.
- Surprisingly Simple : Once you get the hang of tempering chocolate, these come together in about 30 minutes of active work. The rest is just waiting for things to set. Perfect for a lazy Sunday afternoon.
- Pantry-Friendly Ingredients : You probably already have chocolate chips, cocoa powder, and milk in your house. The homemade marshmallows need gelatin and corn syrup, but both are easy to find at any grocery store.
- Perfect for Cozy Gatherings : These are made for cold winter nights, holiday parties, or those quiet mornings when you want something warm and comforting. Drop one in a mug, pour hot milk over it, and watch the magic happen.
- Kid-Approved and Adult-Loved : My niece literally squealed when she saw the marshmallow puff up inside the melting chocolate. But I’ve also served these at a grown-up dinner party, and everyone went quiet for a minute after that first sip.
- Unbelievably Satisfying : There’s something about the way the chocolate shell cracks open, releasing the cocoa mix and marshmallows into the hot milk. It’s like a little performance in your mug. Pure comfort.
What makes these different from the average cocoa bomb is the homemade marshmallow. Most recipes use store-bought mini marshmallows, which are fine, but they dissolve too fast. My version uses a fluffy, vanilla-scented marshmallow that holds its shape just long enough to get that perfect melty bite. Plus, the chocolate shell is thick enough to feel substantial but thin enough to melt instantly. It’s a balance I spent way too long perfecting, and I’m pretty proud of it.
This recipe isn’t just good—it’s the kind that makes you close your eyes after that first sip. It’s comfort in a mug, reimagined with a little bit of homemade love and a whole lot of chocolate.
What Ingredients You Will Need
This recipe uses simple, wholesome ingredients to create something that feels fancy without the fuss. Most of these are pantry staples, but a few deserve a little extra attention to get the best results.
- For the Chocolate Shell:
- 12 ounces (340g) high-quality semi-sweet chocolate chips (I prefer Ghirardelli or Guittard—they temper beautifully)
- 1 tablespoon (15g) coconut oil or cocoa butter (optional, but helps with shine and snap)
- For the Hot Cocoa Mix:
- 1/2 cup (60g) unsweetened cocoa powder (Dutch-process gives a richer flavor)
- 1/2 cup (100g) granulated sugar
- 1/4 cup (30g) powdered milk (adds creaminess)
- 1/4 teaspoon salt
- 1/4 teaspoon vanilla powder or 1/2 teaspoon vanilla extract (if using extract, let the mix dry before filling bombs)
- For the Homemade Marshmallows:
- 3 tablespoons (45ml) cold water
- 1 tablespoon (7g) unflavored gelatin (like Knox)
- 1/2 cup (100g) granulated sugar
- 1/4 cup (60ml) light corn syrup
- 1/4 cup (60ml) water
- 1/4 teaspoon salt
- 1 teaspoon vanilla extract
- 1/4 cup (30g) powdered sugar, for dusting
- For Assembly and Serving:
- 6 to 8 large silicone hemisphere molds (2.5-inch diameter works best)
- 6 to 8 cups (1.4 to 1.9 liters) warm milk (dairy or non-dairy—oat milk is my favorite)
- Optional: crushed peppermint, sprinkles, or edible glitter for decorating
A few notes on ingredient selection. For the chocolate, skip the cheap chocolate chips that have stabilizers—they don’t melt as smoothly and can leave a waxy feel. I’ve tested this with both semi-sweet and dark chocolate, and semi-sweet gives the best balance of sweetness against the cocoa mix. If you want a dairy-free version, use vegan chocolate chips and coconut oil instead of cocoa butter.
The homemade marshmallows are worth the extra effort. Store-bought mini marshmallows work in a pinch, but they dissolve almost immediately when hot milk hits them. These homemade ones stay fluffy for a good minute, giving you that perfect moment where you scoop up a melty marshmallow with your spoon. Trust me on this one.
For the cocoa mix, I’ve found that Dutch-process cocoa powder gives a deeper, more complex chocolate flavor than natural cocoa. But if all you have is natural cocoa, it’ll still taste great—just add a pinch more sugar to balance the bitterness.
Equipment Needed
You don’t need a professional pastry kitchen for these, but a few specific tools make the process much smoother.
- Silicone hemisphere molds : These are non-negotiable. I use a 2.5-inch diameter mold that makes six spheres at a time. They’re cheap on Amazon or at craft stores. Silicone is essential—plastic molds won’t release the chocolate cleanly.
- Double boiler or heatproof bowl : A double boiler gives you the most control over chocolate temperature. If you don’t have one, a glass or metal bowl set over a pot of simmering water works perfectly.
- Instant-read thermometer : For tempering chocolate, this is your best friend. You need to know when the chocolate hits 88-90°F (31-32°C) for semi-sweet. I’ve ruined plenty of batches by guessing.
- Small offset spatula or pastry brush : For spreading chocolate evenly inside the molds. A brush gives you a thinner, more even layer.
- Stand mixer or hand mixer : For the marshmallows. You’ll be whipping for about 10 minutes, and a stand mixer makes this effortless. A hand mixer works too, but your arm will get a workout.
- Piping bag or zip-top bag : For filling the bombs with cocoa mix and marshmallows. A zip-top bag with the corner snipped off works perfectly.
- Baking sheet : For setting the filled bombs and for dusting marshmallows.
If you don’t have a thermometer, you can test the chocolate by dabbing a bit on your wrist—it should feel cool, not warm. But honestly, the thermometer is worth the $10 investment. I learned that lesson the hard way after three failed batches.
Preparation Method
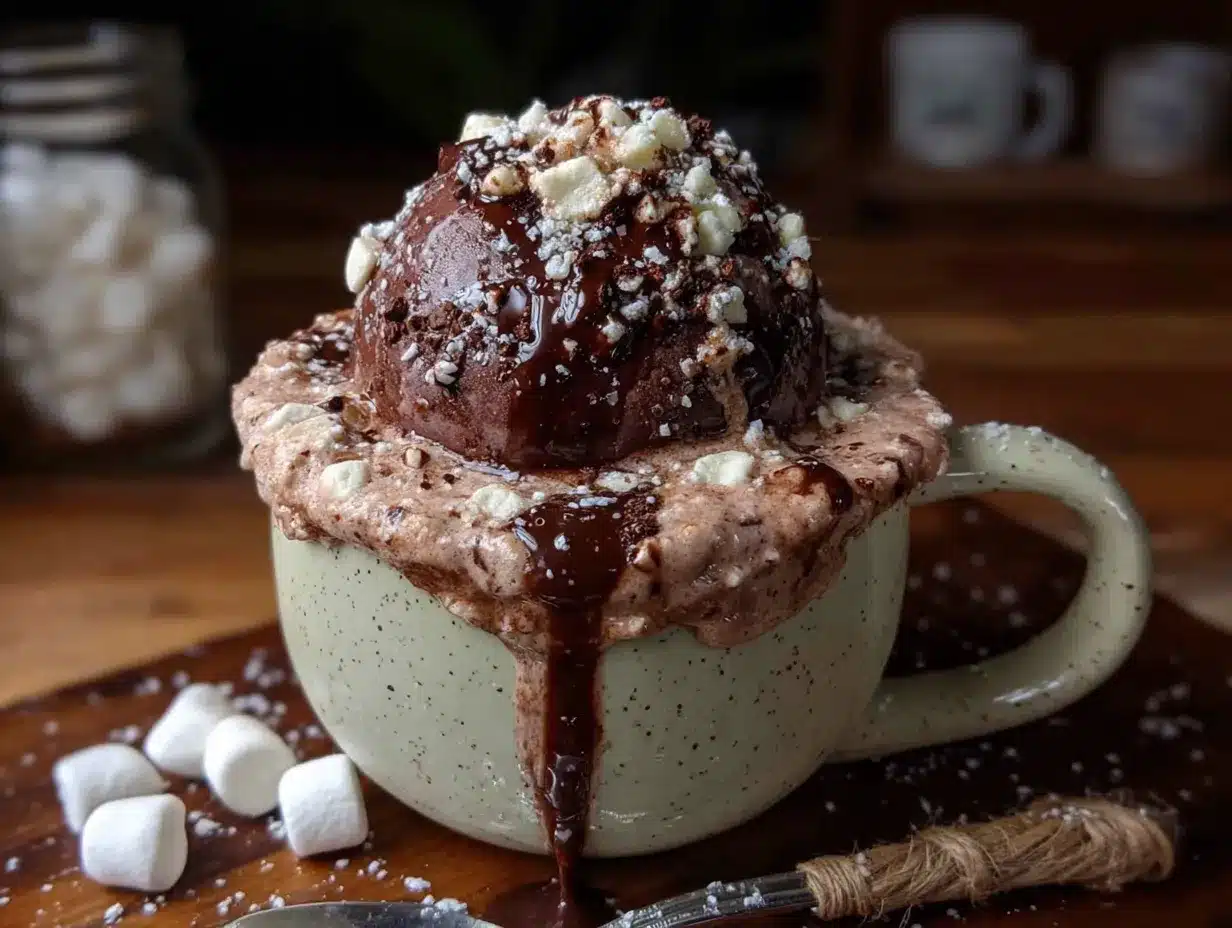
Let’s break this down step by step. Take your time with the chocolate—it’s the part that trips most people up.
- Make the Homemade Marshmallows (Day Before or Morning Of)
Pour 3 tablespoons cold water into the bowl of your stand mixer. Sprinkle the gelatin over the water and let it sit for 5-10 minutes until it’s thick and spongy. In a small saucepan, combine the sugar, corn syrup, 1/4 cup water, and salt. Heat over medium heat, stirring occasionally, until the sugar dissolves. Bring to a boil and cook until the mixture reaches 240°F (115°C) on your thermometer—this takes about 5-7 minutes. Remove from heat and pour the hot syrup into the gelatin mixture while the mixer runs on low. Gradually increase to high speed and whip for 8-10 minutes until the mixture is thick, white, and tripled in volume. Add the vanilla extract and whip for another 30 seconds. Pour into a greased 8×8 pan dusted with powdered sugar. Let it set at room temperature for at least 4 hours or overnight. Once set, cut into small cubes and toss with more powdered sugar to prevent sticking. - Temper the Chocolate
Finely chop the chocolate if using bars, or use chips. Melt two-thirds of the chocolate in a double boiler over barely simmering water, stirring constantly. Heat to 115°F (46°C) for semi-sweet chocolate. Remove from heat and add the remaining one-third of chocolate. Stir continuously until the chocolate cools to 88-90°F (31-32°C). This is the sweet spot—if it goes below, gently reheat. Add the coconut oil or cocoa butter if using, and stir until smooth. The chocolate should look glossy and feel cool on your wrist. - Mold the Chocolate Shells
Using a pastry brush or small offset spatula, paint a thin, even layer of tempered chocolate inside each hemisphere of your silicone mold. Make sure to cover the edges completely—any thin spots will crack later. Place the mold on a baking sheet and refrigerate for 5 minutes until the chocolate is firm but not brittle. Apply a second layer of chocolate for thicker shells, and refrigerate again for 5 minutes. You want the shells to be sturdy enough to hold the filling but thin enough to melt quickly. - Make the Hot Cocoa Mix
While the chocolate sets, whisk together the cocoa powder, sugar, powdered milk, salt, and vanilla powder (if using) in a small bowl. If using vanilla extract, stir it in and let the mixture dry on a plate for 30 minutes before filling the bombs. The mix should be fine and powdery, not clumpy. - Assemble the Bombs
Gently pop the chocolate shells out of the silicone mold. You should have 12 perfect half-spheres. Place 6 of them on a clean baking sheet. Spoon about 1 tablespoon of cocoa mix into each half-sphere. Add 3-4 small cubes of homemade marshmallow on top of the cocoa mix. Don’t overfill—you need room to seal the bomb. Take the remaining 6 half-spheres and warm their edges slightly by pressing them against a warm skillet for 3-5 seconds or using a warm plate. Press each top half onto a filled bottom half, gently sealing the edges. Use a finger to smooth the seam. Refrigerate the assembled bombs for 10 minutes to set the seal. - Decorate (Optional)
Once sealed, you can drizzle melted chocolate over the top and sprinkle with crushed peppermint, sprinkles, or edible glitter. Let the decorations set at room temperature for 15 minutes. - Serve
Place one cocoa bomb in a large mug. Heat 1 cup (240ml) of milk until steaming but not boiling—about 150°F (65°C). Pour the hot milk directly over the bomb and watch it bloom open. Stir gently until the chocolate is fully melted and the cocoa mix is incorporated. Top with extra marshmallows if you’re feeling indulgent.
Cooking Tips & Techniques
I’ve made every mistake in the book with these, so let me save you some trouble.
Temperature is everything with chocolate. The first time I tried this, I melted the chocolate too fast and it seized up into a grainy mess. Another time, I didn’t temper it properly, and the shells bloomed with white streaks—still edible, but not pretty. Keep your chocolate between 88-90°F (31-32°C) for the best results. If you don’t have a thermometer, test a dab on your lower lip—it should feel neutral, not warm or cold.
Don’t skip the second layer of chocolate. I know it’s tempting to rush, but single-layer shells crack easily when you try to seal them. Two thin layers are stronger than one thick layer. Plus, they melt more evenly in hot milk.
Homemade marshmallows are sticky business. Keep a bowl of powdered sugar nearby to dust your hands and knife when cutting them. If they’re too sticky to handle, pop them in the freezer for 10 minutes. And don’t skip the corn syrup—it’s what gives marshmallows their structure. I tried a corn syrup-free version once, and it turned into a puddle.
Sealing the bombs is the trickiest part. If your edges are too cold, they won’t stick. If they’re too warm, the chocolate melts and the bomb collapses. I warm the edges by pressing them against a ceramic plate that’s been sitting in a warm oven (200°F) for 2 minutes. It’s a Goldilocks situation—just right.
Multitask like a pro. While the chocolate layers are setting in the fridge, make your cocoa mix. While the marshmallows are setting, clean up your workspace. This recipe has a lot of waiting time, but if you plan ahead, it all comes together smoothly.
Variations & Adaptations
Once you’ve mastered the basic recipe, the possibilities are endless. Here are a few of my favorite twists.
Peppermint Cocoa Bombs: Add 1/4 teaspoon peppermint extract to the cocoa mix and crush a few candy canes to sprinkle on top of the finished bombs. The minty-chocolate combo is perfect for Christmas morning.
Spiced Hot Chocolate: Whisk 1/2 teaspoon cinnamon, 1/4 teaspoon nutmeg, and a pinch of cayenne into the cocoa mix. It gives the bombs a Mexican hot chocolate vibe that’s cozy and unexpected.
Vegan Version: Use dairy-free chocolate chips and coconut oil for the shells. Substitute the gelatin in the marshmallows with agar agar (use 2 teaspoons, bloomed in 3 tablespoons water, and heat to 240°F). For the cocoa mix, use powdered coconut milk instead of dairy milk powder. It works beautifully—I’ve tested it for a friend who’s vegan.
White Chocolate Bombs: Swap the semi-sweet chocolate for high-quality white chocolate. The cocoa mix stays the same, but the white chocolate shell gives a sweeter, creamier result. Just be extra careful with tempering—white chocolate is more sensitive to heat.
Gluten-Free Note: This recipe is naturally gluten-free as written. Just double-check your cocoa powder and chocolate chips for any cross-contamination warnings if you’re sensitive.
I once tried a salted caramel version where I added a small caramel candy inside each bomb along with the marshmallows. It was incredible—the caramel melted into the hot milk and made everything extra rich. Just make sure the caramel is small enough to fit without breaking the shell.
Serving & Storage Suggestions
These cocoa bombs are best served immediately after pouring hot milk over them, but you can prepare them well in advance.
Serving: For the full experience, serve the bomb in a clear glass mug so you can watch it bloom. Heat your milk to about 150°F (65°C)—steaming but not boiling. Pour it slowly over the center of the bomb for the most dramatic effect. Let it sit for 30 seconds before stirring to allow the chocolate to fully melt. Top with extra marshmallows, a drizzle of chocolate syrup, or a dusting of cocoa powder.
Storage: Unfilled chocolate shells can be stored in an airtight container at room temperature for up to 2 weeks. Filled bombs are best used within 1 week. Store them in a cool, dry place—not the fridge, where condensation can cause the chocolate to bloom. If you live in a warm climate, you can refrigerate them, but let them come to room temperature before serving to prevent condensation.
Freezing: You can freeze the assembled bombs for up to 3 months. Place them in a single layer in an airtight container with parchment paper between layers. Thaw at room temperature for 30 minutes before serving. The marshmallows will be a bit denser after freezing, but they still taste great.
Gifting: These make incredible homemade gifts. Wrap each bomb in a cellophane bag tied with a ribbon, and attach a tag with serving instructions. I’ve given them to neighbors, teachers, and coworkers, and they’re always a hit.
Flavors actually improve after a day or two—the cocoa mix absorbs a bit of the chocolate’s richness, making everything taste more integrated. So don’t be afraid to make them ahead.
Nutritional Information & Benefits
Let’s be real—these are a treat, not a health food. But there are a few bright spots worth mentioning.
Estimated Nutritional Values (per bomb with 1 cup whole milk):
| Nutrient | Amount |
|---|---|
| Calories | 380-420 |
| Total Fat | 18g |
| Saturated Fat | 11g |
| Carbohydrates | 52g |
| Sugar | 42g |
| Protein | 8g |
| Calcium | 20% DV |
| Iron | 15% DV |
Health Highlights: Dark chocolate is rich in antioxidants called flavonoids, which can support heart health. Cocoa powder contains magnesium and iron. The homemade marshmallows have gelatin, which provides collagen and protein—though in small amounts. Using oat milk or almond milk reduces calories and saturated fat.
Dietary Considerations: This recipe contains dairy (chocolate and milk) and may contain traces of soy (in some chocolate chips). For a dairy-free version, use vegan chocolate and non-dairy milk. The marshmallows contain gelatin, so they’re not vegetarian. For a vegetarian version, use agar agar as mentioned in the variations section.
I’m not a nutritionist, but I’ve found that making treats from scratch—with real ingredients and no preservatives—feels better than reaching for a packaged mix. Plus, the ritual of making and serving these bombs is a form of self-care. Sometimes that’s just as important as the numbers.
Conclusion
These cozy hot cocoa bombs with marshmallows are the kind of recipe that turns an ordinary winter day into something special. They take a little time and patience, but that’s part of the charm. There’s something deeply satisfying about creating something beautiful and delicious with your own hands—and then watching it melt into a perfect cup of cocoa.
I hope you give these a try, and I hope you make them your own. Maybe you’ll add a splash of peppermint, or stuff them with caramel, or skip the marshmallows altogether and go for a double-chocolate version. The beauty of this recipe is that it’s a canvas for your creativity.
If you make these, I’d love to hear about it. Drop a comment below and tell me how they turned out, what variations you tried, or if you had any funny kitchen mishaps (I’ve had plenty, so no judgment here). And if you’re feeling generous, share a photo—there’s nothing that makes my day like seeing your creations in action.
Now go heat up some milk and make yourself a little magic. You deserve it.
Frequently Asked Questions
Can I use store-bought marshmallows instead of homemade?
Absolutely. Mini marshmallows work just fine, though they’ll dissolve faster than homemade ones. If using store-bought, look for the smallest size you can find—about 1/4 inch—so they fit inside the bombs without cracking the shell. I’ve used both, and while homemade is better, store-bought is still delicious.
Why did my chocolate shells crack when I tried to seal them?
This usually happens for one of two reasons: the shells are too thin, or the edges are too cold. Make sure you apply two layers of chocolate for sturdy shells. When sealing, warm the edges just slightly—press them against a warm plate for 3-5 seconds. If they crack, don’t worry. You can patch them with a bit of melted chocolate and refrigerate again.
Can I make these without a silicone mold?
Technically, yes, but it’s much harder. You can use a metal hemisphere mold if you line it with plastic wrap, but the chocolate won’t release as cleanly. Silicone molds are cheap and widely available—I found mine at a craft store for $8. They’re worth the investment if you plan to make these more than once.
How far in advance can I make these?
You can make the components separately up to a week ahead. The chocolate shells can be stored at room temperature for 2 weeks. The cocoa mix keeps indefinitely in an airtight container. The marshmallows stay fresh for 2 weeks. Assemble the bombs no more than a week before serving for the best texture. Freeze them if you need to make them further ahead.
What’s the best milk to use?
Whole milk gives the richest, creamiest result. But I’ve tested these with oat milk, almond milk, and even coconut milk, and they all work well. Oat milk is my personal favorite for a dairy-free option—it’s creamy and doesn’t separate when heated. Avoid skim milk, which can make the cocoa taste watery. The fat content matters here.
Pin This Recipe!
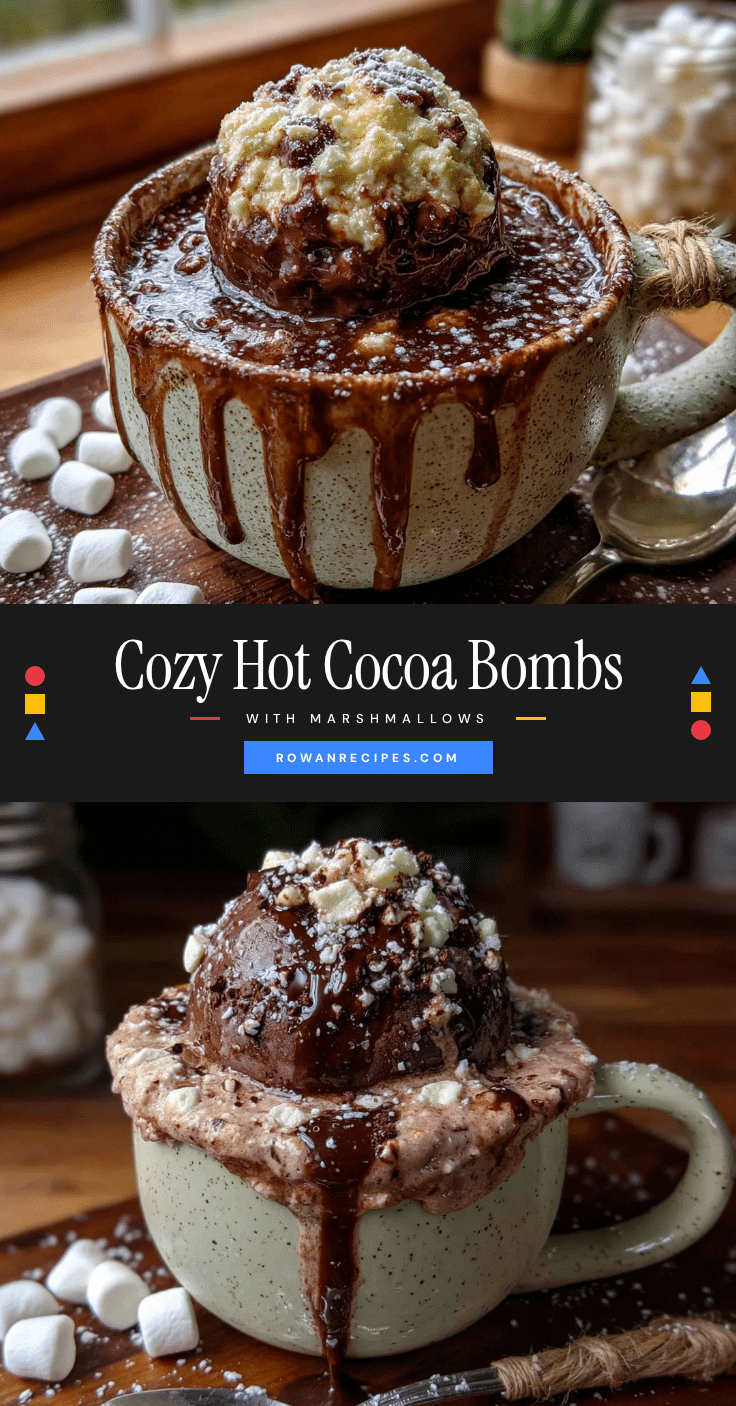
Cozy Hot Cocoa Bombs with Easy Homemade Marshmallows
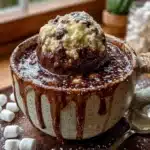
These hot cocoa bombs feature a tempered chocolate shell filled with homemade cocoa mix and fluffy vanilla marshmallows. Drop one in a mug of hot milk for a magical, melty winter treat that’s surprisingly simple to make.
- Prep Time: 30 minutes
- Cook Time: 15 minutes
- Total Time: 45 minutes (plus 4 hours for marshmallows to set)
- Yield: 6 servings 1x
- Category: Dessert
- Cuisine: American
Ingredients
- 12 ounces (340g) high-quality semi-sweet chocolate chips
- 1 tablespoon (15g) coconut oil or cocoa butter (optional)
- 1/2 cup (60g) unsweetened cocoa powder (Dutch-process preferred)
- 1/2 cup (100g) granulated sugar
- 1/4 cup (30g) powdered milk
- 1/4 teaspoon salt
- 1/4 teaspoon vanilla powder or 1/2 teaspoon vanilla extract
- 3 tablespoons (45ml) cold water
- 1 tablespoon (7g) unflavored gelatin
- 1/2 cup (100g) granulated sugar
- 1/4 cup (60ml) light corn syrup
- 1/4 cup (60ml) water
- 1/4 teaspoon salt
- 1 teaspoon vanilla extract
- 1/4 cup (30g) powdered sugar, for dusting
- 6 to 8 cups (1.4 to 1.9 liters) warm milk (dairy or non-dairy)
- Optional: crushed peppermint, sprinkles, or edible glitter for decorating
Instructions
- Make the Homemade Marshmallows (Day Before or Morning Of): Pour 3 tablespoons cold water into the bowl of your stand mixer. Sprinkle the gelatin over the water and let it sit for 5-10 minutes until thick and spongy. In a small saucepan, combine the sugar, corn syrup, 1/4 cup water, and salt. Heat over medium heat, stirring occasionally, until the sugar dissolves. Bring to a boil and cook until the mixture reaches 240°F (115°C) on your thermometer—about 5-7 minutes. Remove from heat and pour the …
- Temper the Chocolate: Finely chop the chocolate if using bars, or use chips. Melt two-thirds of the chocolate in a double boiler over barely simmering water, stirring constantly. Heat to 115°F (46°C) for semi-sweet chocolate. Remove from heat and add the remaining one-third of chocolate. Stir continuously until the chocolate cools to 88-90°F (31-32°C). Add the coconut oil or cocoa butter if using, and stir until smooth.
- Mold the Chocolate Shells: Using a pastry brush or small offset spatula, paint a thin, even layer of tempered chocolate inside each hemisphere of your silicone mold. Cover the edges completely. Place the mold on a baking sheet and refrigerate for 5 minutes until firm but not brittle. Apply a second layer of chocolate and refrigerate again for 5 minutes.
- Make the Hot Cocoa Mix: While the chocolate sets, whisk together the cocoa powder, sugar, powdered milk, salt, and vanilla powder (if using) in a small bowl. If using vanilla extract, stir it in and let the mixture dry on a plate for 30 minutes before filling the bombs.
- Assemble the Bombs: Gently pop the chocolate shells out of the silicone mold. Place 6 half-spheres on a clean baking sheet. Spoon about 1 tablespoon of cocoa mix into each half-sphere. Add 3-4 small cubes of homemade marshmallow on top. Warm the edges of the remaining 6 half-spheres by pressing them against a warm skillet for 3-5 seconds or using a warm plate. Press each top half onto a filled bottom half, gently sealing the edges. Use a finger to smooth the seam. Refrigerate the assembled bombs…
- Decorate (Optional): Once sealed, drizzle melted chocolate over the top and sprinkle with crushed peppermint, sprinkles, or edible glitter. Let the decorations set at room temperature for 15 minutes.
- Serve: Place one cocoa bomb in a large mug. Heat 1 cup (240ml) of milk until steaming but not boiling—about 150°F (65°C). Pour the hot milk directly over the bomb and watch it bloom open. Stir gently until the chocolate is fully melted and the cocoa mix is incorporated. Top with extra marshmallows if desired.
Notes
Temperature is everything with chocolate. Keep chocolate between 88-90°F (31-32°C) for best results. Don’t skip the second layer of chocolate—single-layer shells crack easily. Homemade marshmallows are sticky; keep powdered sugar nearby. Seal bombs by warming edges slightly—too cold and they won’t stick, too warm and they collapse. Store filled bombs in a cool, dry place for up to 1 week. Freeze for up to 3 months.
Nutrition
- Serving Size: 1 cocoa bomb with 1
- Calories: 400
- Sugar: 42
- Sodium: 200
- Fat: 18
- Saturated Fat: 11
- Carbohydrates: 52
- Fiber: 3
- Protein: 8
Keywords: hot cocoa bombs, homemade marshmallows, chocolate bombs, winter dessert, hot chocolate, cozy drink, Christmas treat, DIY cocoa bombs