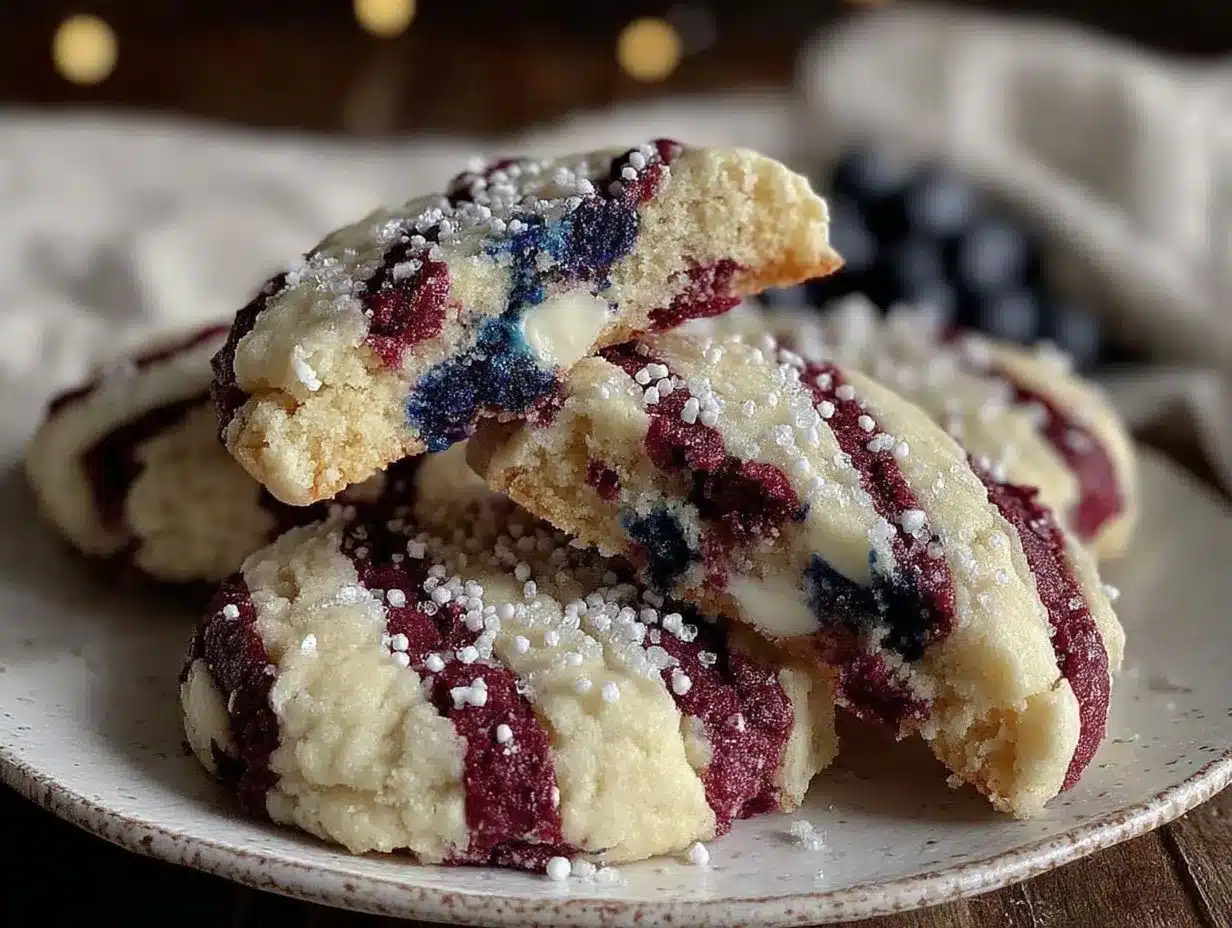
I figured icebox cookies would be one of those “too easy to be impressive” recipes. It took about one batch of dough chilling in the fridge for that idea to crumble completely. Honestly, the moment I sliced into that colorful log and saw those crisp, neat red, white, and blue stars lined up like little fireworks, I realized this was no ordinary cookie. The kitchen smelled like vanilla and butter, but with a hint of nostalgia—like Fourth of July cookouts I hadn’t quite put into words before.
The dough, surprisingly firm yet easy to slice, didn’t need any fancy rolling or cutting tools. I just wrapped the logs and waited, tempted by the subtle scent wafting through the fridge. When they baked, the edges browned perfectly, and the colors stayed vibrant, not a single red bled onto white. It was like the patriotic spirit baked right in. I didn’t expect something so simple to bring that little smile of quiet satisfaction, the kind that sticks with you long after the last crumb’s gone.
These Festive Red White and Blue Icebox Cookies became my go-to for holiday celebrations—not just because they look like a party in cookie form, but because they remind me how sometimes the simplest ideas turn out to be the most charming. If you’re like me, someone who learns best by doing and appreciates a bit of whimsy without fuss, this recipe might just become your favorite too.
Why You’ll Love This Recipe
Let me tell you, these red white and blue icebox cookies aren’t just a pretty face. After testing a handful of cookie recipes over several holiday seasons, this one nailed the balance between festive fun and classic buttery goodness. Here are a few reasons I keep coming back to it:
- Quick & Easy: The dough comes together in about 15 minutes, and chilling it overnight means you can prep ahead for busy celebrations.
- Simple Ingredients: No need for fancy sprinkles or gels—just basic pantry staples like butter, sugar, and flour, plus food coloring for that patriotic pop.
- Perfect for Patriotic Holidays: Whether it’s the Fourth of July, Memorial Day, or any summer BBQ, these cookies add that festive touch effortlessly.
- Crowd-Pleaser: Kids love the colors, and adults appreciate the tender crumb and buttery flavor. It’s a win-win when you want something nostalgic but not overly sweet.
- Unbelievably Delicious: The dough’s richness combined with the subtle vanilla is the kind of cookie that makes you close your eyes after the first bite—trust me on this.
What sets this recipe apart? The technique of rolling the dough into separate colored logs before chilling means the colors stay bright and the shapes crisp. No bleeding, no messy swirls—just clean, iconic stripes and stars that scream celebration. Plus, the dough is sturdy enough to slice thinly without crumbling apart, but soft enough to melt in your mouth.
And honestly, it’s the kind of recipe that turns simple ingredients into a little moment of joy—and that’s why it’s stuck around in my holiday rotation. If you want to make a statement without stress, these icebox cookies are it.
What Ingredients You Will Need
This recipe uses simple, wholesome ingredients to deliver bold flavor and satisfying texture without the fuss. Most of these are pantry staples you probably already have, but I’ll also give you tips on picking the best versions to get that tender crumb and vibrant color.
- Unsalted Butter (1 cup / 227 g, softened): The base of the dough, butter adds richness and helps the cookies hold their shape. I prefer Land O’Lakes for consistent quality.
- Granulated Sugar (3/4 cup / 150 g): Sweetens the dough without overpowering the buttery flavor.
- Pure Vanilla Extract (1 tsp): Adds warmth and depth to the flavor.
- All-Purpose Flour (2 1/2 cups / 312 g): The structure of the cookie. Use a well-sifted flour for the best texture.
- Baking Powder (1/2 tsp): Just enough to give a light lift without puffing the cookies up too much.
- Salt (1/4 tsp): Balances the sweetness and enhances flavor.
For the colors:
- Red Gel Food Coloring: Gel-based colors keep the dough from getting watery. I recommend AmeriColor for bright, true red without bleeding.
- Blue Gel Food Coloring: Same as above, gel works best for vibrant blue.
- White Dough: Just the plain dough without added color serves as the white in the patriotic theme.
Substitution Tips: For gluten-free, try swapping all-purpose flour with a 1:1 gluten-free baking flour blend. For a dairy-free version, substitute butter with vegan margarine or coconut oil, but expect a slight change in texture.
Equipment Needed
- Mixing Bowls: At least two—one for the dough base and separate ones for dividing and coloring the dough portions.
- Electric Hand Mixer or Stand Mixer: Makes creaming the butter and sugar way easier. I’ve tried whisking by hand, but trust me, it’s worth the appliance.
- Plastic Wrap: Essential for wrapping the dough logs tightly before chilling.
- Sharp Knife: For slicing the chilled dough into perfect cookie rounds.
- Baking Sheets: Rimmed sheets work best to catch any spreading crumbs.
- Parchment Paper or Silicone Baking Mats: Keeps cookies from sticking and helps with even baking.
If you don’t have a stand mixer, a sturdy hand whisk and some elbow grease will do—just be patient with the creaming step. Sharp knives with a thin blade slice more cleanly, so avoid serrated edges for this one. For budget-friendly baking sheets, I recommend looking for half-sheet pans—great for batch baking and easy storage.
Preparation Method
- Cream Butter and Sugar: In a large bowl, beat 1 cup (227 g) softened unsalted butter with 3/4 cup (150 g) granulated sugar using an electric mixer on medium speed until pale and fluffy, about 3-4 minutes. The texture should be light, not grainy.
- Add Vanilla: Mix in 1 teaspoon pure vanilla extract until combined.
- Combine Dry Ingredients: In a separate bowl, whisk together 2 1/2 cups (312 g) all-purpose flour, 1/2 teaspoon baking powder, and 1/4 teaspoon salt.
- Mix Dry into Wet: Gradually add the dry ingredients to the butter mixture. Use the mixer on low or a wooden spoon to combine until a soft dough forms. The dough should hold together without being sticky.
- Divide Dough: Split the dough into three equal portions (about 600 g total dough, so roughly 200 g per portion). Place each portion into separate bowls.
- Color the Dough: Leave one portion plain (white). Add red gel food coloring to one bowl and blue gel to the other. Knead each portion gently with clean hands until the color is evenly mixed. Use enough gel to get bright, saturated colors without making the dough sticky. (Tip: Wear gloves to avoid stained fingers!)
- Shape into Logs: On a piece of parchment, roll each colored dough into a cylinder about 2 inches (5 cm) in diameter and about 8 inches (20 cm) long. Try to keep the shapes as even as possible.
- Assemble the Patriotic Log: Place the three logs side by side on a large piece of plastic wrap. Gently press them together lengthwise, then wrap tightly to form a single log with red, white, and blue stripes visible on the ends.
- Chill: Refrigerate the log for at least 4 hours, ideally overnight. This makes slicing easier and helps the cookies hold their shape.
- Preheat Oven: Set your oven to 350°F (177°C). Line baking sheets with parchment paper or silicone mats.
- Slice Cookies: Remove the dough log from the fridge and unwrap. Using a sharp knife, slice into 1/4 inch (6 mm) thick rounds. Place cookies about 2 inches (5 cm) apart on baking sheets.
- Bake: Bake for 10-12 minutes or until edges just start to turn golden. The cookies will still be soft but will firm up as they cool.
- Cool: Let the cookies cool on the baking sheet for 5 minutes before transferring to a wire rack to cool completely.
Pro Tip: If your dough gets too soft while slicing, pop it back in the fridge for 10-15 minutes. Also, don’t worry if the cookies spread a bit—slight spreading helps achieve that classic icebox cookie look.
Cooking Tips & Techniques
Here’s the honest truth from my own cookie adventures: chilling is king. Without chilling the dough well, your colors might bleed, and the cookies will spread too much. I learned that the hard way when my first attempt ended up with a pink-and-purple mess instead of crisp stripes.
Using gel food coloring rather than liquid is another game changer. Liquids can loosen the dough consistency, so gel keeps everything firm and vibrant. Kneading the dough gently but thoroughly ensures even color and texture—too much kneading, though, and you’ll activate gluten that makes cookies tough.
When slicing, a sharp knife warmed slightly under hot water and dried can help make clean cuts without crumbling. I usually cut in one clean motion rather than sawing back and forth.
Timing-wise, you can multitask by prepping the dough in the morning and chilling while you get other things ready—like firing up the grill or prepping sides, maybe even alongside a quick dinner like the honey mustard chicken recipe that’s a family favorite.
Lastly, watch your oven carefully. Icebox cookies can go from golden to burnt quickly. I recommend testing one batch before baking the entire tray.
Variations & Adaptations
Want to switch things up? Here are some fun ways to make these patriotic cookies your own:
- Flavor Twist: Add a teaspoon of lemon zest to the dough for a bright citrus note that pairs surprisingly well with vanilla.
- Dietary Adaptation: Use almond flour in place of all-purpose flour for a gluten-free version. The texture will be a bit more crumbly but still delicious.
- Seasonal Color Swap: For a summer picnic that’s less patriotic but still vibrant, swap the blue for green and the red for yellow.
- Chocolate Version: Mix 1/4 cup (25 g) cocoa powder into one portion of the dough for a chocolate stripe.
- Personal Favorite: I once tried swirling in chopped freeze-dried strawberries into the red dough. The tart burst was a nice surprise and added some texture.
You can also bake these as mini cookies by slicing thinner rounds and reducing baking time to 7-8 minutes. Just keep an eye on them so they don’t crisp up too much.
Serving & Storage Suggestions
Serving these cookies at room temperature brings out their buttery texture best. Arrange them on a festive platter, maybe alongside a bowl of fresh berries or a pitcher of iced lemonade for that all-American vibe.
They’re perfect for packing in picnic baskets or bringing to potlucks where you want a no-fuss dessert that looks like you put in hours. For a fun twist, stack them with layers of whipped cream and fresh fruit to make cookie parfaits.
Store leftover cookies airtight at room temperature for up to 5 days. For longer storage, freeze the baked cookies in a sealed container for up to 3 months. When reheating, a quick 10-second zap in the microwave can refresh that freshly baked warmth.
Flavors settle and sometimes deepen after a day, so if you can wait, try them the next day for a little extra magic.
Nutritional Information & Benefits
Each cookie (assuming about 24 cookies per batch) contains roughly 120 calories, 6 grams of fat, 15 grams of carbohydrates, and 1 gram of protein. While these cookies are definitely an indulgence, they use real butter and minimal additives, which means you’re getting a straightforward treat.
The basic ingredients are allergen staples (wheat and dairy), so make sure to substitute carefully if you’re baking for sensitive eaters. For a gluten-free or dairy-free crowd, the substitutions mentioned earlier work well, keeping these festive without compromise.
From a wellness perspective, sometimes the best benefit is a cookie that reminds you of good times without complicated ingredients or preservatives. These icebox cookies fit that bill perfectly.
Conclusion
In the end, these Festive Red White and Blue Icebox Cookies are worth every minute you spend prepping and waiting for that dough to chill. They bring a simple, joyful celebration to your holiday table with minimal fuss and maximum charm. Customize the colors, flavors, or size to fit your vibe—but don’t skip the chilling step, trust me.
Why do I love this recipe? Because it’s a reminder that you don’t need complicated to be delightful. Sometimes, straightforward ingredients and a little patience create something that feels special and familiar all at once.
If you try this recipe, I’d love to hear how you made it your own. Drop a comment or share your tweaks—I’m always curious about personal spins on classics. Here’s to good cookies and great celebrations!
Frequently Asked Questions
How long can I store the icebox cookie dough in the fridge?
You can keep the dough wrapped tightly in the fridge for up to 3 days. Just make sure it stays well chilled and wrapped to prevent drying out.
Can I freeze the dough before baking?
Absolutely! Freeze the wrapped dough logs for up to 3 months. Thaw overnight in the fridge before slicing and baking.
Why did my colors bleed together?
This usually happens if the dough is too soft or if you used liquid food coloring. Using gel colors and chilling the dough well helps keep colors distinct.
Can I make these cookies without food coloring?
Yes, but you’ll lose the patriotic look. You could try natural colorings like beet powder or spirulina, but results will vary.
What’s the best way to slice the cookies evenly?
Use a sharp, thin-bladed knife and slice in one clean motion. If the dough is too soft, chill it again for 10-15 minutes before slicing.
Pin This Recipe!
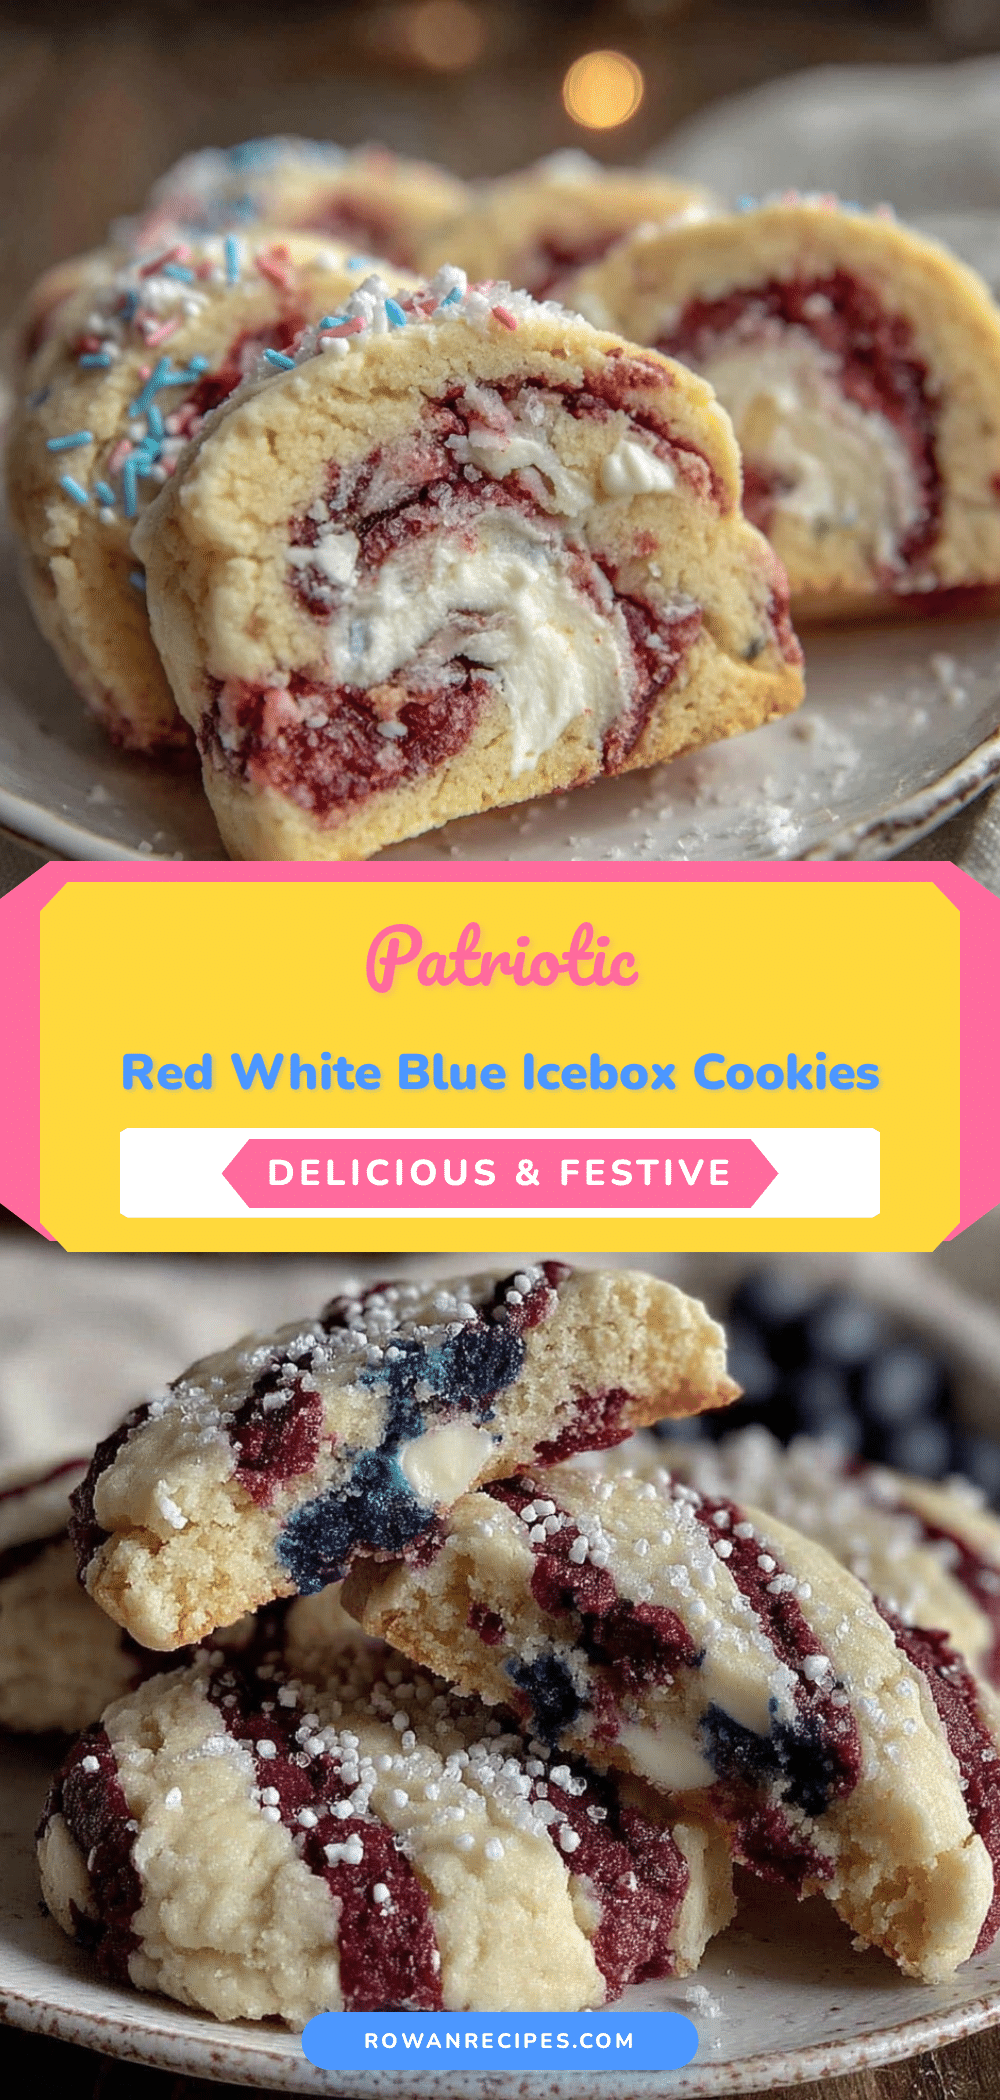
Festive Red White and Blue Icebox Cookies

These easy patriotic icebox cookies feature vibrant red, white, and blue stripes perfect for Fourth of July celebrations. The buttery dough is simple to prepare, chill, slice, and bake for a festive treat.
- Prep Time: 15 minutes
- Cook Time: 10-12 minutes
- Total Time: 4 hours 30 minutes
- Yield: 24 cookies 1x
- Category: Dessert
- Cuisine: American
Ingredients
- 1 cup (227 g) unsalted butter, softened
- 3/4 cup (150 g) granulated sugar
- 1 teaspoon pure vanilla extract
- 2 1/2 cups (312 g) all-purpose flour
- 1/2 teaspoon baking powder
- 1/4 teaspoon salt
- Red gel food coloring
- Blue gel food coloring
Instructions
- Cream butter and sugar in a large bowl using an electric mixer on medium speed until pale and fluffy, about 3-4 minutes.
- Mix in vanilla extract until combined.
- In a separate bowl, whisk together flour, baking powder, and salt.
- Gradually add dry ingredients to the butter mixture and combine until a soft dough forms.
- Divide dough into three equal portions.
- Leave one portion plain (white). Add red gel food coloring to one portion and blue gel to the other, kneading gently until colors are even.
- Roll each colored dough into a cylinder about 2 inches in diameter and 8 inches long.
- Place the three logs side by side and press together lengthwise, then wrap tightly in plastic wrap to form a single log.
- Chill the log in the refrigerator for at least 4 hours or overnight.
- Preheat oven to 350°F (177°C). Line baking sheets with parchment paper or silicone mats.
- Slice chilled dough into 1/4 inch thick rounds and place 2 inches apart on baking sheets.
- Bake for 10-12 minutes until edges start to turn golden.
- Cool cookies on baking sheet for 5 minutes, then transfer to a wire rack to cool completely.
Notes
Chill dough well to prevent colors from bleeding and cookies from spreading too much. Use gel food coloring for vibrant colors without affecting dough consistency. If dough softens while slicing, chill again for 10-15 minutes. Use a sharp, thin-bladed knife warmed slightly under hot water for clean slices.
Nutrition
- Serving Size: 1 cookie
- Calories: 120
- Fat: 6
- Carbohydrates: 15
- Protein: 1
Keywords: icebox cookies, patriotic cookies, Fourth of July cookies, red white and blue cookies, easy holiday cookies, butter cookies