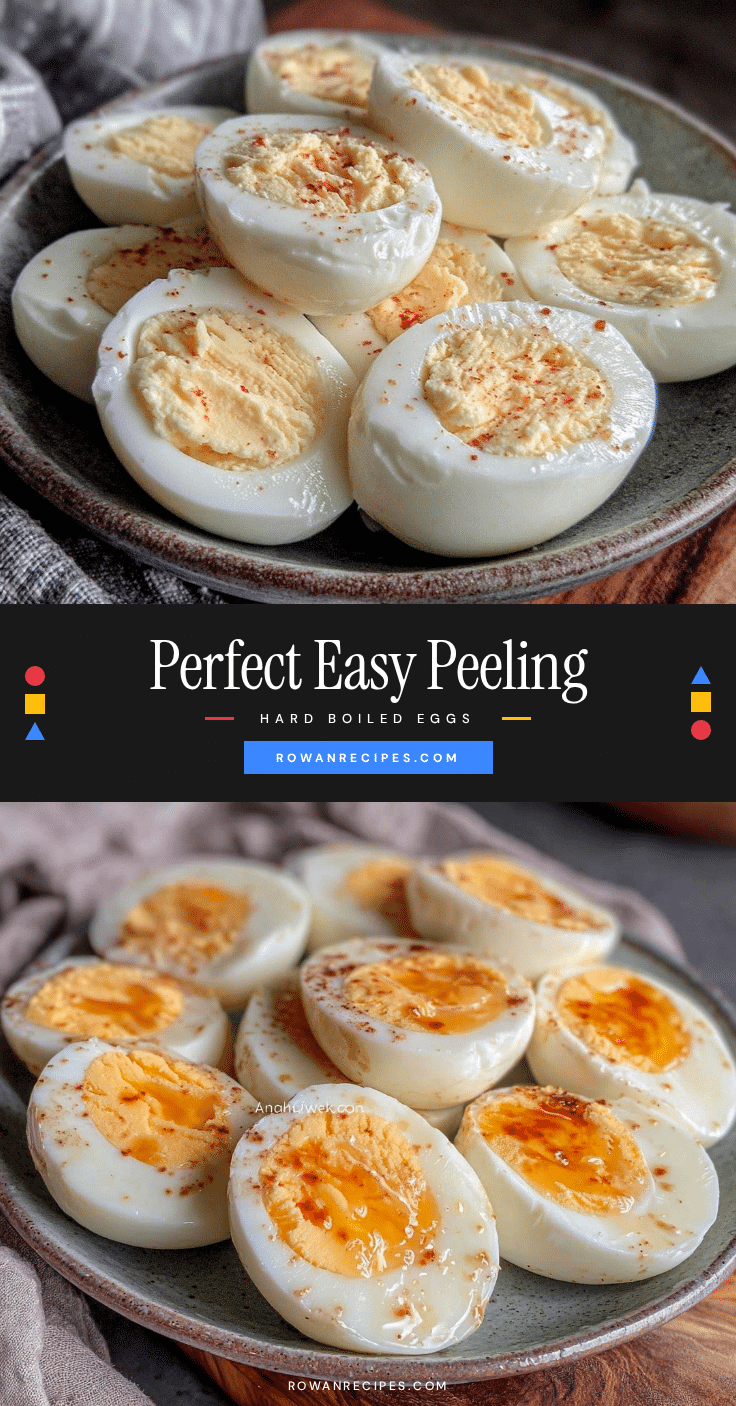
“You’re telling me these eggs peeled like a charm?” my friend asked, eyeing the bowl of perfectly peeled eggs I’d just set on the counter. Honestly, I’d been skeptical myself. Hard boiled eggs have a sneaky way of turning into a cracked mess or clinging stubbornly to their shells. But this recipe? It came about one chaotic morning when I needed quick protein without the drama. I was rushing to get out the door, threw some eggs in boiling water, and—without much thought—followed a timing trick I’d read somewhere. When I cracked the shell, it slid right off in neat little pieces. That was the moment I realized this wasn’t just luck.
Since then, I’ve made these easy perfect hard boiled eggs repeatedly—sometimes more than once a week—because they work every single time. The shells come off effortlessly, the yolks are creamy but firm, no weird green rings around the yolk, and the texture is spot on. This method saved me from countless mornings of frustration (and discarded eggs), and also made meal prep for salads, breakfast bowls, and snacks a breeze.
What really hooked me is how consistent this recipe is, even when juggling a busy schedule or cooking for one. It’s the kind of thing you can trust without hovering over the pot or second-guessing yourself. Plus, there’s something quietly satisfying about peeling those eggs cleanly—no jagged shells, no bits stuck to the whites. It’s a little victory every time.
So if you’re tired of peeling eggs that refuse to cooperate, or if you want your next batch to come out perfect without fail, this recipe is for you. It’s straightforward, requires just a few simple steps, and I promise you’ll start feeling a little more confident in your kitchen. Let’s just say, this easy perfect hard boiled eggs recipe has quietly become one of my favorite kitchen hacks.
Why You’ll Love This Easy Perfect Hard Boiled Eggs Recipe
After trying plenty of methods, I’ve settled on this one because it hits the sweet spot between simplicity and reliability. Trust me, I’m no morning person, so recipes that work without drama are my jam. Here’s what stands out about this easy perfect hard boiled eggs recipe:
- Quick & Easy: From start to finish, you’ll have perfect eggs in about 12 minutes. Ideal for busy mornings or last-minute snacks.
- Simple Ingredients: No fancy add-ons or weird kitchen gadgets. Just eggs, water, and a pinch of salt or baking soda if you like.
- Perfect for Meal Prep: Great for making a batch ahead to toss into salads, sandwiches, or grab as protein-packed snacks all week long.
- Consistently Peels Easily: No more frustration wrestling with stubborn shells that ruin your eggs’ smooth surface.
- Balanced Texture & Flavor: The whites are tender but firm, the yolks creamy without that greenish outer ring that indicates overcooking.
What makes this approach different? I found the key is a brief cooling bath right after boiling, which helps the shell separate naturally. Plus, timing is crucial—too short and the yolks are runny, too long and you get that chalky texture nobody wants.
Honestly, this recipe is the kind that makes you pause mid-snack, close your eyes, and appreciate the simple pleasure of a perfectly cooked egg. It’s comfort food in its purest form, without any fuss or guesswork. Whether you’re prepping for a brunch or just want to feel like a kitchen pro, this will be your go-to.
What Ingredients You Will Need
This easy perfect hard boiled eggs recipe keeps things straightforward with just a handful of ingredients that you probably already have. Each one plays a simple but important role in getting that flawless peel and texture.
- Large Eggs – Fresh but not too fresh. Eggs that are a few days old peel better, so if you can, grab eggs that have been in your fridge for about a week.
- Water – Enough to cover the eggs by about an inch or two in the pot.
- Ice – For an ice bath to stop the cooking immediately and help loosen the shells.
- Baking Soda or Salt (Optional) – Adding a teaspoon of baking soda or salt to the water can help raise the pH and make peeling easier. I usually keep a little baking soda on hand for this purpose—it works wonders.
For best results, I recommend using large eggs from trusted brands like Vital Farms or local farm fresh eggs if possible. They tend to have more consistent cooking results. If you’re using medium or extra-large eggs, just adjust the cooking time by a minute or two.
In a pinch, you can swap baking soda for salt, or skip it altogether if you prefer. The key is in the cooling process and timing, which we’ll cover next.
Equipment Needed
- Medium to Large Saucepan or Pot: Big enough to hold your eggs in a single layer with water covering them comfortably.
- Slotted Spoon: For gently lowering eggs into boiling water and retrieving them without cracking.
- Mixing Bowl: To prepare an ice bath for cooling eggs quickly.
- Timer: Precise timing makes all the difference here; a kitchen timer or smartphone timer works well.
If you don’t have a slotted spoon, a regular spoon works fine—just be gentle. I once tried using tongs and ended up cracking a few eggs, so I’d recommend sticking with a spoon. For the ice bath, any bowl that fits your eggs and ice water will do; no need for fancy gear.
Maintenance tip: keep your pots free of scratches and residue for even heating, and rinse your spoon well to avoid slipping eggs during transfer.
Preparation Method
- Place eggs in the pot: Arrange large eggs in a single layer in the saucepan. Add enough cold water to cover the eggs by about 1–2 inches (2.5–5 cm).
- Add baking soda or salt (optional): Stir in 1 teaspoon of baking soda or salt. This helps with peeling later by altering the pH of the water.
- Bring water to a rolling boil: Put the pot over medium-high heat and bring the water to a full rolling boil. This usually takes around 7–10 minutes depending on your stove.
- Turn off heat and cover: As soon as the water boils, turn off the heat and cover the pot with a tight-fitting lid. Leave the pot on the hot burner.
- Set a timer for 10–12 minutes: For large eggs, 10 minutes yields a slightly softer yolk, 12 minutes for fully firm yolks. Adjust accordingly for your preference or egg size.
- Prepare an ice bath: While the eggs cook, fill a mixing bowl with ice and cold water.
- Transfer eggs to ice bath: When the timer goes off, carefully use a slotted spoon to move the eggs into the ice bath. Let them sit for at least 5 minutes to cool fully and stop cooking.
- Peel the eggs: Tap each egg gently on a hard surface to crack the shell all over. Starting at the wider end (where the air pocket is), peel the shell under running cold water to help remove stubborn bits.
A couple of personal tips: I like to crack the shells before putting them in the ice bath—that way, water seeps under the shell and loosens it even more. Also, peeling under running water washes away tiny shell fragments and prevents that annoying gritty texture.
Watch for a slight bounce in the eggs when you drop them in the ice bath—that means they’re cooked just right. If you see any greenish tint around the yolk, you might want to shave a minute off the cooking time next round.
Cooking Tips & Techniques for Perfect Eggs Every Time
One mistake I made way too often was boiling eggs too long or skimping on the cooling step. Overcooked yolks turn greenish and crumbly, and undercooled eggs stick like glue. Here’s what I’ve learned the hard way:
- Don’t skip the ice bath: It’s the magic step that stops the cooking and helps the shell separate cleanly from the white.
- Start with cold water: Placing eggs in cold water and heating gradually prevents cracking and cooks the eggs evenly.
- Use older eggs if possible: Fresh eggs are notoriously hard to peel. A few days in the fridge makes a world of difference.
- Peel under running water: The water helps ease the shell off and keeps your fingers clean of tiny shell bits.
- Don’t crowd the pot: Eggs need room to cook evenly. If you’re making a big batch, use a larger pot or cook in batches.
Timing is key—set your timer religiously. I once ruined a batch by getting distracted and leaving eggs covered for 20 minutes. The yolks were dry, and peeling was a nightmare. So, multitasking is fine, but keep an ear out for the timer!
Lastly, if you want to get fancy, try gently rolling the egg on the counter to crack the shell all over before peeling. It breaks the membrane inside and makes peeling a breeze.
Variations & Adaptations to Suit Your Taste
While the basic method is foolproof, here are some tweaks and variations I’ve tried that might spark your own experiments:
- Soft-Boiled Version: Reduce the covered cooking time to about 6–7 minutes for a jammy yolk that’s perfect on toast or in ramen.
- Spiced Ice Bath: Add a pinch of salt or a splash of vinegar to the ice water to further loosen shells and add a subtle tang.
- High Altitude Adjustments: At higher altitudes, boil for an extra minute or two to compensate for lower boiling temperatures.
- Oven-Baked Hard Boiled Eggs: You can bake eggs in a muffin tin at 325°F (163°C) for about 30 minutes. They peel well too but require more time and monitoring.
- Allergy-Friendly: Naturally gluten-free and keto-friendly, but if you want to avoid baking soda, skip it—just expect slightly trickier peeling.
One of my favorite twists is using these eggs in salads with a drizzle of homemade vinaigrette or slicing them over avocado toast. After mastering this method, I incorporated them into my creamy cheesy taco pasta for extra protein. It’s such a simple way to add texture and flavor without extra fuss.
Serving & Storage Suggestions
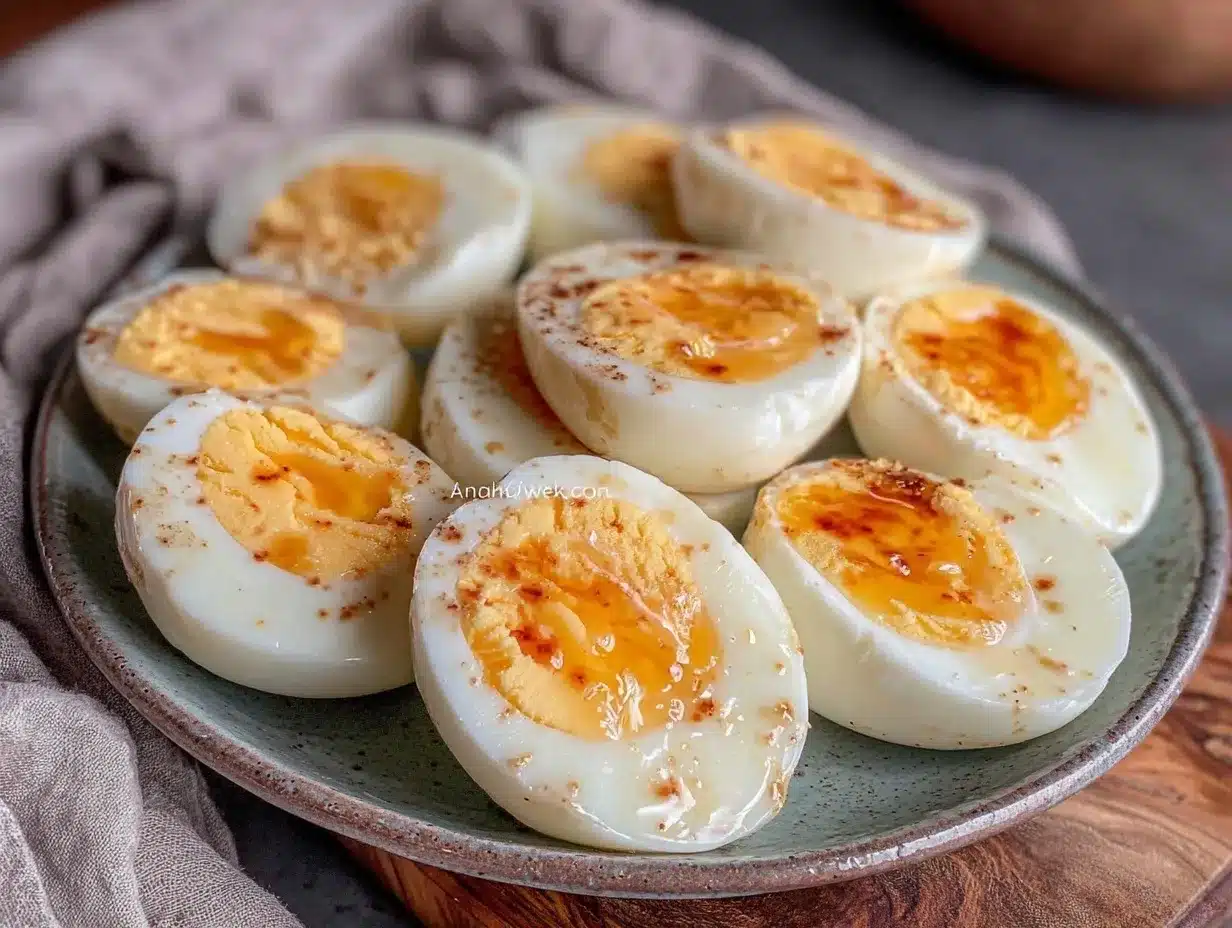
Perfectly peeled hard boiled eggs are incredibly versatile. Serve them chilled or at room temperature—both work well depending on your dish. I like to sprinkle mine with a little flaky sea salt and cracked black pepper, maybe a dash of smoked paprika for some smoky warmth.
For storage, keep unpeeled eggs in the refrigerator for up to one week. Peeled eggs should be stored in an airtight container with a damp paper towel to maintain moisture and last about 3–4 days.
Reheating? Honestly, I prefer them cold or at room temp, but if you want warm eggs, pop peeled eggs in hot water for 5 minutes—don’t microwave, or they get rubbery.
Flavors actually develop a bit over time; I find day-old hard boiled eggs taste creamier and are easier to slice thinly for sandwiches or salads. They’re a great make-ahead staple for busy weeks.
If you’re looking for ideas beyond the basics, these eggs pair wonderfully with the zesty flavors in easy one pot lemon chicken and rice or alongside crispy honey mustard chicken for a balanced meal.
Nutritional Information & Benefits
Hard boiled eggs are a fantastic source of high-quality protein—about 6 grams per large egg—plus essential nutrients like vitamin D, B12, and choline, which supports brain health. They’re naturally low in carbs and gluten-free, fitting well into a wide range of diets.
One large egg clocks in around 70 calories, making it a nutrient-dense snack or meal addition. The yolk contains healthy fats and fat-soluble vitamins, so don’t skip it unless you have dietary restrictions.
For those watching cholesterol, recent studies suggest moderate egg consumption is generally safe for most people, but always follow your doctor’s advice.
Incorporating these easy perfect hard boiled eggs into your meals is a smart, wholesome choice that supports sustained energy and satiety.
Conclusion
Getting hard boiled eggs to peel every time doesn’t have to be a guessing game or a frustrating experience. This easy perfect hard boiled eggs recipe brings a little calm and confidence to your kitchen, whether you’re prepping for a quick breakfast or meal prepping for the week.
Feel free to tweak the timing or cooling steps to suit your preferences and altitude, but the core method is solid and forgiving. I love how this recipe blends simplicity with reliable results—and honestly, it’s a nice little kitchen win that makes me feel like I’ve got my act together.
Try it out, make it your own, and drop a comment if you find a fun variation or have questions. Sharing those little kitchen victories is what makes cooking more fun, right? Here’s to perfectly peeled eggs every time!
Frequently Asked Questions about Easy Perfect Hard Boiled Eggs
Why do my hard boiled eggs sometimes have a green ring around the yolk?
The greenish ring forms when eggs are overcooked or cooked at too high a temperature. This happens because of a reaction between iron in the yolk and sulfur in the white. Following the timing and cooling steps in this recipe prevents that.
Can I use fresh eggs for hard boiling?
Fresh eggs are harder to peel because the pH level is lower, which causes the membrane to stick tightly to the shell. Eggs that have been in your fridge for a few days peel much easier.
Is it okay to store peeled hard boiled eggs in the fridge?
Yes! Store peeled eggs in an airtight container with a damp paper towel to keep them moist. They’ll last 3–4 days refrigerated.
What’s the best way to peel eggs without making a mess?
Crack the shell all over, then peel under running cold water. The water helps rinse away tiny shell pieces and eases the membrane off the egg white.
Can I hard boil eggs in the oven instead of on the stove?
Yes, baking eggs in a muffin tin at 325°F (163°C) for about 30 minutes is an alternative. They peel well, but it takes longer and requires oven monitoring.
Pin This Recipe!
Easy Perfect Hard Boiled Eggs Recipe That Peels Every Time Perfectly

This easy perfect hard boiled eggs recipe delivers consistently smooth peeling, creamy yolks without green rings, and a balanced texture. Ideal for quick protein snacks, meal prep, and hassle-free cooking.
- Prep Time: 5 minutes
- Cook Time: 12 minutes
- Total Time: 17 minutes
- Yield: 6 servings 1x
- Category: Breakfast, Snack
- Cuisine: American
Ingredients
- Large eggs (preferably a few days old)
- Water (enough to cover eggs by 1–2 inches)
- Ice (for ice bath)
- 1 teaspoon baking soda or salt (optional)
Instructions
- Place large eggs in a single layer in a medium to large saucepan.
- Add enough cold water to cover the eggs by about 1–2 inches.
- Stir in 1 teaspoon of baking soda or salt, if using.
- Bring the water to a rolling boil over medium-high heat (about 7–10 minutes).
- Turn off the heat and cover the pot with a tight-fitting lid. Leave the pot on the hot burner.
- Set a timer for 10–12 minutes (10 minutes for slightly softer yolks, 12 minutes for fully firm yolks).
- While eggs cook, prepare an ice bath by filling a mixing bowl with ice and cold water.
- When the timer goes off, use a slotted spoon to transfer eggs to the ice bath.
- Let eggs sit in the ice bath for at least 5 minutes to cool completely and stop cooking.
- Tap each egg gently on a hard surface to crack the shell all over.
- Peel the shell starting at the wider end under running cold water to help remove stubborn bits.
Notes
Use eggs that are a few days old for easier peeling. Cracking shells before placing eggs in the ice bath helps water seep under the shell and loosen it. Peel eggs under running cold water to remove tiny shell fragments. Do not overcook to avoid green rings around yolks. Store peeled eggs in an airtight container with a damp paper towel for 3–4 days refrigerated.
Nutrition
- Serving Size: 1 large egg
- Calories: 70
- Sugar: 1
- Sodium: 70
- Fat: 5
- Saturated Fat: 1.5
- Carbohydrates: 1
- Protein: 6
Keywords: hard boiled eggs, easy hard boiled eggs, perfect hard boiled eggs, how to peel eggs, meal prep eggs, protein snack