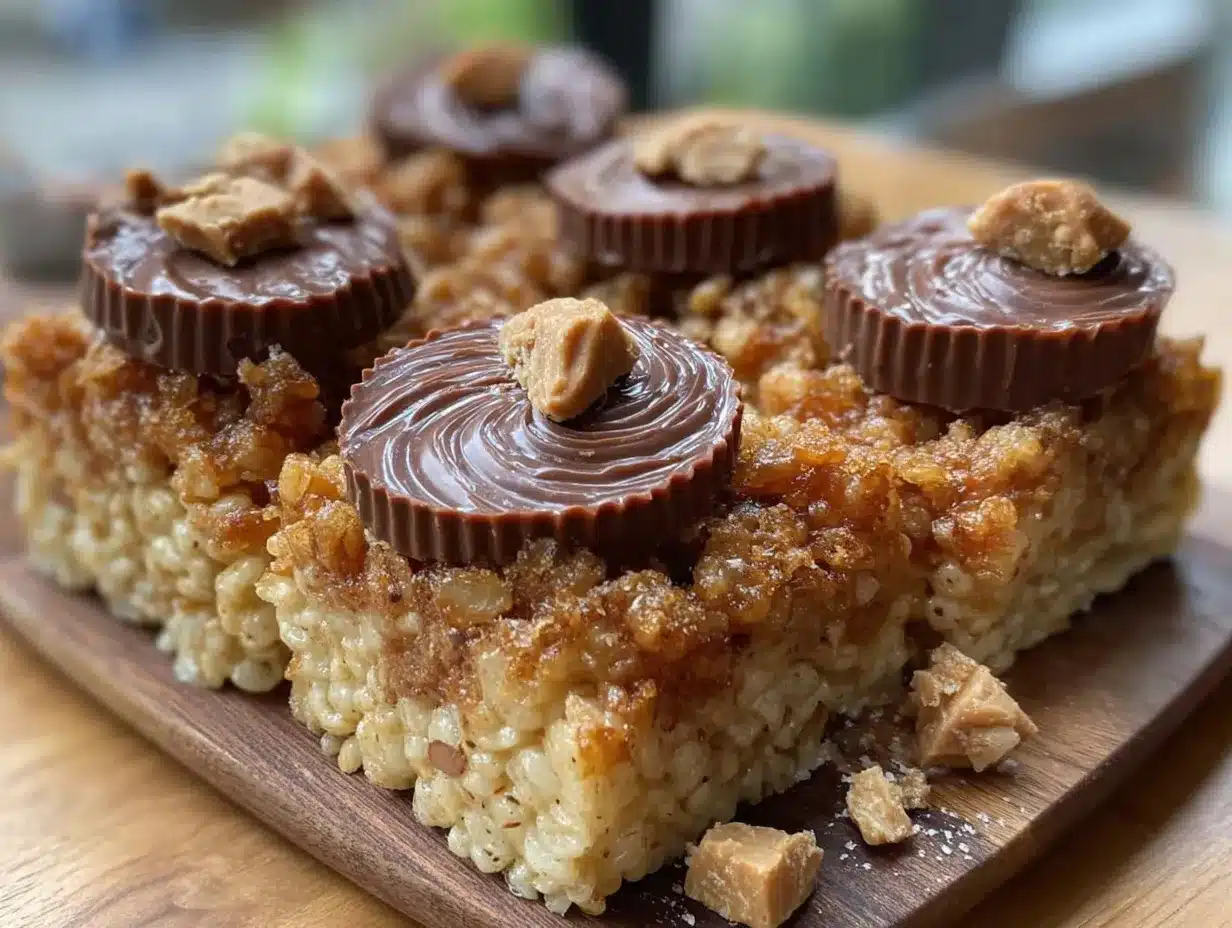
Let me tell you, the aroma of melted marshmallows mingling with rich peanut butter and chocolate from peanut butter cups wafting through my kitchen is enough to make anyone’s mouth water instantly. The first time I whipped up these Delicious Peanut Butter Cup Rice Krispie Treats, I was honestly hooked after just one bite—the kind of moment where you pause, take a deep breath, and just smile because you know you’re onto something truly special.
When I was knee-high to a grasshopper, my grandma used to make classic Rice Krispie treats, but adding peanut butter cups? That’s a twist I stumbled upon years ago on a rainy weekend when I was trying to recreate a candy bar experience in treat form. I wish I’d discovered this recipe years ago—it’s dangerously easy and a pure, nostalgic comfort in every bite.
My family couldn’t stop sneaking them off the cooling rack (and I can’t really blame them). Let’s face it, these treats are perfect for potlucks, sweet treats for your kids, or brightening up your Pinterest cookie board with something a little different. I’ve tested this recipe multiple times in the name of research, of course, and now it’s a staple for family gatherings and gifting. Honestly, this one feels like a warm hug in dessert form, and you’re going to want to bookmark it.
Why You’ll Love This Recipe
Having crafted and tested this recipe over many weekends and festive seasons, I can confidently say these Delicious Peanut Butter Cup Rice Krispie Treats are a winner for any occasion. Here’s why:
- Quick & Easy: Comes together in under 15 minutes—perfect for busy weeknights or last-minute cravings.
- Simple Ingredients: No fancy grocery trips needed; you likely already have everything in your kitchen.
- Perfect for Any Occasion: Great for potlucks, birthday parties, school bake sales, or just a cozy treat at home.
- Crowd-Pleaser: Always gets rave reviews from kids and adults alike—peanut butter and chocolate is just that combo that never fails.
- Unbelievably Delicious: The chewy texture of the Rice Krispies mixed with gooey peanut butter cups creates a next-level comfort food experience.
What sets this recipe apart is the way the peanut butter cups melt just enough to create pockets of creamy chocolate and peanut butter throughout the treats. Plus, blending the peanut butter into the marshmallows gives an ultra-smooth texture that’s far from your average Rice Krispie treat. This isn’t just another version—it’s your best version.
This recipe isn’t just good—it’s the kind that makes you close your eyes after the first bite. It’s comfort food reimagined—faster and with a little indulgence that feels like a mini celebration. Whether you’re impressing guests without stress or turning a simple snack into a memorable moment, these treats have got you covered.
What Ingredients You Will Need
This recipe uses simple, wholesome ingredients to deliver bold flavor and satisfying texture without the fuss. Most are pantry staples, and the peanut butter cups add that special touch that makes these treats stand out.
- 6 cups Rice Krispies cereal (about 170 g) – I recommend a crunchy brand like Kellogg’s for best texture
- 4 cups mini marshmallows (about 120 g) – you can use regular marshmallows cut into smaller pieces if needed
- 1/4 cup unsalted butter (about 57 g), softened – adds richness and helps bind everything
- 1/2 cup creamy peanut butter (about 125 g) – natural or classic, depending on your taste preference
- 1 cup peanut butter cups, chopped (about 150 g) – this is where the magic happens! Use your favorite brand
- 1 teaspoon vanilla extract (optional) – adds a subtle depth of flavor
- Pinch of salt – balances sweetness and enhances flavor
Substitution tips: If you want a gluten-free option, make sure to use gluten-free Rice Krispies or puffed rice cereal. Swap creamy peanut butter with almond butter for a different nutty twist. For dairy-free, use vegan butter and check marshmallow ingredients carefully.
Equipment Needed
- A large saucepan or pot for melting butter and marshmallows
- A sturdy wooden spoon or heat-resistant silicone spatula for stirring (I prefer silicone for easy scraping)
- 9×13 inch (23×33 cm) baking dish or pan – lined with parchment paper or lightly greased
- Measuring cups and spoons for accuracy
- Large mixing bowl if you prefer mixing cereal separately before combining
If you don’t have a saucepan, a microwave-safe bowl can work for melting marshmallows and butter, but watch closely to avoid burning. For budget-friendly options, silicone spatulas and glass baking dishes are great and easy to clean. Keeping your tools in good shape means less hassle next time you whip up these treats!
Preparation Method
- Prepare your workspace: Line a 9×13 inch (23×33 cm) baking pan with parchment paper or lightly grease it to prevent sticking. Have all your ingredients measured and ready to go.
- Melt the butter: In a large saucepan over low heat, melt 1/4 cup (57 g) unsalted butter. This should take about 2–3 minutes; keep an eye so it doesn’t brown.
- Add marshmallows and peanut butter: Add 4 cups (120 g) mini marshmallows to the melted butter and stir constantly until they are completely melted and smooth—about 4–5 minutes. Stir in 1/2 cup (125 g) creamy peanut butter and 1 teaspoon vanilla extract (if using). Keep stirring until the mixture is glossy and well combined. The texture should be silky and slightly thickened.
- Combine with cereal: Remove the pan from heat and immediately add 6 cups (170 g) Rice Krispies cereal. Stir gently but thoroughly to coat all the cereal with the peanut butter marshmallow mixture. Timing is key here; work quickly before the mixture starts to set.
- Fold in chopped peanut butter cups: Once the cereal is evenly coated, gently fold in 1 cup (150 g) chopped peanut butter cups. The warmth will soften the candy just enough to create those luscious pockets of chocolate and peanut butter.
- Press into pan: Transfer the mixture into your prepared pan. Use a buttered spatula or wax paper to press the mixture evenly and firmly into the pan, about 1-inch (2.5 cm) thick. Don’t press too hard or they’ll become too dense; a gentle but firm press is perfect.
- Cool and set: Allow the treats to cool at room temperature for at least 1 hour to firm up before slicing into squares. For quicker setting, you can pop the pan into the fridge for 30 minutes.
Pro tip: If you find the marshmallow mixture is setting too quickly, briefly warm it again over low heat to make stirring easier. Also, if your peanut butter is on the thicker side, warming it slightly before adding helps with smooth mixing.
Cooking Tips & Techniques
One trick I’ve learned is to melt the butter and marshmallows on low heat and stir consistently to avoid scorching. Marshmallows can be finicky—too hot, and they get tough; too cool, and they won’t melt properly. Patience here is your best friend.
When folding in the Rice Krispies, don’t overmix or crush the cereal—keep that light, airy texture intact. Also, folding the chopped peanut butter cups in last helps keep them from dissolving completely, creating those delightful gooey pockets.
A common mistake is pressing the mixture too hard into the pan, which makes the treats dense and less enjoyable. Use wax paper to gently press for an even layer without compacting them.
Timing is everything. Have your pan ready before you start melting marshmallows, so you can move quickly once the mixture is ready. Multitasking here saves you from the marshmallow setting before you finish mixing.
Lastly, I like to let the treats cool fully at room temperature for the best texture—cold treats from the fridge can become a bit too firm and less chewy.
Variations & Adaptations
- Nut-free version: Swap peanut butter and peanut butter cups with sunflower seed butter and sunflower butter chips for allergy-friendly treats.
- Chocolate lovers’ twist: Add mini chocolate chips or drizzle melted dark chocolate over the top for an extra fudgy finish.
- Seasonal adaptation: Stir in festive sprinkles during the cereal mixing stage for holidays or swap peanut butter cups with peppermint bark for a wintery vibe.
- Gluten-free option: Use certified gluten-free puffed rice cereal to keep it safe for gluten-sensitive friends.
- Personally, I tried adding a pinch of cinnamon and a dash of sea salt on top before setting once—and, wow, it brought a whole new cozy flavor dimension that I’m still daydreaming about.
Serving & Storage Suggestions
Serve these treats at room temperature for the best chewiness and flavor burst. They pair wonderfully with a cold glass of milk or a hot cup of coffee for an indulgent snack time.
If you want to impress at a party, stack them on a pretty platter or wrap individual squares in wax paper tied with twine for gifting. They hold up well for a few hours on the counter but are best eaten within 2 days for peak freshness.
Store leftovers in an airtight container at room temperature for up to 3 days. For longer storage, pop them in the fridge for up to a week—just note they’ll firm up and lose a bit of chewiness.
To reheat, microwave individual squares for 10-15 seconds to soften, but be careful not to overdo it or they’ll become too sticky. Flavors actually deepen after a day or two, so if you can wait, that’s a little bonus to look forward to!
Nutritional Information & Benefits
Each serving (about one square if cut into 12) provides roughly 180 calories, with 6 grams of fat, 26 grams of carbohydrates, and 3 grams of protein. These treats deliver a quick energy boost, thanks to the carbs and peanut butter’s healthy fats.
Peanut butter offers heart-healthy monounsaturated fats and protein, while the marshmallows and cereal provide that sweet, nostalgic energy hit. Keep in mind, these are a treat—moderation is key, especially if watching sugar intake.
For dietary considerations, this recipe can be adapted to gluten-free and dairy-free versions, making it accessible for many. Just check your marshmallows and cereal labels carefully if allergies or sensitivities are a concern.
Conclusion
These Delicious Peanut Butter Cup Rice Krispie Treats are the kind of recipe you’ll come back to time and again. They’re quick, easy, and bring that perfect blend of peanut butter and chocolate magic wrapped in a crunchy, chewy bite.
Feel free to customize based on your preferences—whether it’s swapping nuts, adding a sprinkle of sea salt, or mixing in your favorite candy. I love this recipe because it brings joy with every bite and creates little moments of happiness around the kitchen table.
Go ahead, give it a try, and let me know how your batch turns out. Share your favorite variations or tips—you know, the ones that make this recipe truly yours. Happy snacking!
FAQs
Can I use natural peanut butter in this recipe?
Yes! Natural peanut butter works fine, but it may be a bit runnier. Slightly warming it before mixing helps achieve a smooth consistency.
What’s the best way to chop peanut butter cups?
Use a sharp knife and cut into bite-sized pieces. You want chunks that melt slightly but still hold some shape.
Can I make these treats ahead of time?
Absolutely! They store well for a few days at room temperature in an airtight container and even better chilled for up to a week.
Are there any good substitutes for Rice Krispies cereal?
Puffed rice cereal or gluten-free crispy rice cereals work great as alternatives, especially for gluten-free diets.
How do I prevent the treats from becoming too hard?
Don’t overcook the marshmallows, and avoid pressing the mixture too firmly into the pan. Letting them cool at room temperature helps keep that chewy texture.
Pin This Recipe!
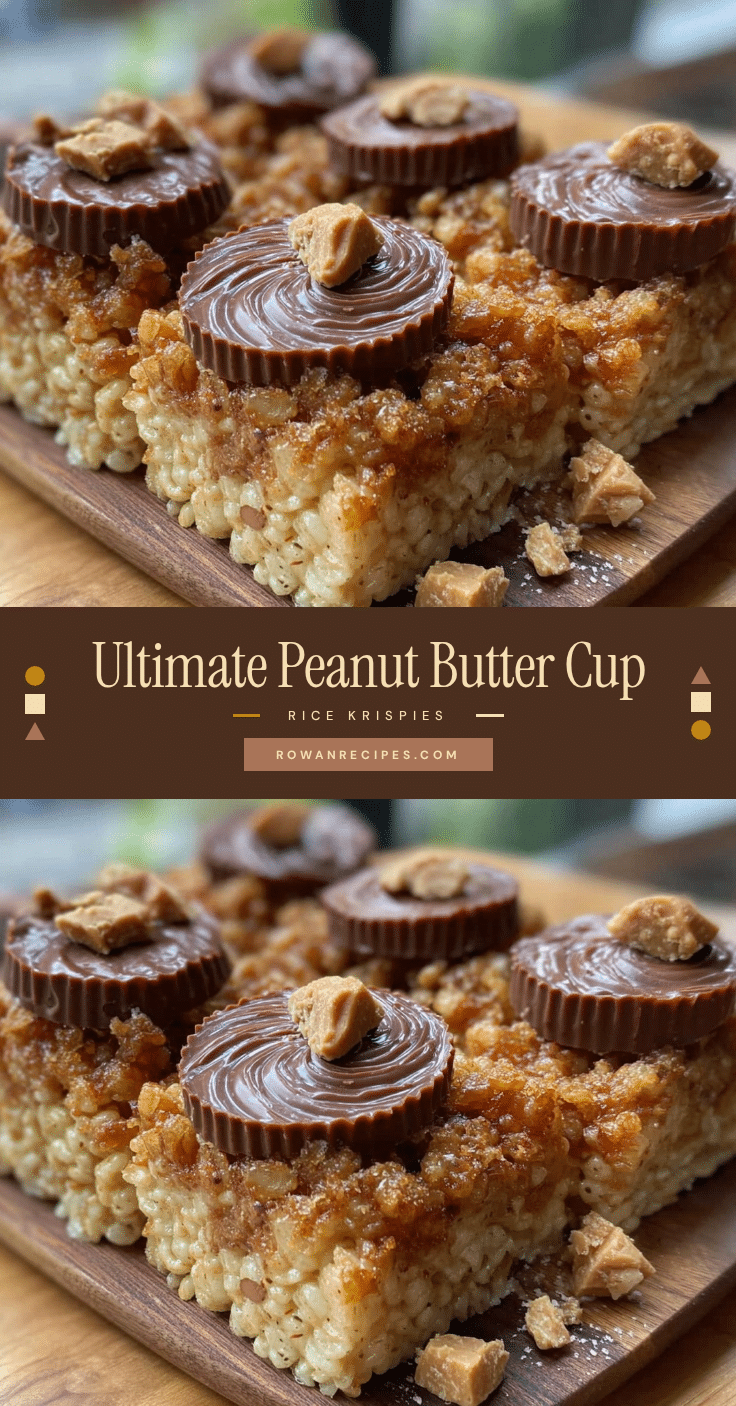
Delicious Peanut Butter Cup Rice Krispie Treats

These treats combine the chewy texture of Rice Krispies with gooey peanut butter cups for a nostalgic, crowd-pleasing dessert that’s quick and easy to make.
- Prep Time: 10 minutes
- Cook Time: 10 minutes
- Total Time: 1 hour 20 minutes
- Yield: 12 servings 1x
- Category: Dessert
- Cuisine: American
Ingredients
- 6 cups Rice Krispies cereal (about 170 g)
- 4 cups mini marshmallows (about 120 g)
- 1/4 cup unsalted butter (about 57 g), softened
- 1/2 cup creamy peanut butter (about 125 g)
- 1 cup peanut butter cups, chopped (about 150 g)
- 1 teaspoon vanilla extract (optional)
- Pinch of salt
Instructions
- Line a 9×13 inch (23×33 cm) baking pan with parchment paper or lightly grease it.
- In a large saucepan over low heat, melt 1/4 cup (57 g) unsalted butter, about 2–3 minutes, avoiding browning.
- Add 4 cups (120 g) mini marshmallows to the melted butter and stir constantly until completely melted and smooth, about 4–5 minutes.
- Stir in 1/2 cup (125 g) creamy peanut butter and 1 teaspoon vanilla extract (if using) until the mixture is glossy and well combined.
- Remove from heat and immediately add 6 cups (170 g) Rice Krispies cereal. Stir gently but thoroughly to coat all the cereal.
- Gently fold in 1 cup (150 g) chopped peanut butter cups to create pockets of melted chocolate and peanut butter.
- Transfer mixture into the prepared pan and press evenly and firmly about 1-inch (2.5 cm) thick using a buttered spatula or wax paper.
- Allow to cool at room temperature for at least 1 hour to firm up before slicing. For quicker setting, refrigerate for 30 minutes.
Notes
Melt butter and marshmallows on low heat to avoid scorching. Work quickly when mixing cereal to prevent setting. Press mixture gently to avoid dense treats. Cooling at room temperature yields best chewiness. For quicker setting, refrigerate for 30 minutes. Warming peanut butter slightly helps mixing if thick. Use gluten-free cereal and vegan butter for dietary adaptations.
Nutrition
- Serving Size: One square if cut in
- Calories: 180
- Fat: 6
- Carbohydrates: 26
- Protein: 3
Keywords: Rice Krispie treats, peanut butter cups, easy dessert, no bake, quick snack, peanut butter, marshmallows, kid-friendly