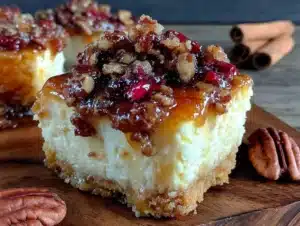
I did not trust maple syrup in cheesecake. It felt wrong, honestly. Cheesecake is supposed to be this rich, dense, slightly tangy thing, and maple syrup is so… liquid. I figured it would make the whole thing weepy and weird, like a sad breakfast pancake that lost its way. That was my stance for years, and I was pretty stubborn about it.
Then my neighbor, this older woman named Carol who grows her own herbs and cans tomatoes like it’s a competitive sport, dropped off a pan of these bars after a particularly rough week. She said they were “just something I threw together.” I thanked her, took them inside, and set them on the counter with zero intention of eating one. They sat there for a good three hours (the maple scent was sneaky, though—it kept drifting over from the counter).
Finally, around nine at night, I caved. I cut a tiny corner piece, more out of politeness and curiosity than actual hope. The first bite was that moment where you stop what you’re doing and just look at the food in your hand. The maple wasn’t a problem—it was the whole point. It had soaked into the creamy filling without making it runny, and it paired with the toasted pecans in a way that felt like it had always been meant to happen. I ended up eating two more pieces that night, standing at the counter in my pajamas.
These bars are the reason I stopped being a dessert snob. They’re the reason I now keep a bottle of real maple syrup in my pantry at all times, just in case. Sometimes the best recipes come from the things you were sure wouldn’t work.
Why You’ll Love This Recipe
These Perfect Maple Pecan Fall Cheesecake Bars aren’t just another fall dessert—they’re the one that’ll get requested every single Thanksgiving and Friendsgiving from now on. I’ve tested this recipe about seven times over two seasons, and I can say with confidence that it hits every note you want in a seasonal treat without the usual fuss of a full cheesecake.
- No Water Bath Needed : Unlike a traditional cheesecake, these bars don’t require that annoying water bath setup. No leaking foil, no soggy crusts, no stress. Just bake and chill.
- Perfect for Fall Gatherings : Whether it’s a cozy Friendsgiving, a Halloween party, or just a Tuesday night when you need something warm and comforting, these bars fit right in. They’re easy to transport, too—just cut and go.
- Simple Pantry Ingredients : You likely already have most of what you need. Cream cheese, butter, sugar, eggs, and pecans are all standard staples. The only “special” ingredient is real maple syrup, and it’s worth every penny.
- Make-Ahead Friendly : These bars actually taste better the next day. The flavors meld together overnight, and the texture firms up perfectly. You can make them two days ahead and still have them taste fresh.
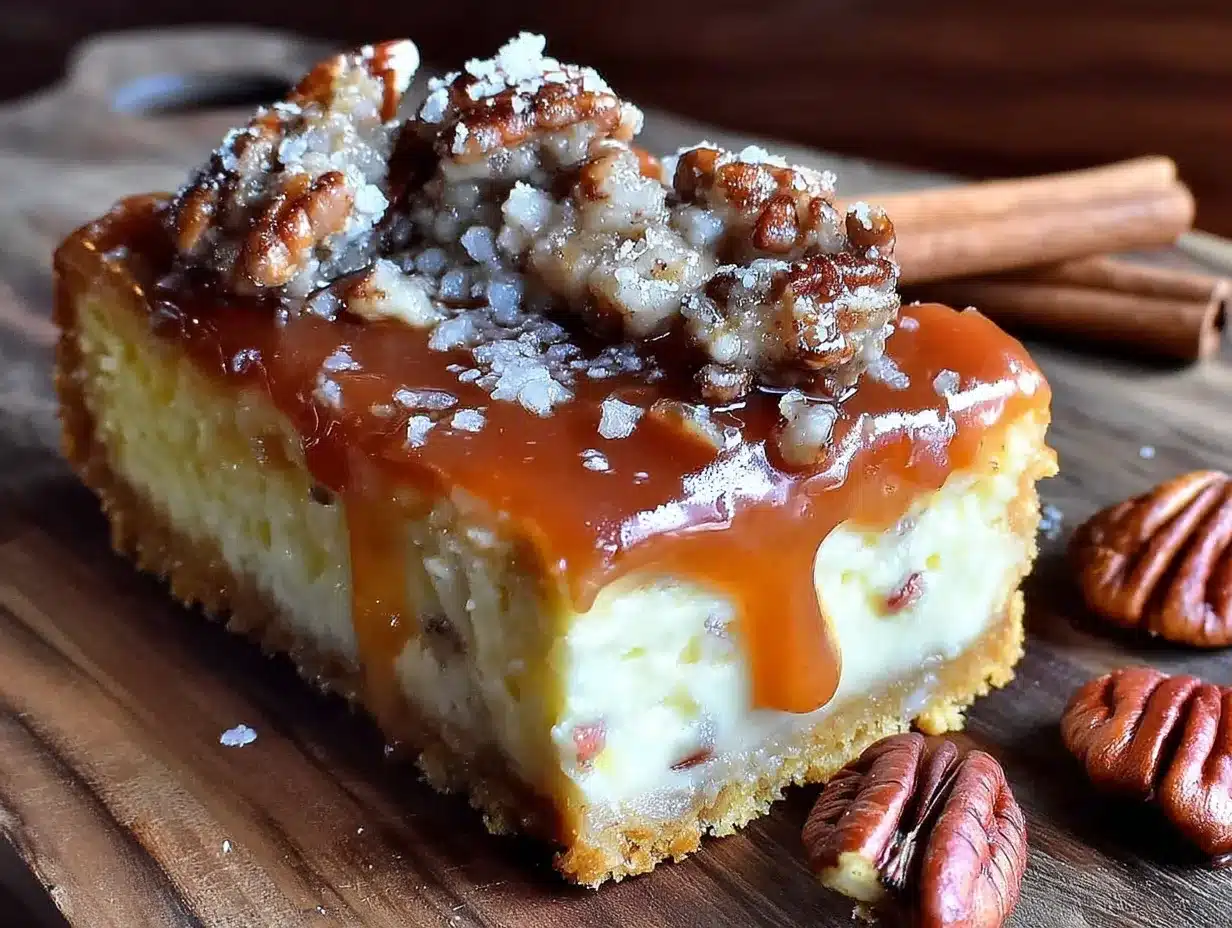
- Crowd-Pleaser Texture : The buttery shortbread crust, the silky maple cheesecake layer, and the crunchy pecan topping create this incredible contrast in every bite. It’s the kind of dessert that makes people close their eyes.
What sets this recipe apart from other cheesecake bars is the technique of toasting the pecans before adding them. It sounds like a small step, but it makes a massive difference in flavor. The nuts become aromatic and almost buttery, which complements the maple syrup beautifully. Plus, using room temperature ingredients ensures that your filling stays smooth and crack-free. This isn’t just another version of a fall bar—it’s the one you’ll come back to year after year.
What Ingredients You Will Need
This recipe uses simple, wholesome ingredients that come together to create something truly special. Most of these are pantry staples, and the few that aren’t are easy to find at any grocery store during the fall season.
For the Shortbread Crust
- 1 ½ cups all-purpose flour (spooned and leveled—don’t scoop directly from the bag)
- ½ cup powdered sugar (adds tenderness to the crust)
- ¼ teaspoon salt (balances the sweetness)
- ¾ cup unsalted butter, cold and cut into small cubes (I use Kerrygold for its richness)
For the Maple Cheesecake Filling
- 16 ounces cream cheese, softened to room temperature (full-fat is best here—low-fat can make the filling grainy)
- ½ cup granulated sugar
- ¼ cup pure maple syrup (not pancake syrup—get the real stuff from Vermont or Canada)
- 2 large eggs, room temperature
- 1 teaspoon vanilla extract
- ¼ cup sour cream, room temperature (adds tanginess and keeps the filling creamy)
For the Pecan Topping
- 1 cup pecans, roughly chopped
- 2 tablespoons unsalted butter, melted
- 2 tablespoons brown sugar, packed
- ¼ teaspoon cinnamon (optional, but highly recommended)
- Pinch of salt
When choosing your maple syrup, look for Grade A Dark Amber or Grade B for a more robust maple flavor. I’ve tried both, and the darker syrup gives these bars a deeper, more complex taste that stands up to the cream cheese. If you only have Grade A Light Amber, it’ll still work—just know the maple flavor will be more subtle.
For the pecans, I recommend buying raw whole pecans and chopping them yourself. Pre-chopped nuts tend to be stale and unevenly sized. Store your pecans in the freezer if you don’t use them often—they go rancid quickly at room temperature.
Equipment Needed
You don’t need a professional bakery setup for these bars, but having the right tools makes the process much smoother. Here’s what you’ll need:
- 9×9-inch square baking pan (an 8×8 works too, but the bars will be slightly thicker and may need a few extra minutes of baking time)
- Parchment paper (for easy removal—trust me, you don’t want to wrestle with stuck cheesecake)
- Electric hand mixer or stand mixer (a whisk and some elbow grease works, but the mixer ensures a silky-smooth filling)
- Food processor (optional, but makes the crust come together in seconds)
- Large mixing bowls (one for the crust, one for the filling)
- Spatula (for scraping every last bit of filling into the pan)
- Sharp knife (for clean cuts—run it under hot water between slices)
If you don’t have a food processor, you can make the crust by hand. Just cut the cold butter into the flour mixture using a pastry cutter or two forks until it resembles coarse sand. It takes a little longer, but it works perfectly fine. I’ve done it both ways, and honestly, the texture is identical.
One tip: invest in a good quality 9×9 pan. Thin, flimsy pans can cause uneven baking and burnt edges. I use a heavy-duty aluminum one, and it distributes heat beautifully every time.
Preparation Method
Let’s get to the good part. Here’s how to make these Perfect Maple Pecan Fall Cheesecake Bars from start to finish. I’ve included all the little details that make the difference between good bars and unforgettable ones.
Step 1: Preheat and Prep the Pan
Preheat your oven to 350°F (175°C). Line your 9×9-inch baking pan with parchment paper, leaving a 2-inch overhang on two opposite sides. This creates “handles” that let you lift the entire block of cheesecake bars out cleanly. Lightly grease the parchment with butter or non-stick spray.
Step 2: Make the Shortbread Crust
In a food processor, combine the flour, powdered sugar, and salt. Pulse a few times to mix. Add the cold butter cubes and pulse until the mixture looks like coarse sand with some pea-sized butter pieces remaining. Don’t overprocess—you want some texture. If doing this by hand, cut the butter into the flour mixture until it’s crumbly.
Press the mixture evenly into the bottom of your prepared pan. Use the bottom of a measuring cup or a flat glass to really pack it down firmly. Bake for 18-20 minutes, until the edges are just barely golden. Set aside to cool slightly while you make the filling.
Step 3: Toast the Pecans
While the crust bakes, spread your chopped pecans on a small baking sheet. Toast them in the oven (at the same 350°F) for 5-7 minutes, shaking the pan halfway through. You’ll know they’re done when they smell nutty and look slightly darker. Watch them carefully—they burn fast. Remove and let cool.
Step 4: Prepare the Maple Cheesecake Filling
In a large mixing bowl, beat the softened cream cheese with an electric mixer on medium speed until smooth and creamy, about 2 minutes. Scrape down the sides and bottom of the bowl. Add the granulated sugar and beat for another minute until well combined.
Add the maple syrup and vanilla extract, beating on low speed until just incorporated. Add the eggs one at a time, beating on low after each addition until the yolk disappears. Finally, mix in the sour cream until the filling is completely smooth. Stop mixing as soon as it comes together—overbeating incorporates too much air, which can cause cracks.
Step 5: Assemble the Bars
Pour the cheesecake filling over the slightly cooled crust. Spread it evenly with a spatula. In a small bowl, mix the toasted pecans with melted butter, brown sugar, cinnamon, and a pinch of salt. Sprinkle this mixture evenly over the top of the cheesecake filling.
Step 6: Bake
Bake at 350°F (175°C) for 30-35 minutes. The edges should look set and slightly puffed, but the center should still jiggle slightly when you gently shake the pan. Don’t overbake—the residual heat will finish setting the center as it cools. The top should be a light golden brown, and the pecan topping will look glossy and caramelized.
Step 7: Cool and Chill
Let the bars cool completely at room temperature on a wire rack, about 1 hour. Then transfer the pan to the refrigerator and chill for at least 4 hours, preferably overnight. This step is non-negotiable—the bars need time to set properly for clean slices. Once fully chilled, use the parchment handles to lift the entire block out, then cut into 16 squares with a sharp knife.
Cooking Tips & Techniques
I’ve made this recipe enough times to know exactly where things can go sideways. Here are the lessons I learned the hard way so you don’t have to.
Room temperature ingredients matter. I cannot stress this enough. If your cream cheese is cold, you’ll end up with a lumpy filling that never smooths out no matter how long you beat it. Take everything out of the fridge at least 30 minutes before starting. For eggs, a quick trick is to place them in a bowl of warm water for 5 minutes if you’re in a hurry.
Don’t overmix the filling. I made this mistake the first time. I was so proud of how fluffy and airy the filling looked, but after baking, it had these unsightly cracks all over. The extra air bubbles expand in the oven and then collapse, creating fissures. Mix just until everything is combined, and do it on low speed.
Watch the crust. The shortbread base can go from golden to burnt very quickly in the last few minutes. I usually check it at 16 minutes and then every minute after that. You want pale edges with just a hint of gold. If it’s browning too fast, tent the pan loosely with foil.
Use real maple syrup. I tried making these with a popular “pancake syrup” once because I was out of the real stuff, and the result was disappointing. The artificial flavoring was cloying and left a weird aftertaste. Save yourself the trouble and spend the extra few dollars on pure maple syrup. It makes all the difference.
Multitasking tip: While the crust is baking, toast the pecans on a separate rack. By the time the crust comes out, your pecans are done too. It saves about 10 minutes and keeps the workflow smooth.
Variations & Adaptations
One of the best things about this recipe is how adaptable it is. Here are some variations I’ve tried that turned out surprisingly well:
Gluten-Free Version
Swap the all-purpose flour with a 1:1 gluten-free baking flour blend. I’ve used Bob’s Red Mill 1-to-1 Baking Flour with great results. The texture of the crust will be slightly more crumbly, but it holds together well enough. Make sure your vanilla extract is certified gluten-free too.
Bourbon Maple Version
For an adult twist, add 1 tablespoon of bourbon to the cheesecake filling along with the maple syrup. The bourbon enhances the warm, smoky notes of the maple and pairs beautifully with the pecans. I made this version for a Friendsgiving gathering, and it was gone within 20 minutes. Just be aware that the alcohol doesn’t fully cook out, so this isn’t suitable for kids.
Pumpkin Maple Version
Reduce the cream cheese to 12 ounces and add ½ cup of pumpkin puree to the filling. Increase the maple syrup to ⅓ cup and add 1 teaspoon of pumpkin pie spice. This version tastes like fall in a single bite. The texture will be slightly softer, so chill it for a full 8 hours before cutting.
Nut-Free Option
If you’re serving someone with a nut allergy, replace the pecans with toasted pumpkin seeds (pepitas) or sunflower seeds. They won’t have the same buttery richness, but they’ll still add a nice crunch. Alternatively, skip the topping entirely and drizzle the finished bars with a simple maple glaze made from powdered sugar and maple syrup.
Chocolate Drizzle Version
Melt ½ cup of semi-sweet chocolate chips with 1 teaspoon of coconut oil and drizzle it over the chilled bars. The chocolate adds a lovely bitterness that contrasts with the sweet maple filling. I did this for a holiday party, and people went crazy for it.
Serving & Storage Suggestions
These bars are best served cold straight from the fridge, but they’re also delicious at room temperature if you let them sit out for about 15 minutes. The texture softens slightly, and the maple flavor becomes more pronounced.
For presentation, I like to cut the bars into clean 2-inch squares and arrange them on a wooden board or a simple white platter. A light dusting of powdered sugar and a few whole pecans on top make them look bakery-worthy. If you’re feeling fancy, a dollop of lightly sweetened whipped cream on the side is never a bad idea.
These bars pair beautifully with a cup of hot coffee, a chai latte, or even a glass of cold milk. For a dessert spread, they sit nicely alongside my cozy pecan pie bars for a full nutty dessert experience. If you’re planning a fall brunch, they also work well with my easy cheesy crescent roll breakfast casserole for a sweet-and-savory balance.
Storage: Keep the bars in an airtight container in the refrigerator for up to 5 days. Place a piece of parchment paper between layers if you’re stacking them to prevent sticking. The flavor actually improves after the first day as the maple syrup continues to meld with the cream cheese.
Freezing: These bars freeze exceptionally well. Wrap individual slices tightly in plastic wrap, then place them in a freezer-safe bag or container. They’ll keep for up to 3 months. To thaw, transfer a slice to the refrigerator overnight or let it sit at room temperature for about 20 minutes. Don’t microwave them—it makes the crust soggy.
Reheating: If you prefer warm bars, place a slice on a baking sheet and warm it in a 300°F oven for 5-7 minutes. The crust will crisp back up, and the filling will become slightly gooey. It’s a completely different experience from the cold version, and honestly, both are worth trying.
Nutritional Information & Benefits
Here’s the estimated nutritional breakdown for one bar (based on 16 servings):
| Nutrient | Amount per Serving |
|---|---|
| Calories | 285 |
| Total Fat | 20g |
| Saturated Fat | 10g |
| Cholesterol | 65mg |
| Sodium | 145mg |
| Total Carbohydrates | 24g |
| Dietary Fiber | 1g |
| Sugars | 16g |
| Protein | 4g |
While these are definitely a treat, there are some redeeming qualities. Pecans are rich in healthy monounsaturated fats, magnesium, and antioxidants. Maple syrup contains zinc and manganese, which support immune function. And the cream cheese provides a decent amount of protein and calcium. Of course, this is still a dessert, so enjoy it in moderation. I like to think of these bars as a way to get a little bit of nutrition with a whole lot of happiness.
For those with dietary restrictions, this recipe contains gluten, dairy, eggs, and tree nuts. It can be adapted to be gluten-free as mentioned above, and a dairy-free version using vegan cream cheese and butter substitutes is possible, though the texture will be slightly different. I haven’t tested that version extensively, so results may vary.
Conclusion
These Perfect Maple Pecan Fall Cheesecake Bars are the kind of dessert that makes you slow down and actually enjoy the season. They’re not complicated to make, they don’t require any fancy equipment, and they deliver that cozy, warm feeling we all crave when the leaves start turning and the air gets crisp.
I love that I can make them ahead of time for gatherings, that they travel well, and that they always get the same reaction: a moment of quiet, then a smile, then someone asking for the recipe. That’s the highest compliment a dessert can get, if you ask me.
If you make these bars, I’d love to hear how they turn out. Leave a comment below and let me know if you tried any of the variations or came up with your own twist. Did you add chocolate? Swap the pecans for walnuts? Maybe you tried the bourbon version and loved it as much as I did. Share your experience, and don’t forget to tag me in your photos on social media.
Now go preheat that oven and make some memories. Fall is too short to waste on mediocre desserts.
Frequently Asked Questions
Can I use a different type of nut instead of pecans?
Absolutely. Walnuts are the best substitute—they have a similar texture and earthy flavor that works well with maple. You can also use almonds or hazelnuts, though the flavor profile will shift. Just make sure to toast whatever nut you choose for the best results.
Why did my cheesecake filling crack?
Cracks usually happen for one of three reasons: overmixing the filling (which incorporates too much air), overbaking (the center should still jiggle), or a drastic temperature change (like moving the hot pan directly to a cold counter). Let the bars cool gradually at room temperature before refrigerating. If they do crack, don’t worry—the pecan topping hides imperfections beautifully.
Can I make these bars in a 9×13 pan?
Yes, you can. Double all the ingredients for the filling and topping, but keep the crust at 1.5 times the original recipe. The baking time will be slightly shorter, about 25-30 minutes, so start checking at 20 minutes. The bars will be thinner, which some people actually prefer.
How do I get clean, neat slices?
Use a sharp, straight-edged knife and run it under hot water before each cut. Wipe the blade clean between slices with a damp paper towel. For the neatest results, chill the bars for at least 6 hours or overnight. Patience is key here—cutting too early leads to messy edges.
Can I use honey instead of maple syrup?
Technically yes, but the flavor will be completely different. Honey is sweeter and has floral notes that don’t pair as naturally with pecans. If you’re in a pinch, use ¼ cup of honey and reduce the granulated sugar by 2 tablespoons. The texture will be similar, but you’ll lose that distinctive maple taste that makes these bars special.
Pin This Recipe!
Perfect Maple Pecan Cheesecake Bars
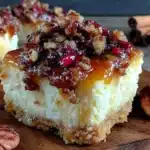
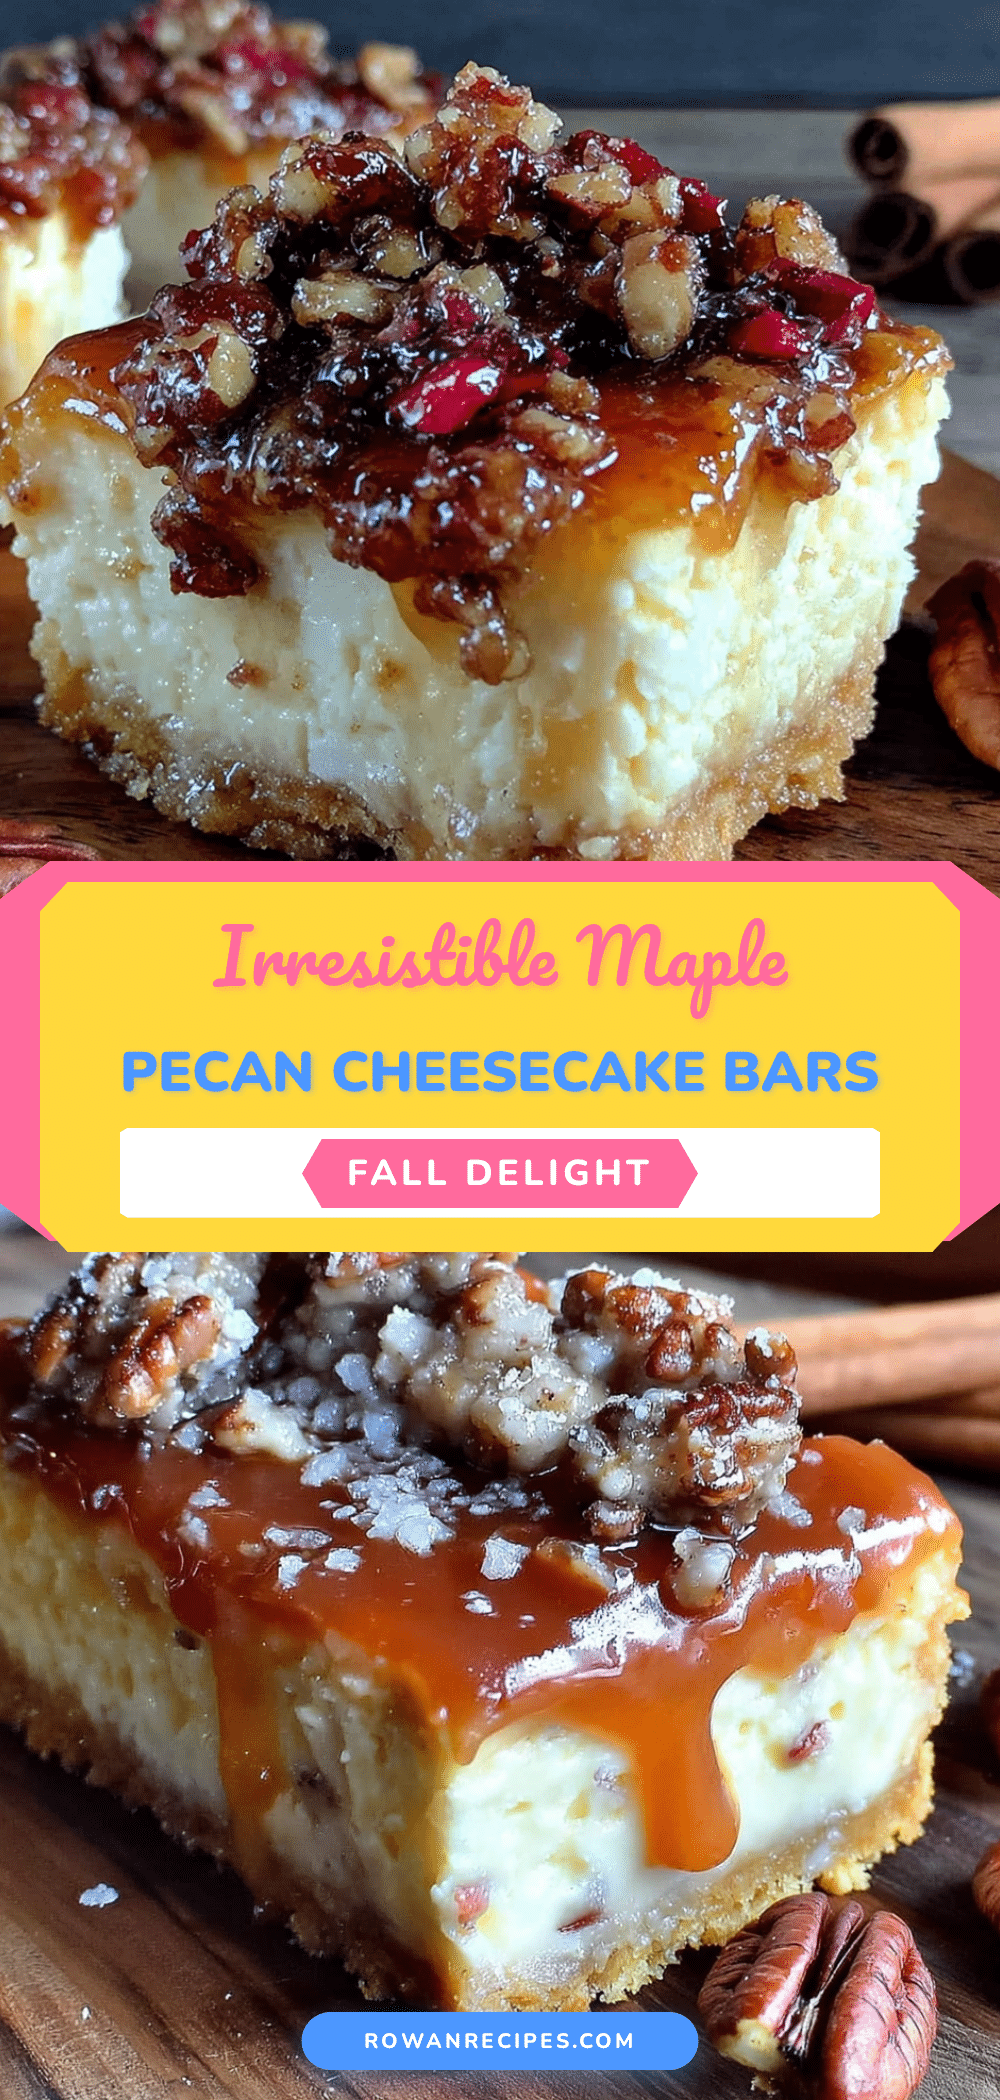
These Perfect Maple Pecan Fall Cheesecake Bars are a rich, creamy dessert with a buttery shortbread crust, silky maple cheesecake filling, and crunchy pecan topping. No water bath needed, and they taste even better the next day.
- Prep Time: 20 minutes
- Cook Time: 30 minutes
- Total Time: 4 hours 50 minutes (includes chilling)
- Yield: 16 servings 1x
- Category: Dessert
- Cuisine: American
Ingredients
- 1 ½ cups all-purpose flour (spooned and leveled)
- ½ cup powdered sugar
- ¼ teaspoon salt
- ¾ cup unsalted butter, cold and cut into small cubes
- 16 ounces cream cheese, softened to room temperature
- ½ cup granulated sugar
- ¼ cup pure maple syrup
- 2 large eggs, room temperature
- 1 teaspoon vanilla extract
- ¼ cup sour cream, room temperature
- 1 cup pecans, roughly chopped
- 2 tablespoons unsalted butter, melted
- 2 tablespoons brown sugar, packed
- ¼ teaspoon cinnamon (optional)
- Pinch of salt
Instructions
- Preheat oven to 350°F (175°C). Line a 9×9-inch baking pan with parchment paper, leaving a 2-inch overhang on two opposite sides. Lightly grease the parchment.
- Make the shortbread crust: In a food processor, combine flour, powdered sugar, and salt. Pulse to mix. Add cold butter cubes and pulse until mixture resembles coarse sand with some pea-sized butter pieces. Press evenly into the prepared pan. Bake for 18-20 minutes until edges are just barely golden. Set aside to cool slightly.
- Toast the pecans: Spread chopped pecans on a small baking sheet. Toast at 350°F for 5-7 minutes, shaking halfway through, until fragrant and slightly darker. Let cool.
- Make the maple cheesecake filling: In a large bowl, beat softened cream cheese with an electric mixer on medium speed until smooth, about 2 minutes. Add granulated sugar and beat for 1 minute. Add maple syrup and vanilla extract, beating on low until just incorporated. Add eggs one at a time, beating on low after each addition. Mix in sour cream until smooth. Do not overmix.
- Assemble the bars: Pour cheesecake filling over the slightly cooled crust and spread evenly. In a small bowl, mix toasted pecans with melted butter, brown sugar, cinnamon, and a pinch of salt. Sprinkle evenly over the filling.
- Bake at 350°F for 30-35 minutes. Edges should be set and slightly puffed, but center should jiggle slightly. Do not overbake.
- Cool completely at room temperature on a wire rack, about 1 hour. Then refrigerate for at least 4 hours, preferably overnight. Use parchment handles to lift the block out, then cut into 16 squares with a sharp knife.
Notes
Use room temperature ingredients for a smooth filling. Do not overmix the filling to avoid cracks. Real maple syrup is essential for best flavor. Bars can be made 2 days ahead and stored in the refrigerator. Freeze individual slices for up to 3 months.
Nutrition
- Serving Size: 1 bar
- Calories: 285
- Sugar: 16
- Sodium: 145
- Fat: 20
- Saturated Fat: 10
- Carbohydrates: 24
- Fiber: 1
- Protein: 4
Keywords: maple pecan cheesecake bars, fall dessert, cheesecake bars, maple syrup, pecan, shortbread crust, Thanksgiving dessert, easy cheesecake